John installs solar for a living, so we are obviously most excited about the upgrade to this part of our system. In a wonderful merging of two worlds that we love:

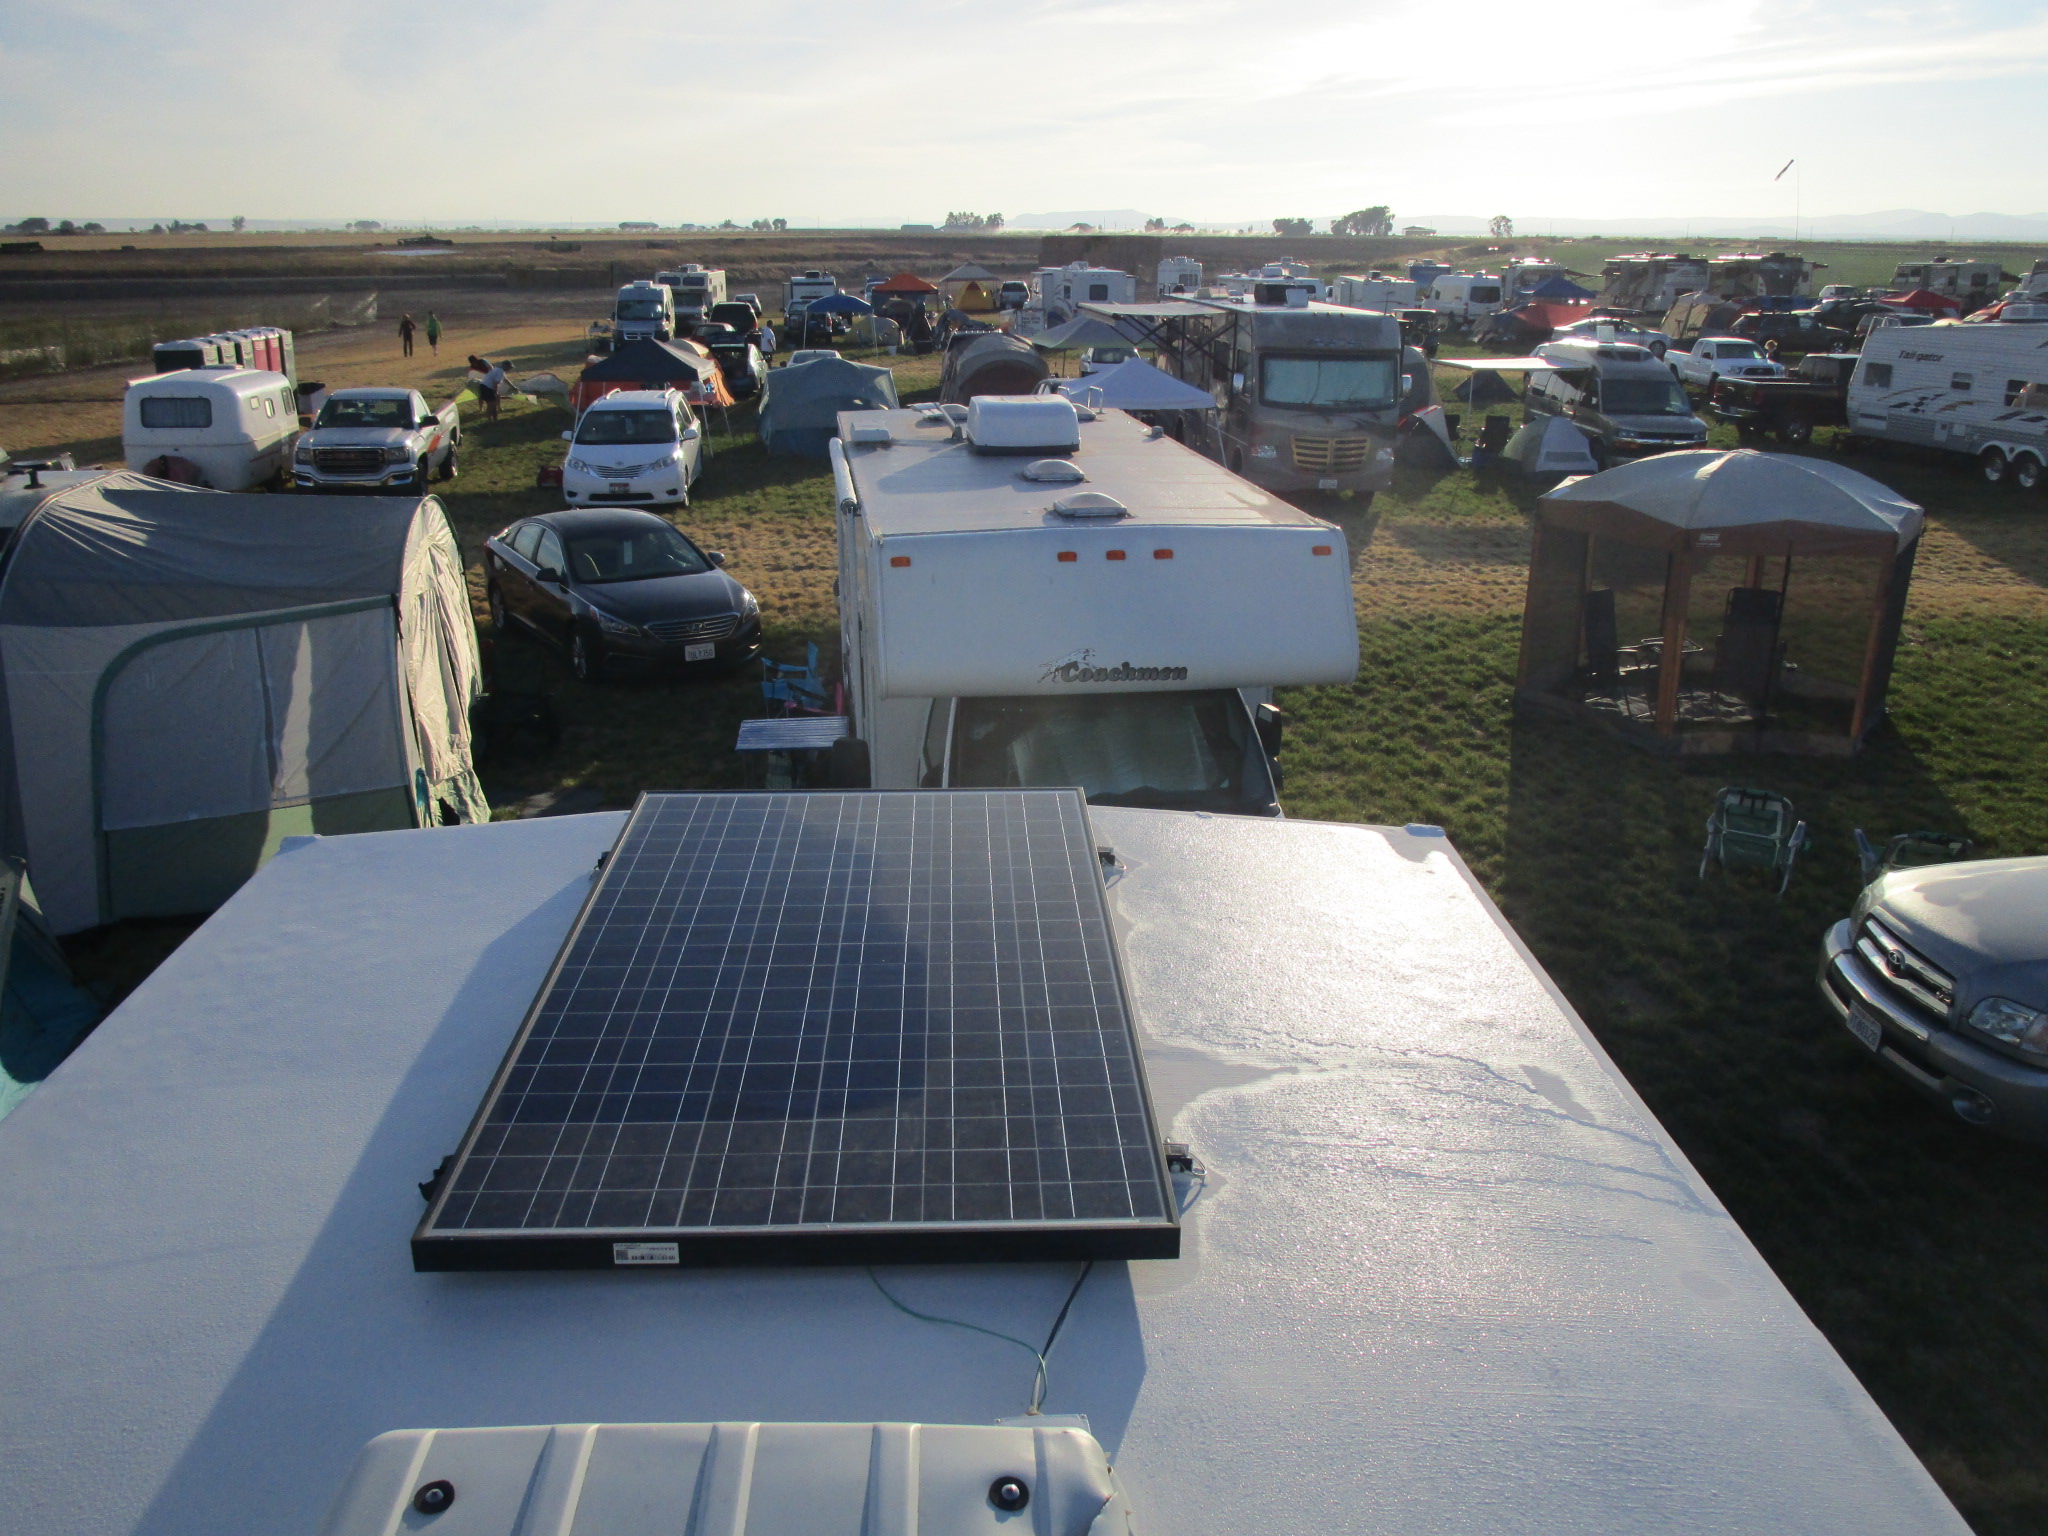
Previously we had a single solar panel on the roof and we were able to do a lot of boondocking, albeit propane-powered as described in another blog post. We’re used to looking for the sunnier sites in the park and explaining why we don’t prefer shade like most people.
A few photos of places we have taken that solar panel (along with the Howie that it’s attached to), starting with Solar Fest. Which was apparently for some kind of eclipse and not solar energy?
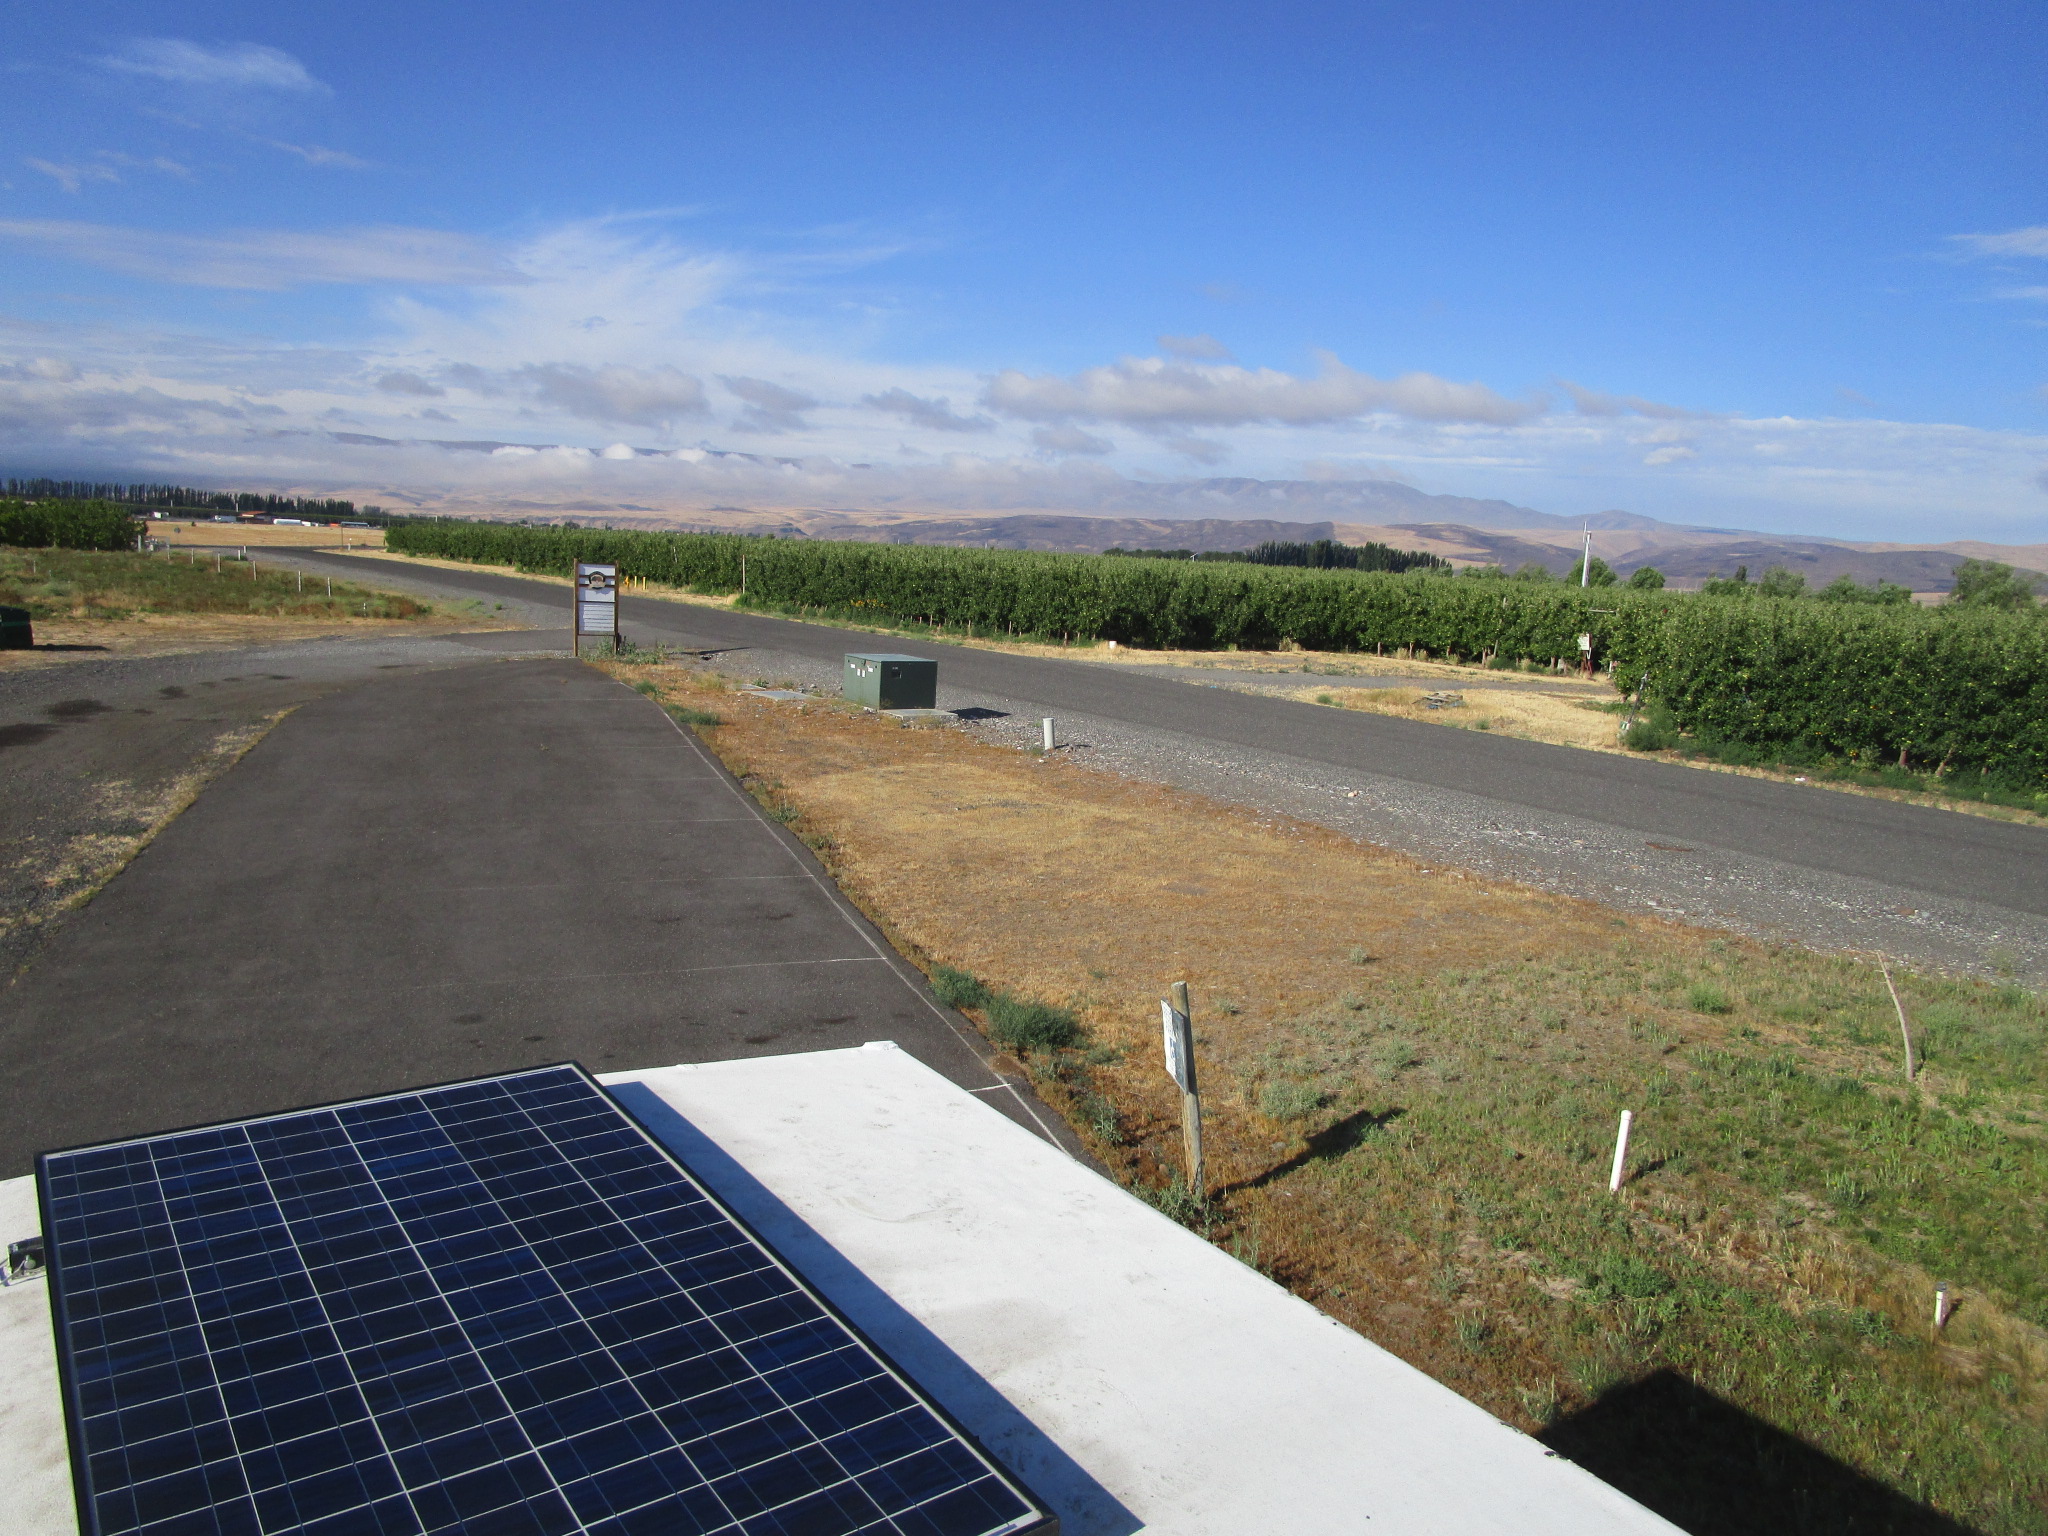
At a Harvest Host winery. Side notes: 1. Harvest Hosts is an awesome program where you pay for a yearly subscription and then can camp for free at wineries, farms, museums, and other fun locations around the country. 2. If you’re interested, send me an email and we can both get a “referral bonus” when you sign up. 3. Energy independence makes it super easy to stay at places like this!
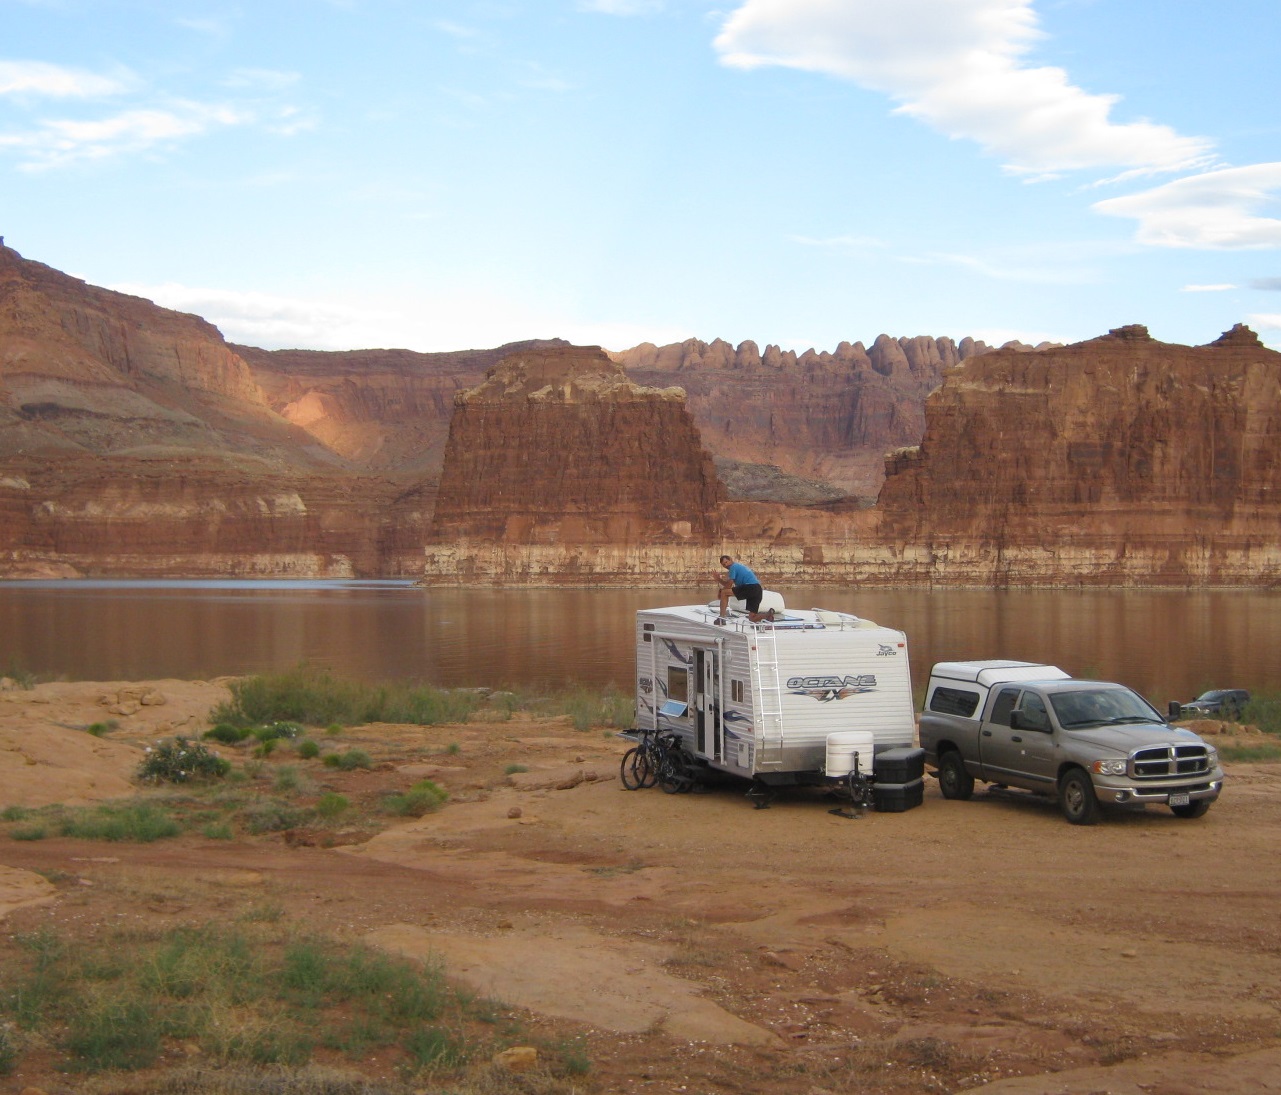
Boondocking out west – Utah is one of our favorite states and there is plenty of sunshine!
Now that we’re all electrically powered and equipped with excellent lithium batteries, the ability to capture a bunch more free energy (from the motherfreakin’ sun – one of my favorite parts of this post by The Oatmeal) is the final key to making everything work.
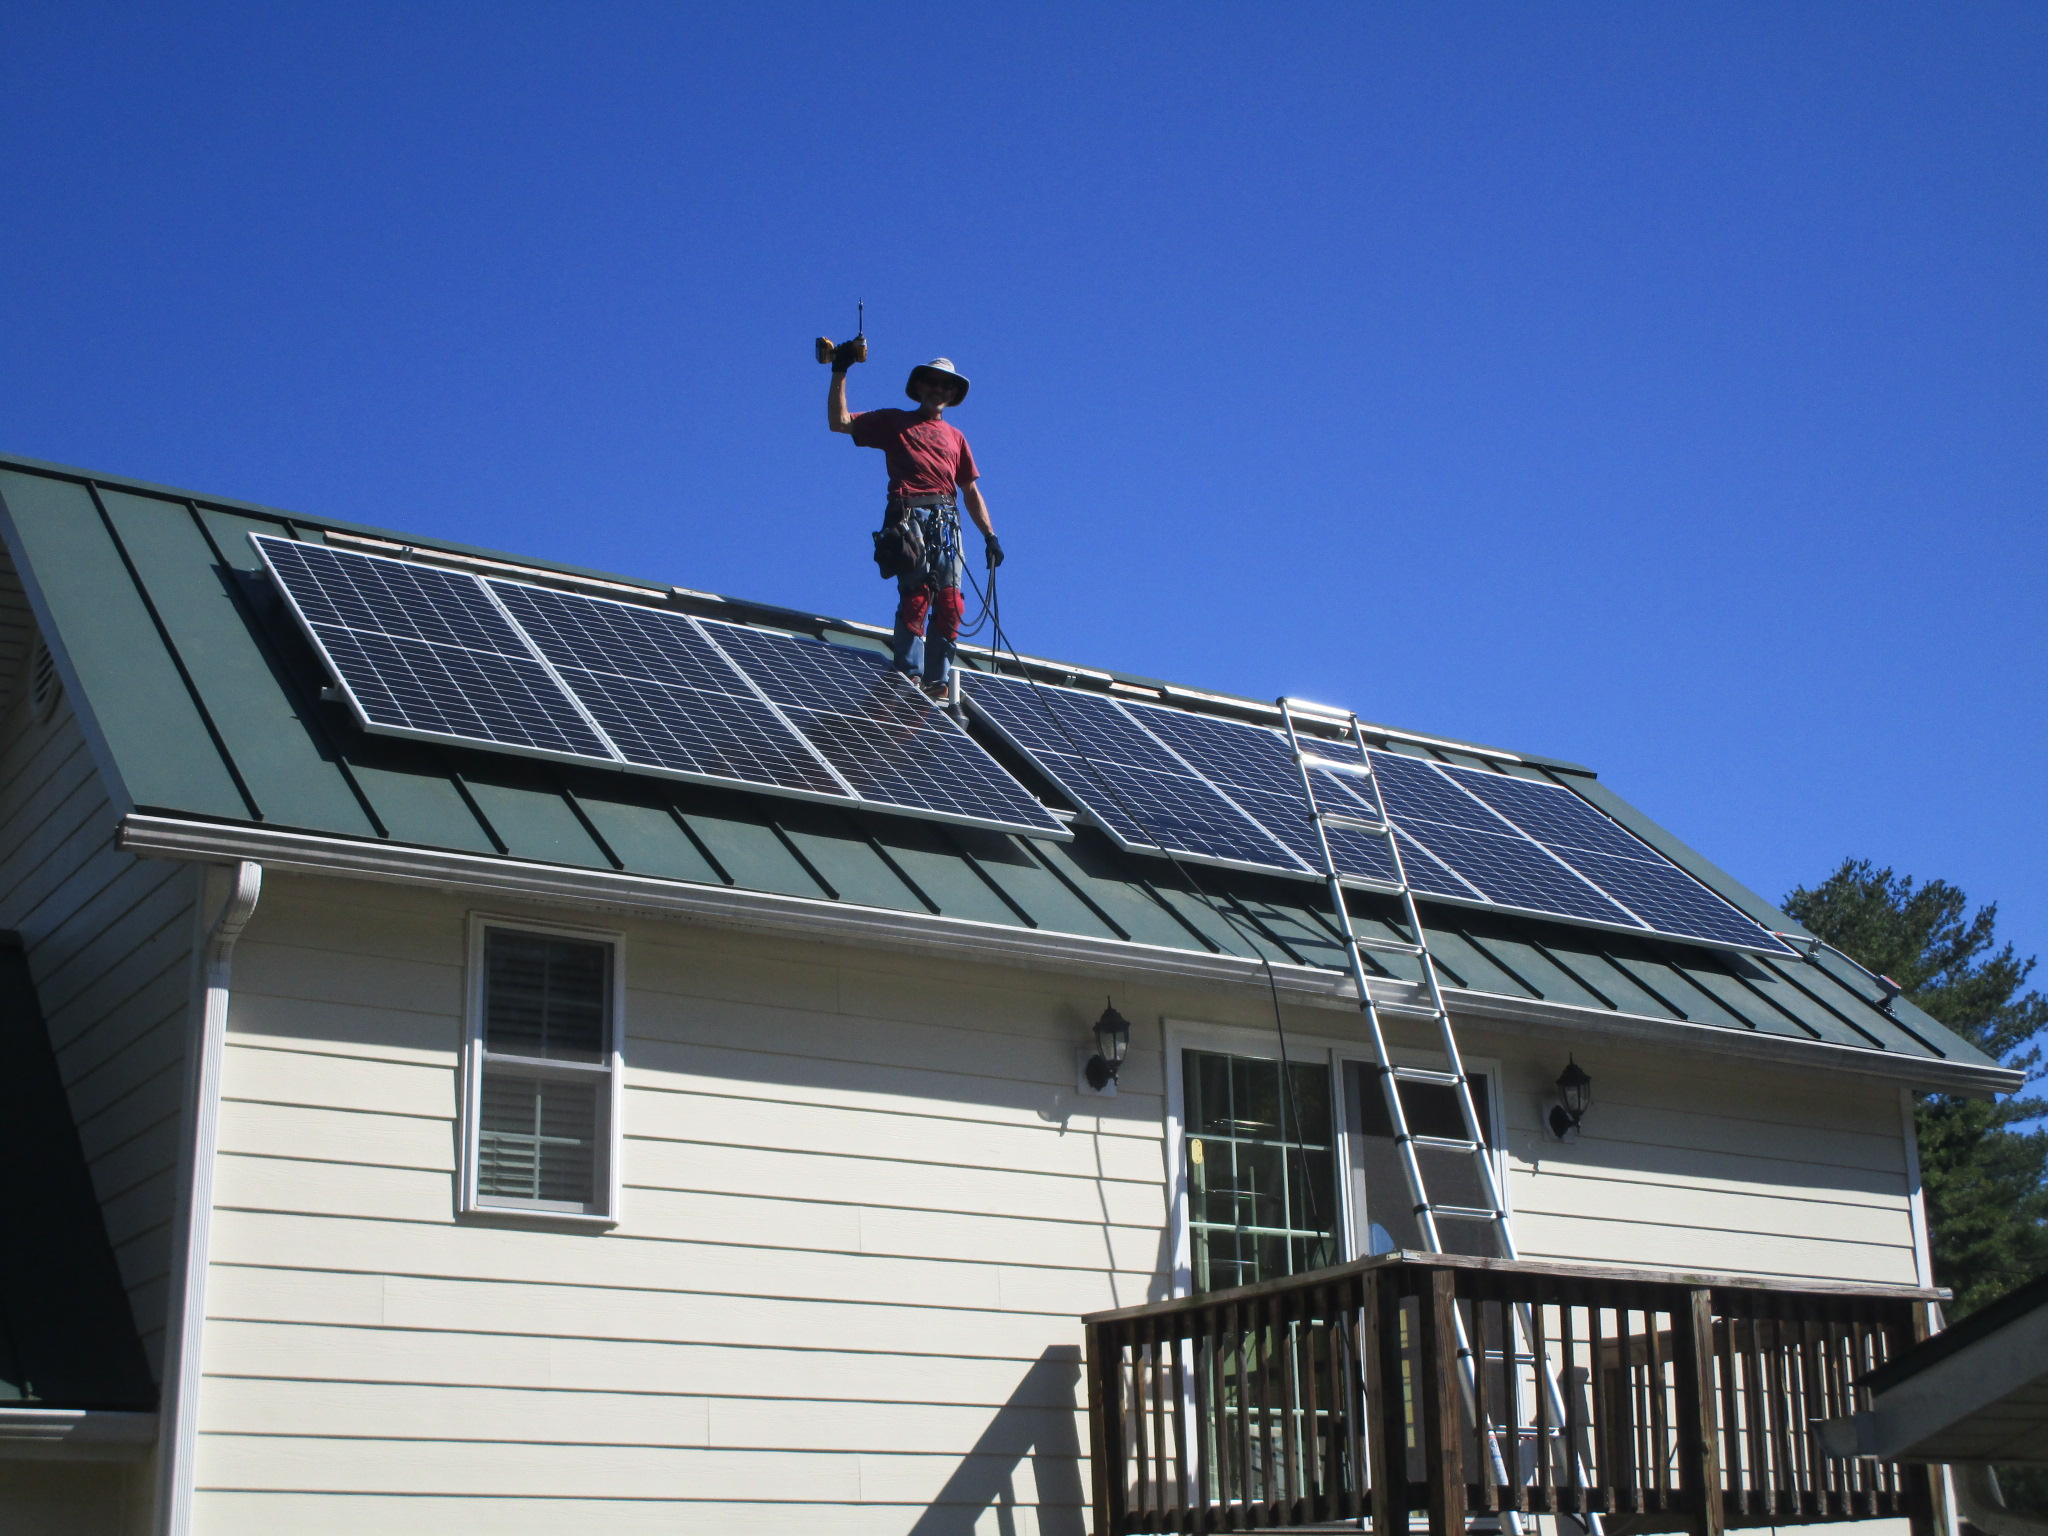
We recently had the opportunity to help some friends install a solar system on their house. This is one of John’s favorite things, getting together with people we adore, working on roofs, adding solar to the world, and even doing a bit of teaching along the way. Hopefully we’ll have more opportunities like this in the future.
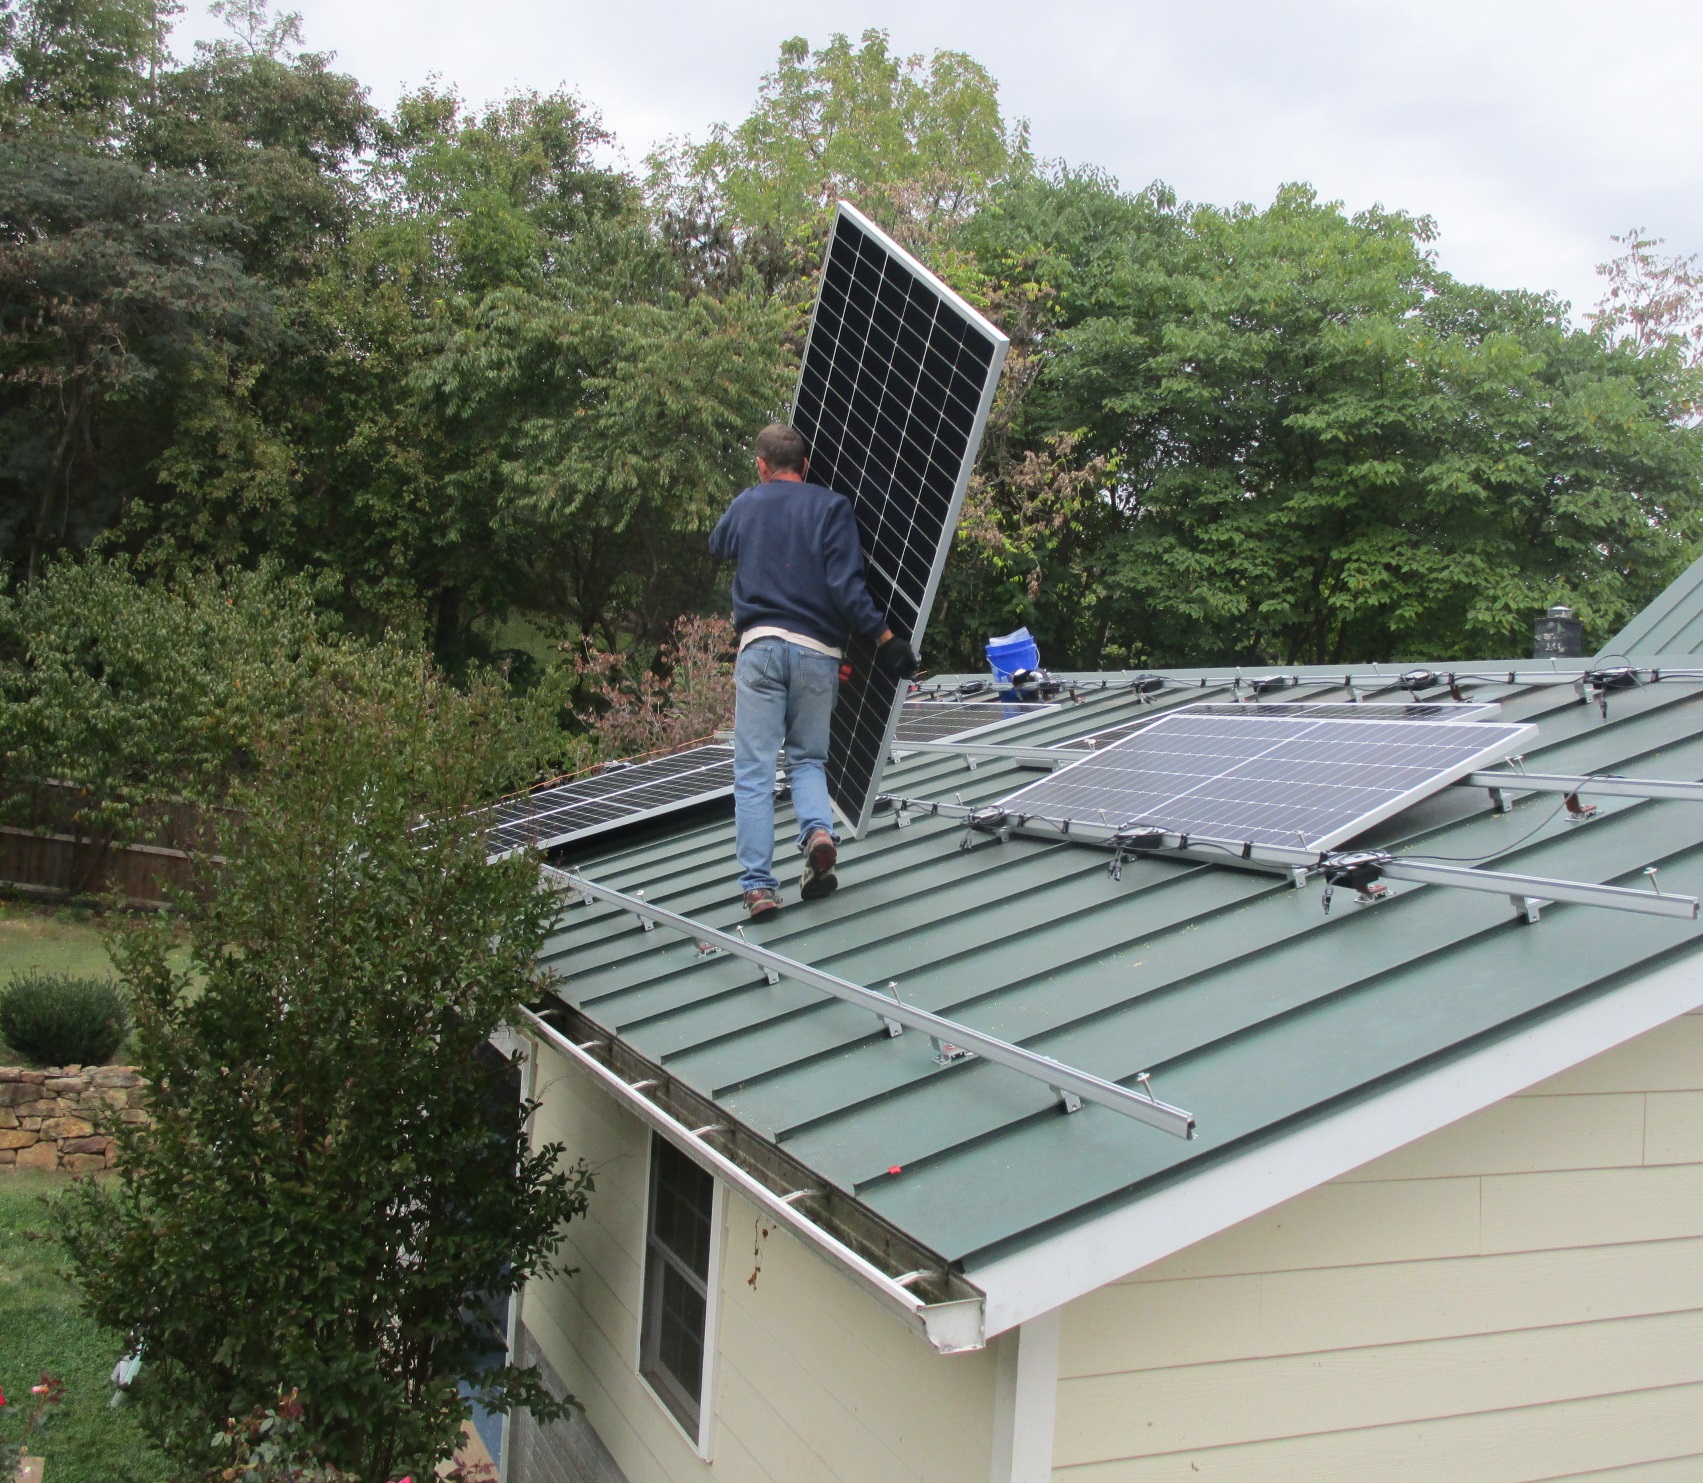
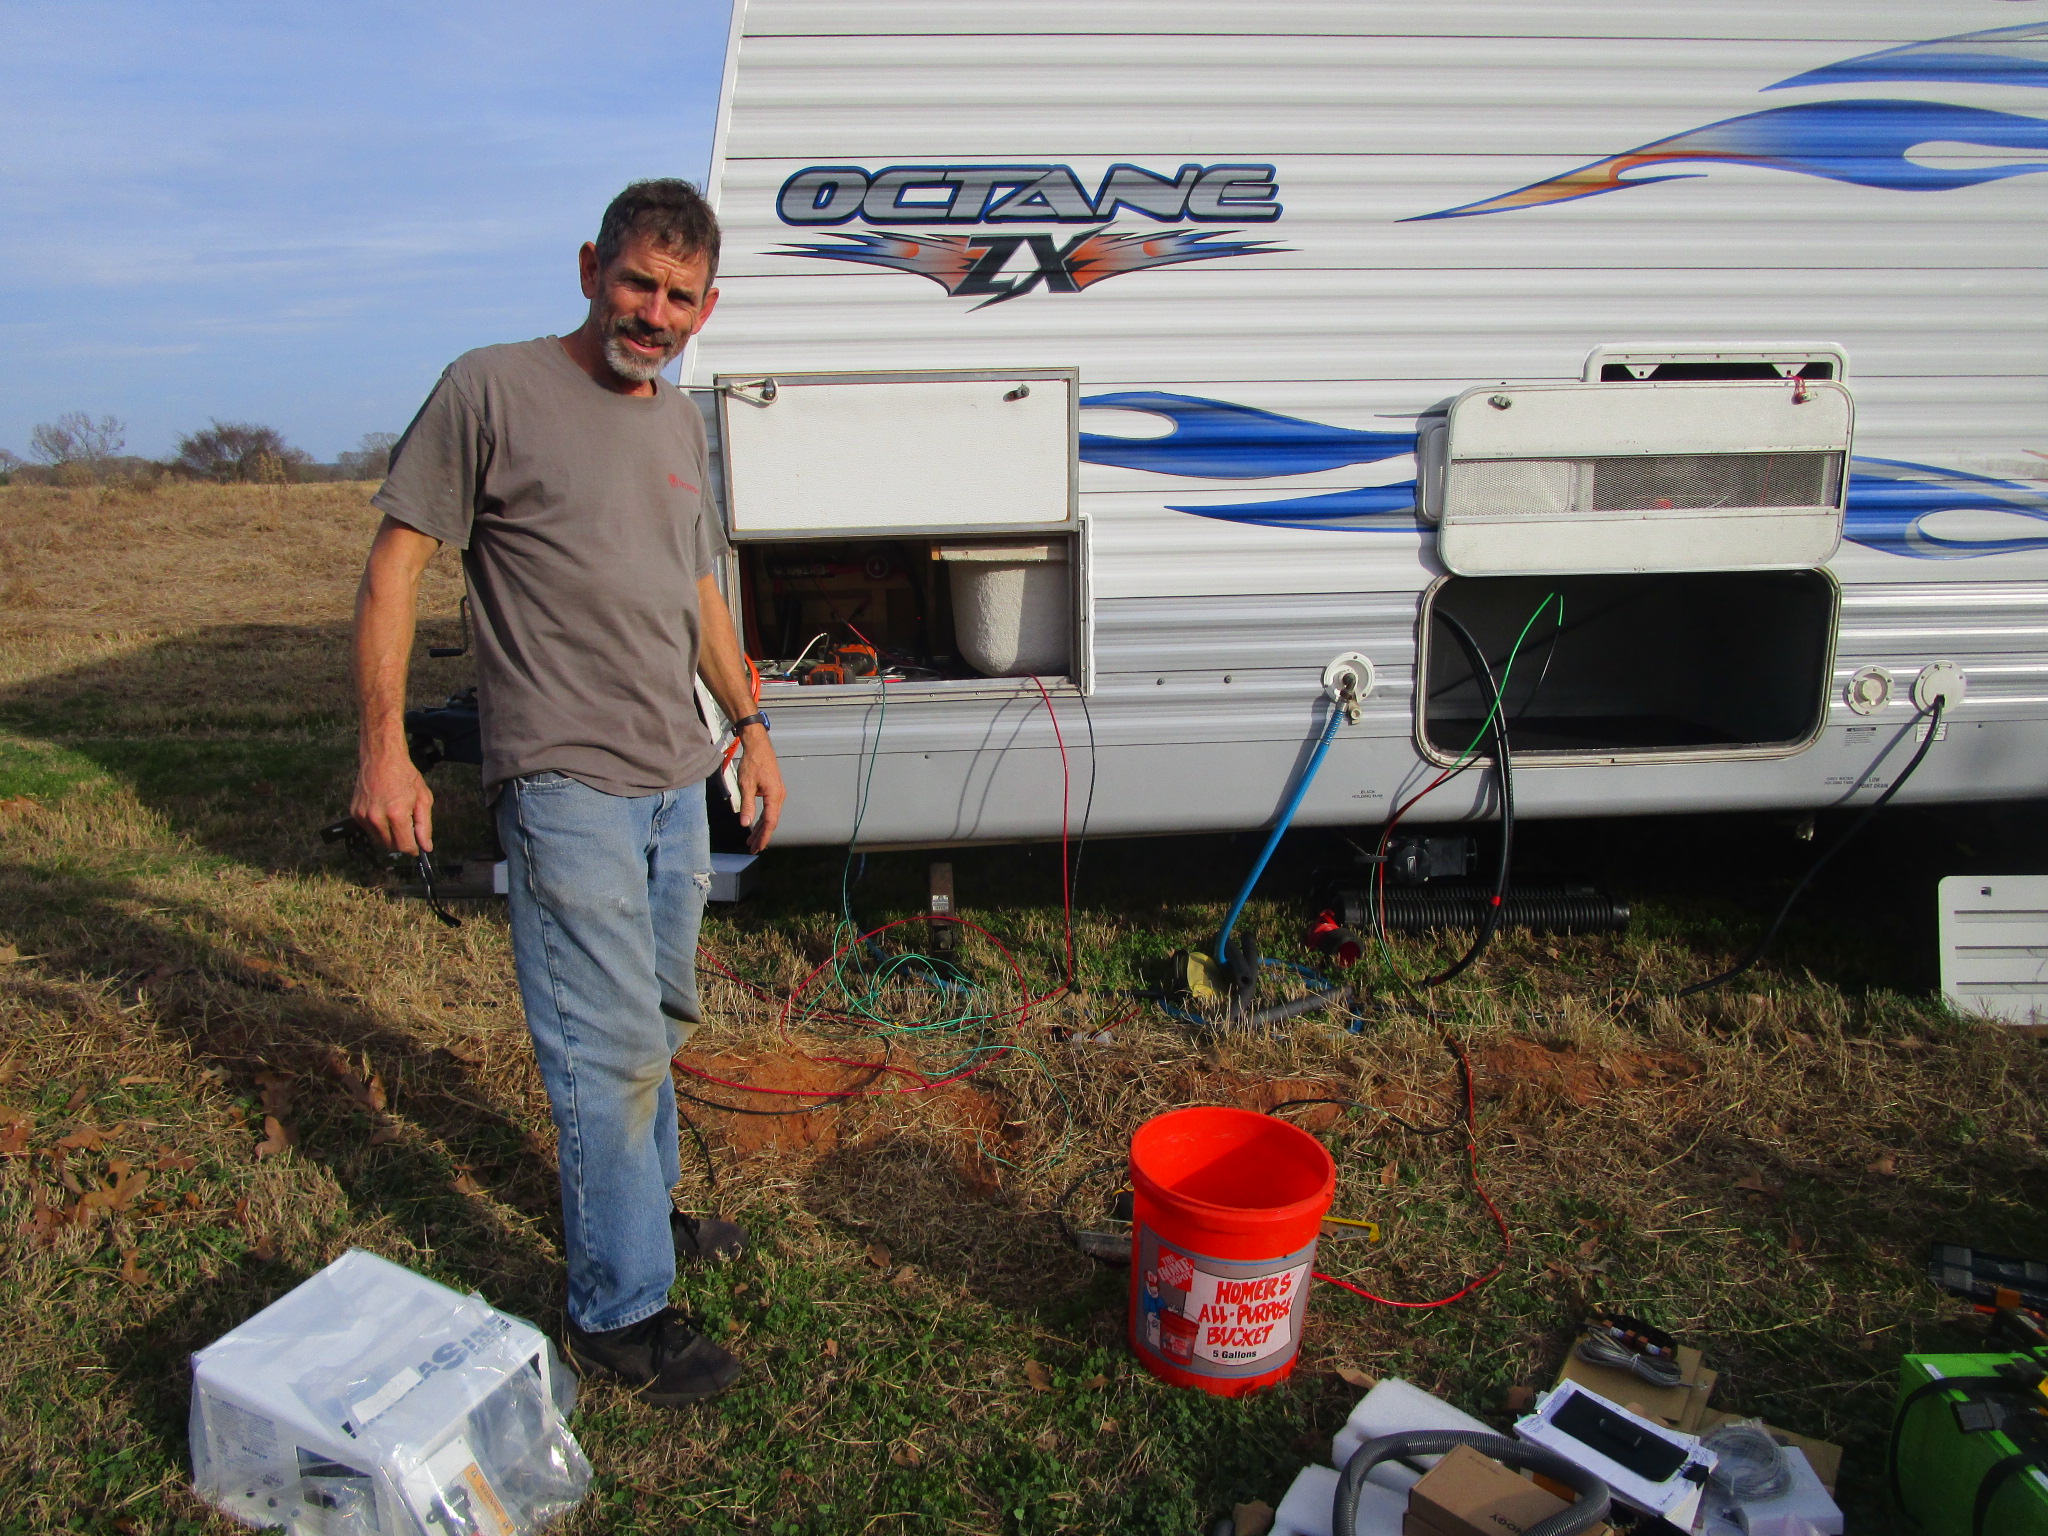
Looking great! And you look good too, John.
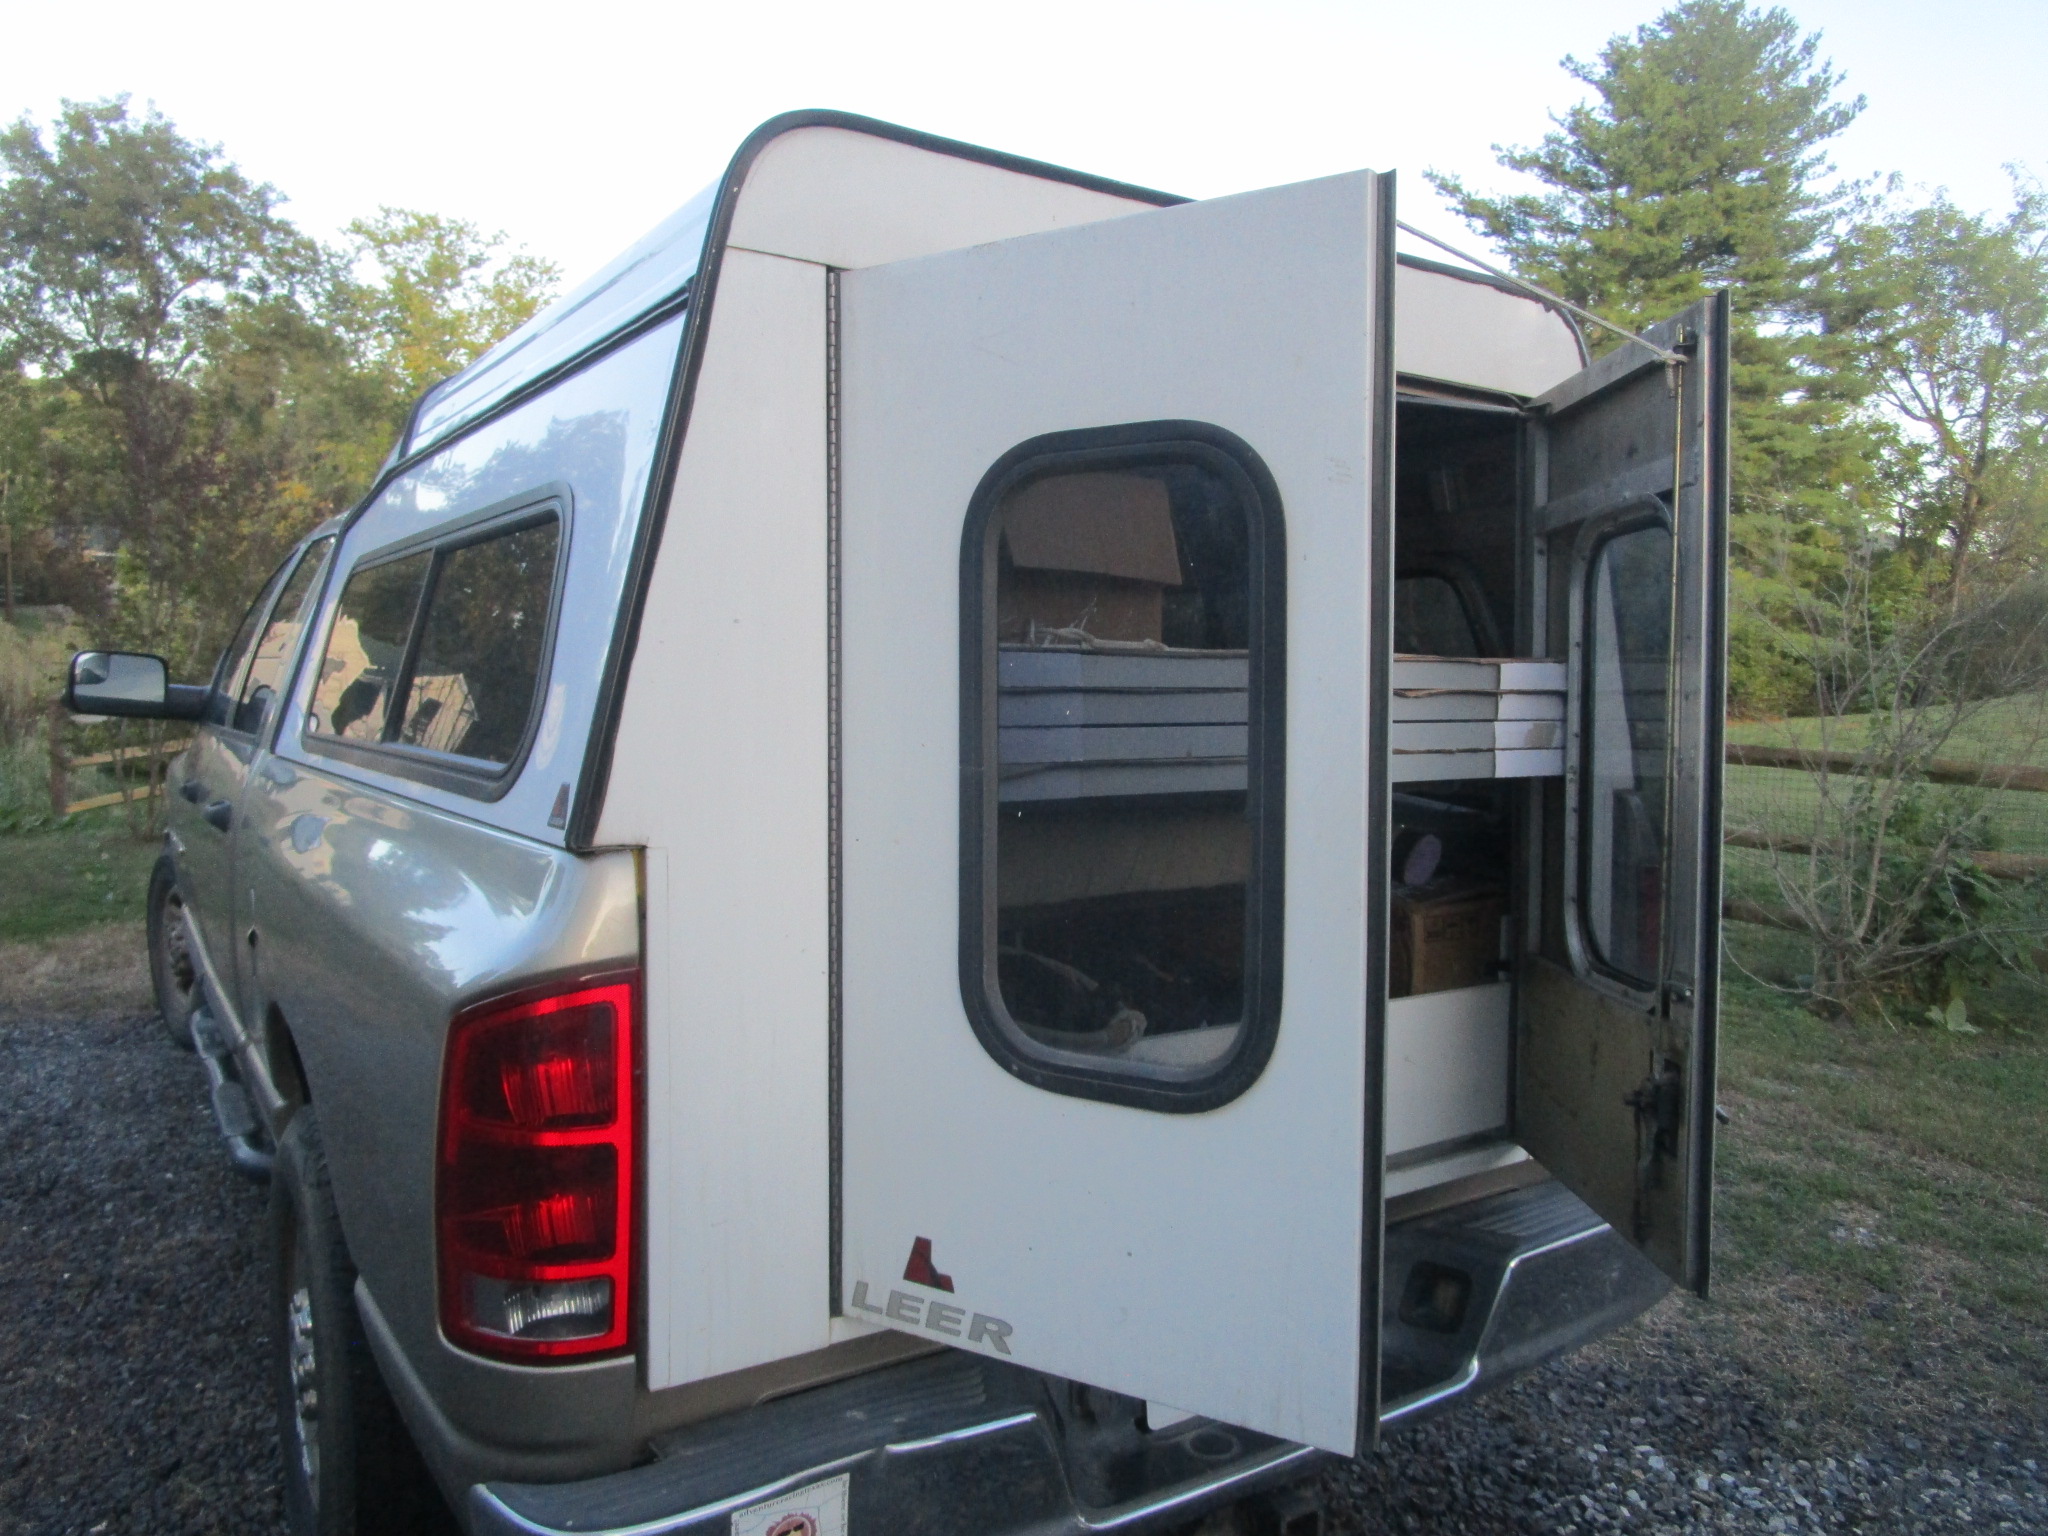
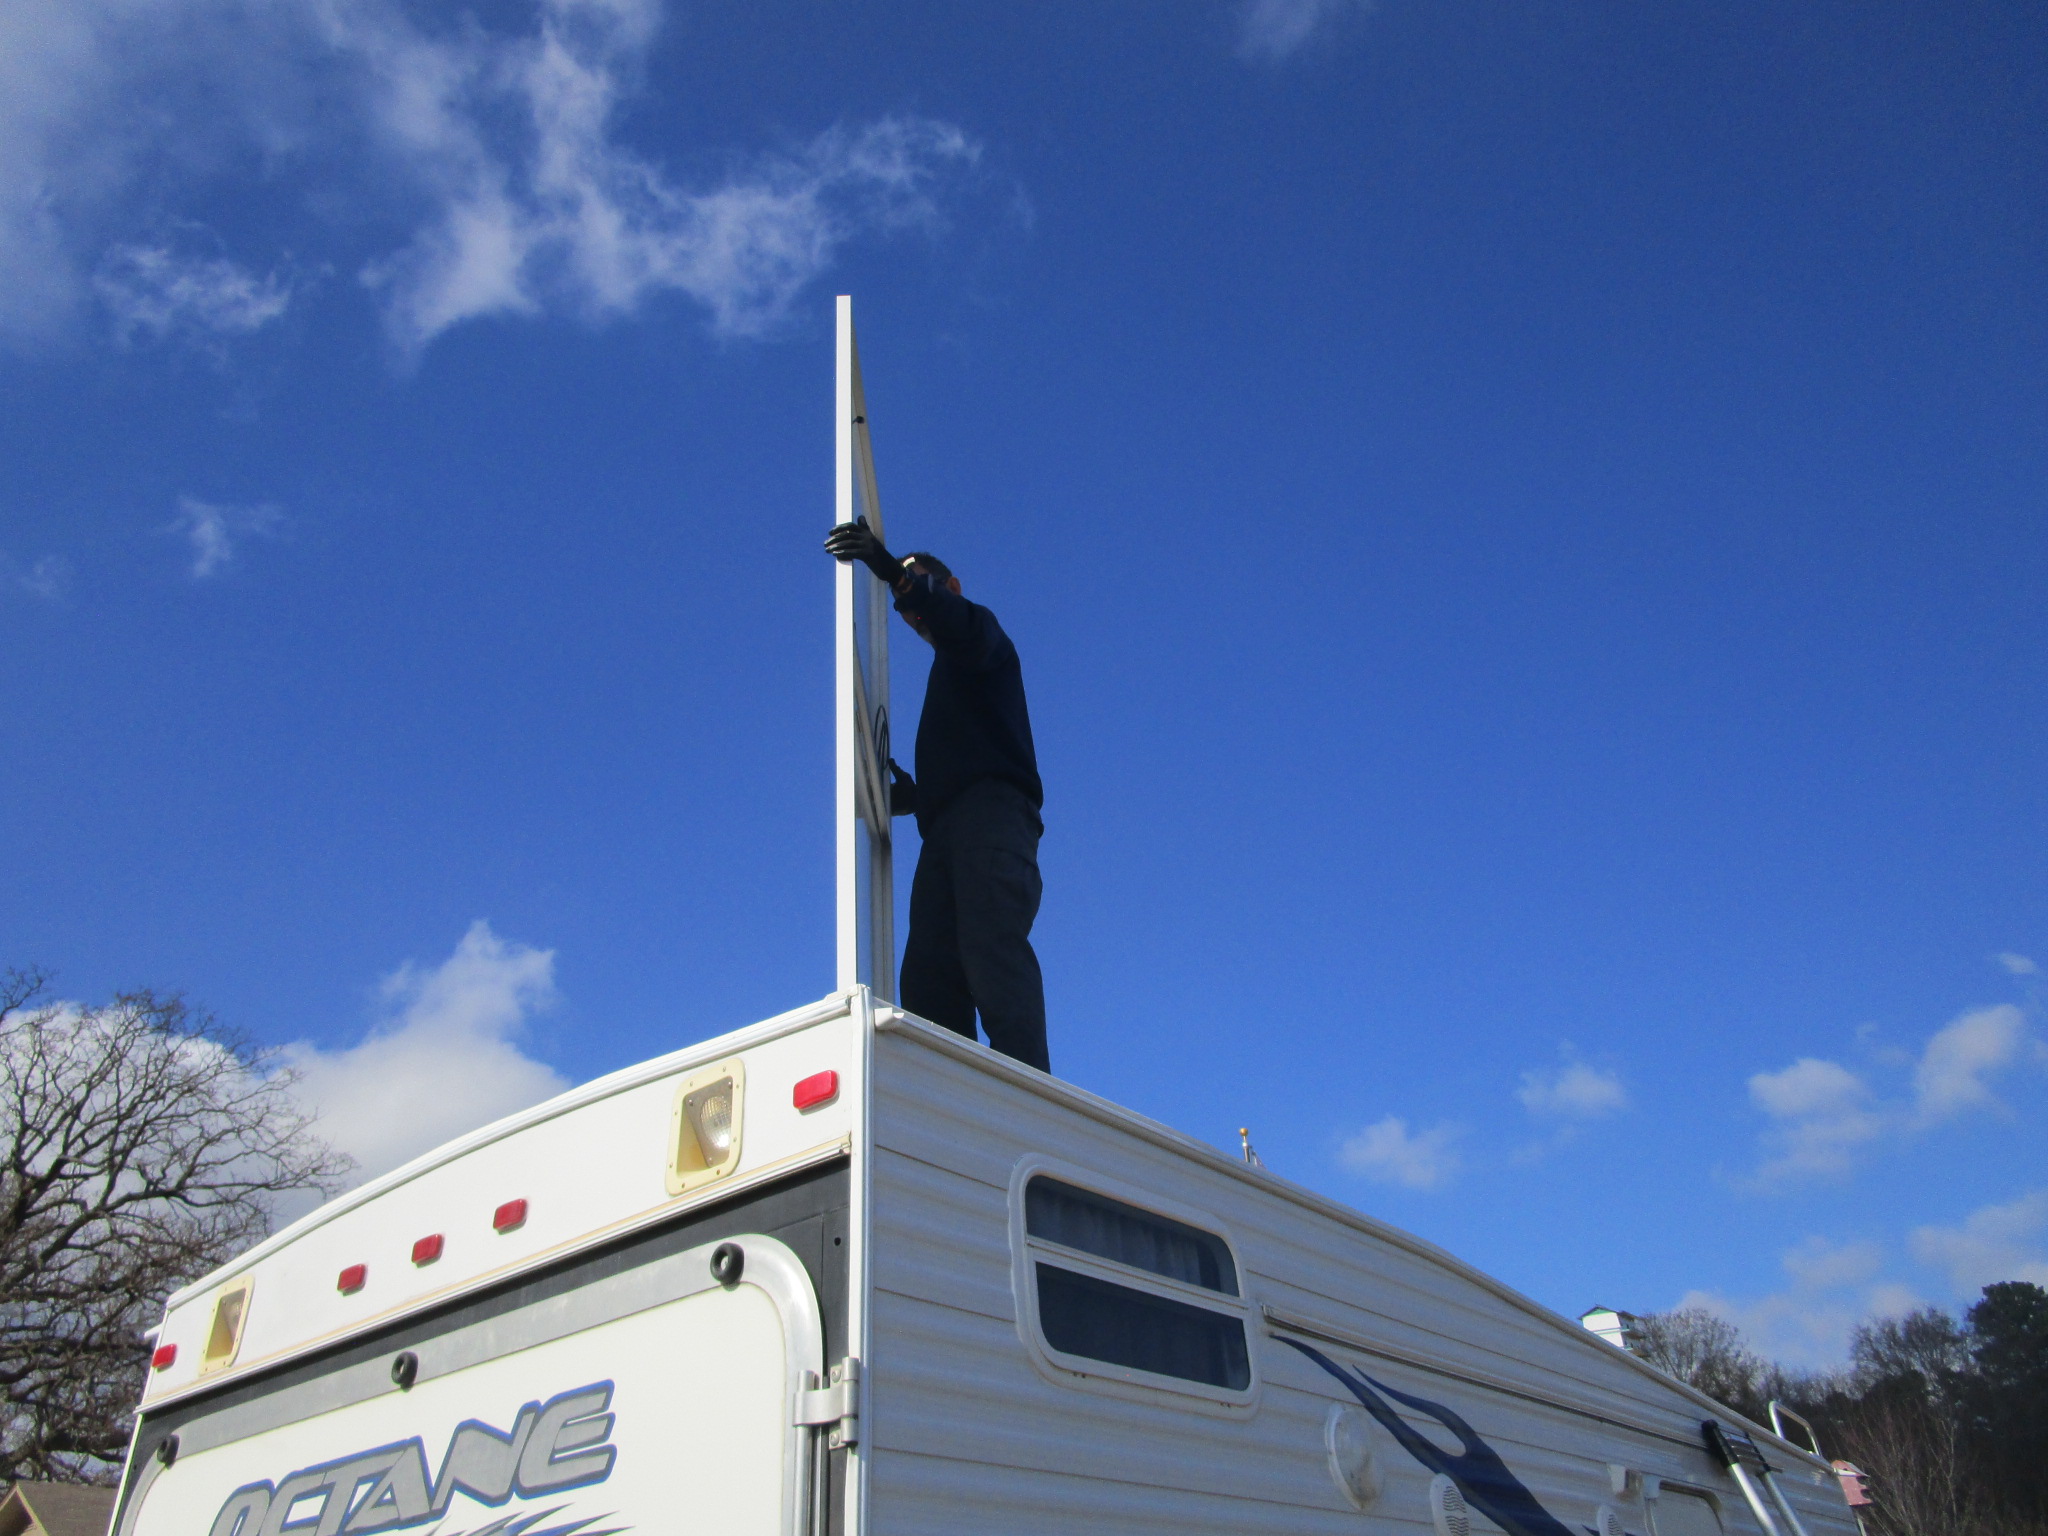
Our friends had ordered from a supplier who was happy to tack on a side order for us, so we purchased four large panels and a new inverter. And by “large” I mean they didn’t quite fit into the back of Tug. No problem, John’s always up for some creative rigging.
Seems like a good time to list some specs:
Physical panel size = 79.3″ x 39.4″ x 1.38″
Weight = 51.8 pounds each
We bought as many as we could physically fit on our trailer roof (after removing the air conditioner and shifting the refrigerator vent over). Well actually, we might be able to get a 5th panel squeezed in at the very front, but for now John decided to stick with a set of 4 to make it easier to install and wire them up (and we have room to put the bathroom roof vent back in… if the weather ever cooperates again). In a future post I’ll go through our electricity sizing calculations.
Each panel is 395 watts at standard test conditions (STC). This gives us a hefty total of 1580 watts on the roof – pretty good for a 19′ travel trailer!
The panel operating voltage is 40 volts, which isn’t exactly typical for RV solar. Normally it would be around 12 or 24 volts, allowing for a cheaper charge controller with simpler circuitry (pulse width modulation, or PWM). Our previous charge controller was one of those.
John opted instead for a “maximum power point tracking” (MPPT) charge controller for the new system. Not only can it handle lithium batteries and a wide range of incoming voltage (up to 150 volts DC), it optimizes the incoming power instead of limiting or clipping it. So we can use panels with nonstandard voltages plus there is less efficiency loss.
When designing a system, generally you put as many panels in series as possible. This minimizes the number/length of wires. It also increases the voltage. Since this charge controller has a maximum of 150 volts, John wired the panels into two parallel strings of two. The result is 80 volts going from the panels to the charge controller. The controller, in turn, sends 24 volts to the batteries.
Enough math for the moment. More photos please!
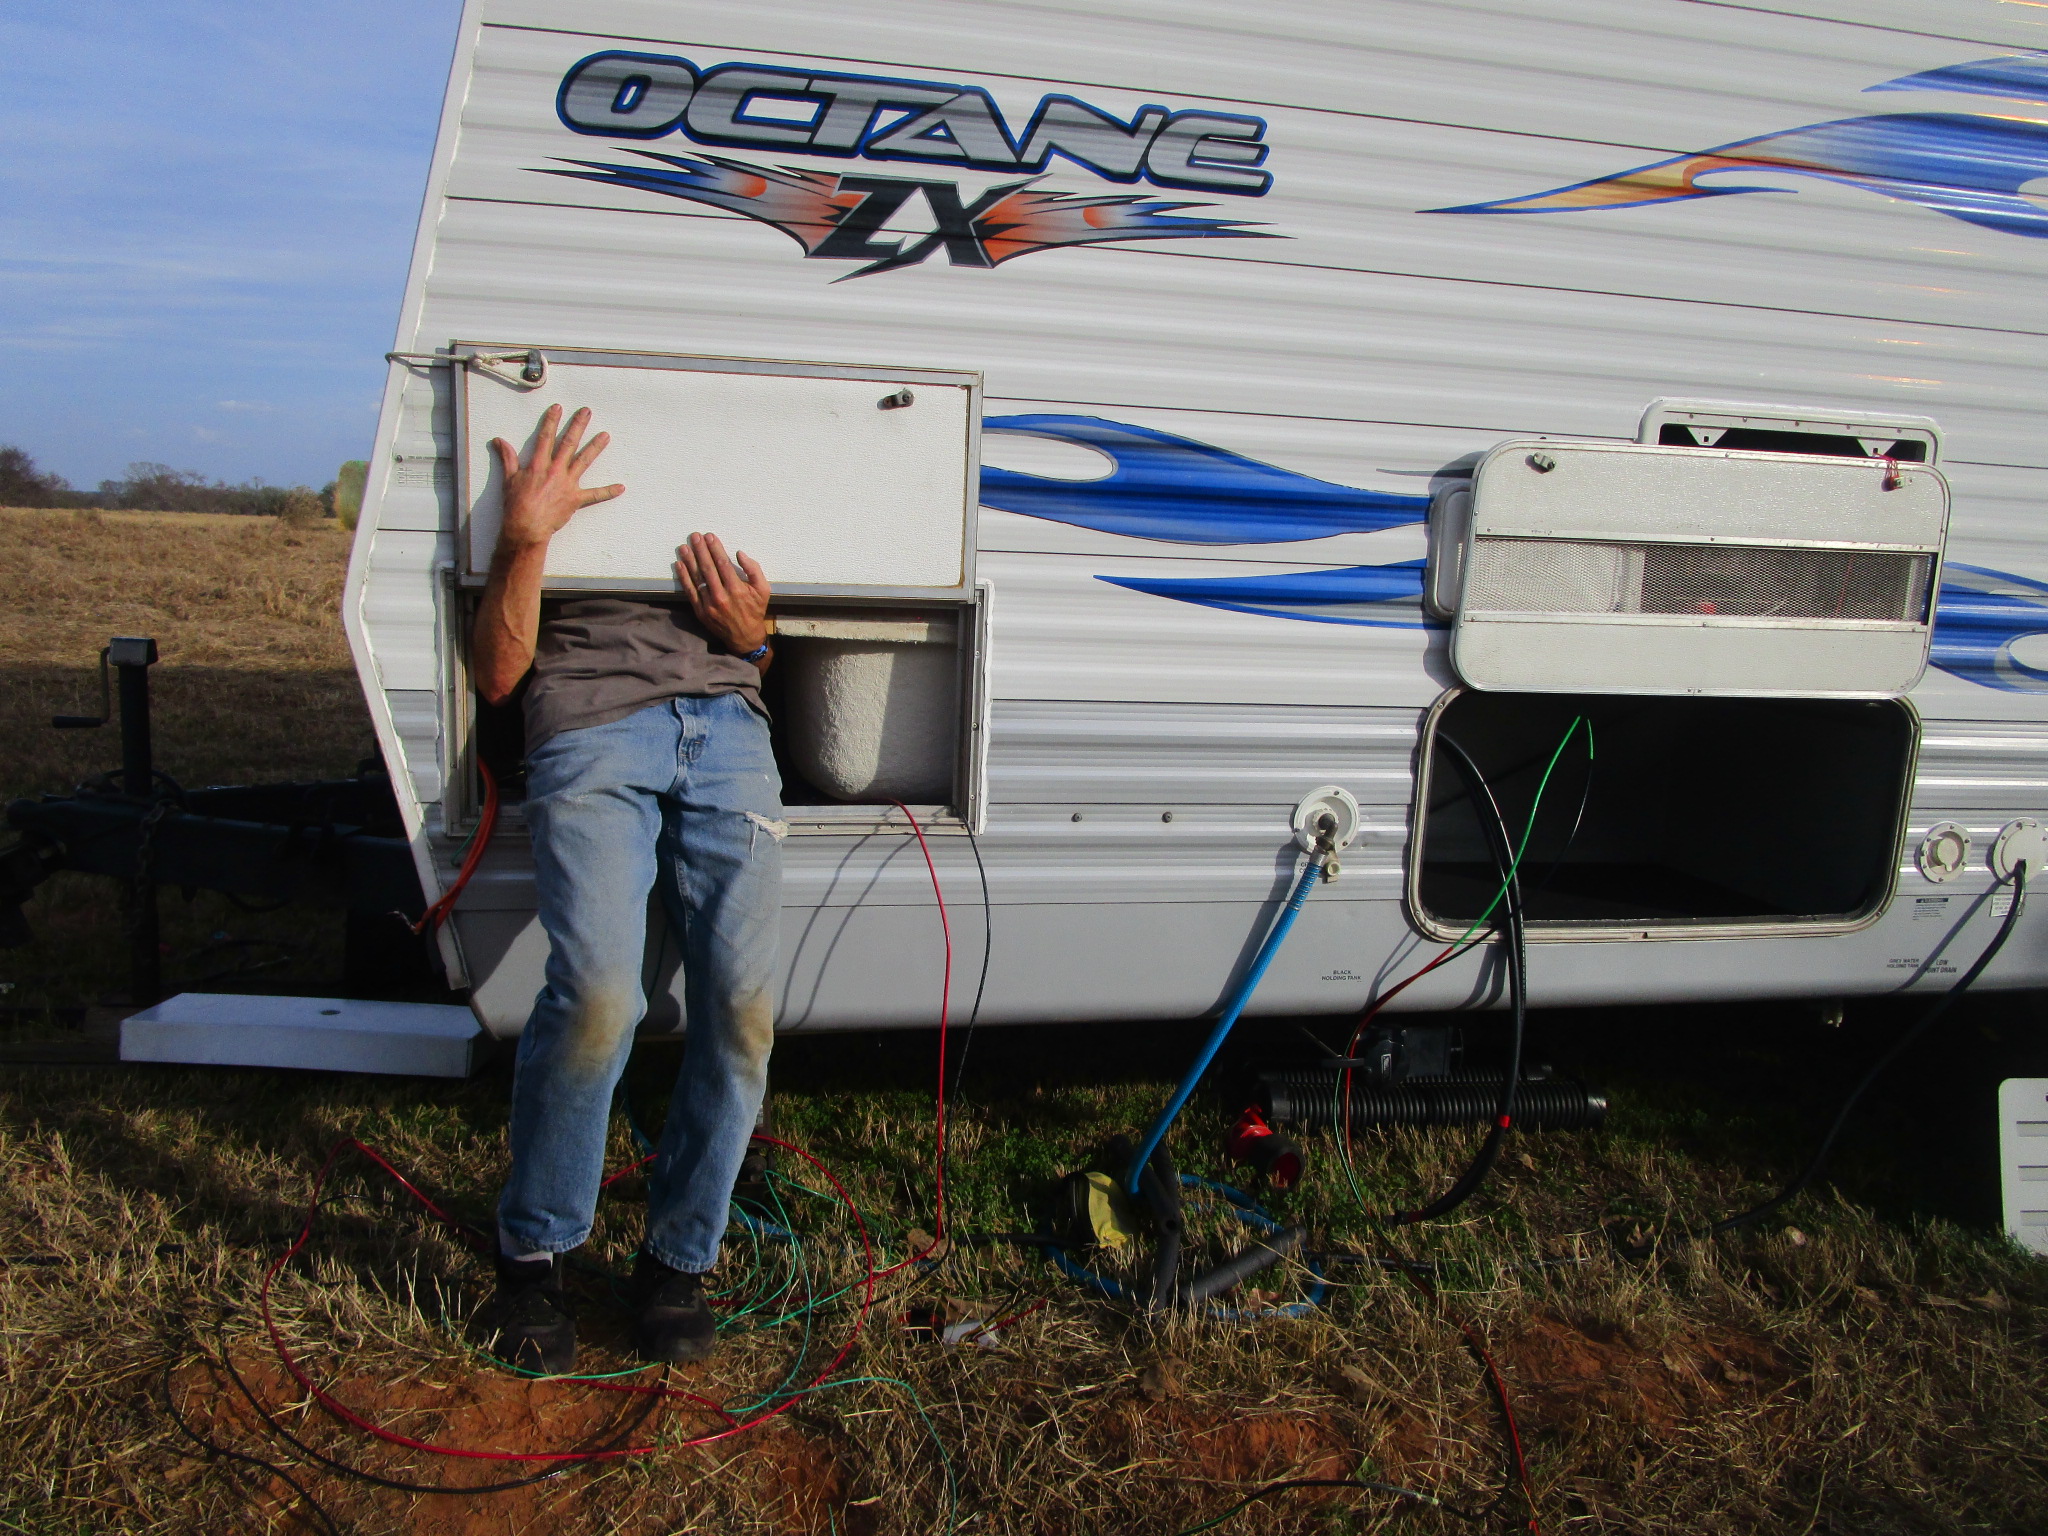
With Howie parked at the Beard Farm in Texas, John focused on all the pieces needed to convert ourselves to the Big Ole Solar System – hey, I just made a new acronym! Yep, it’s the BOSS.
The compartment on the right is where the lithium batteries will go (previously the generator location). On the left is a compartment John created for the solar support stuff like the inverter, charge controller, etc.
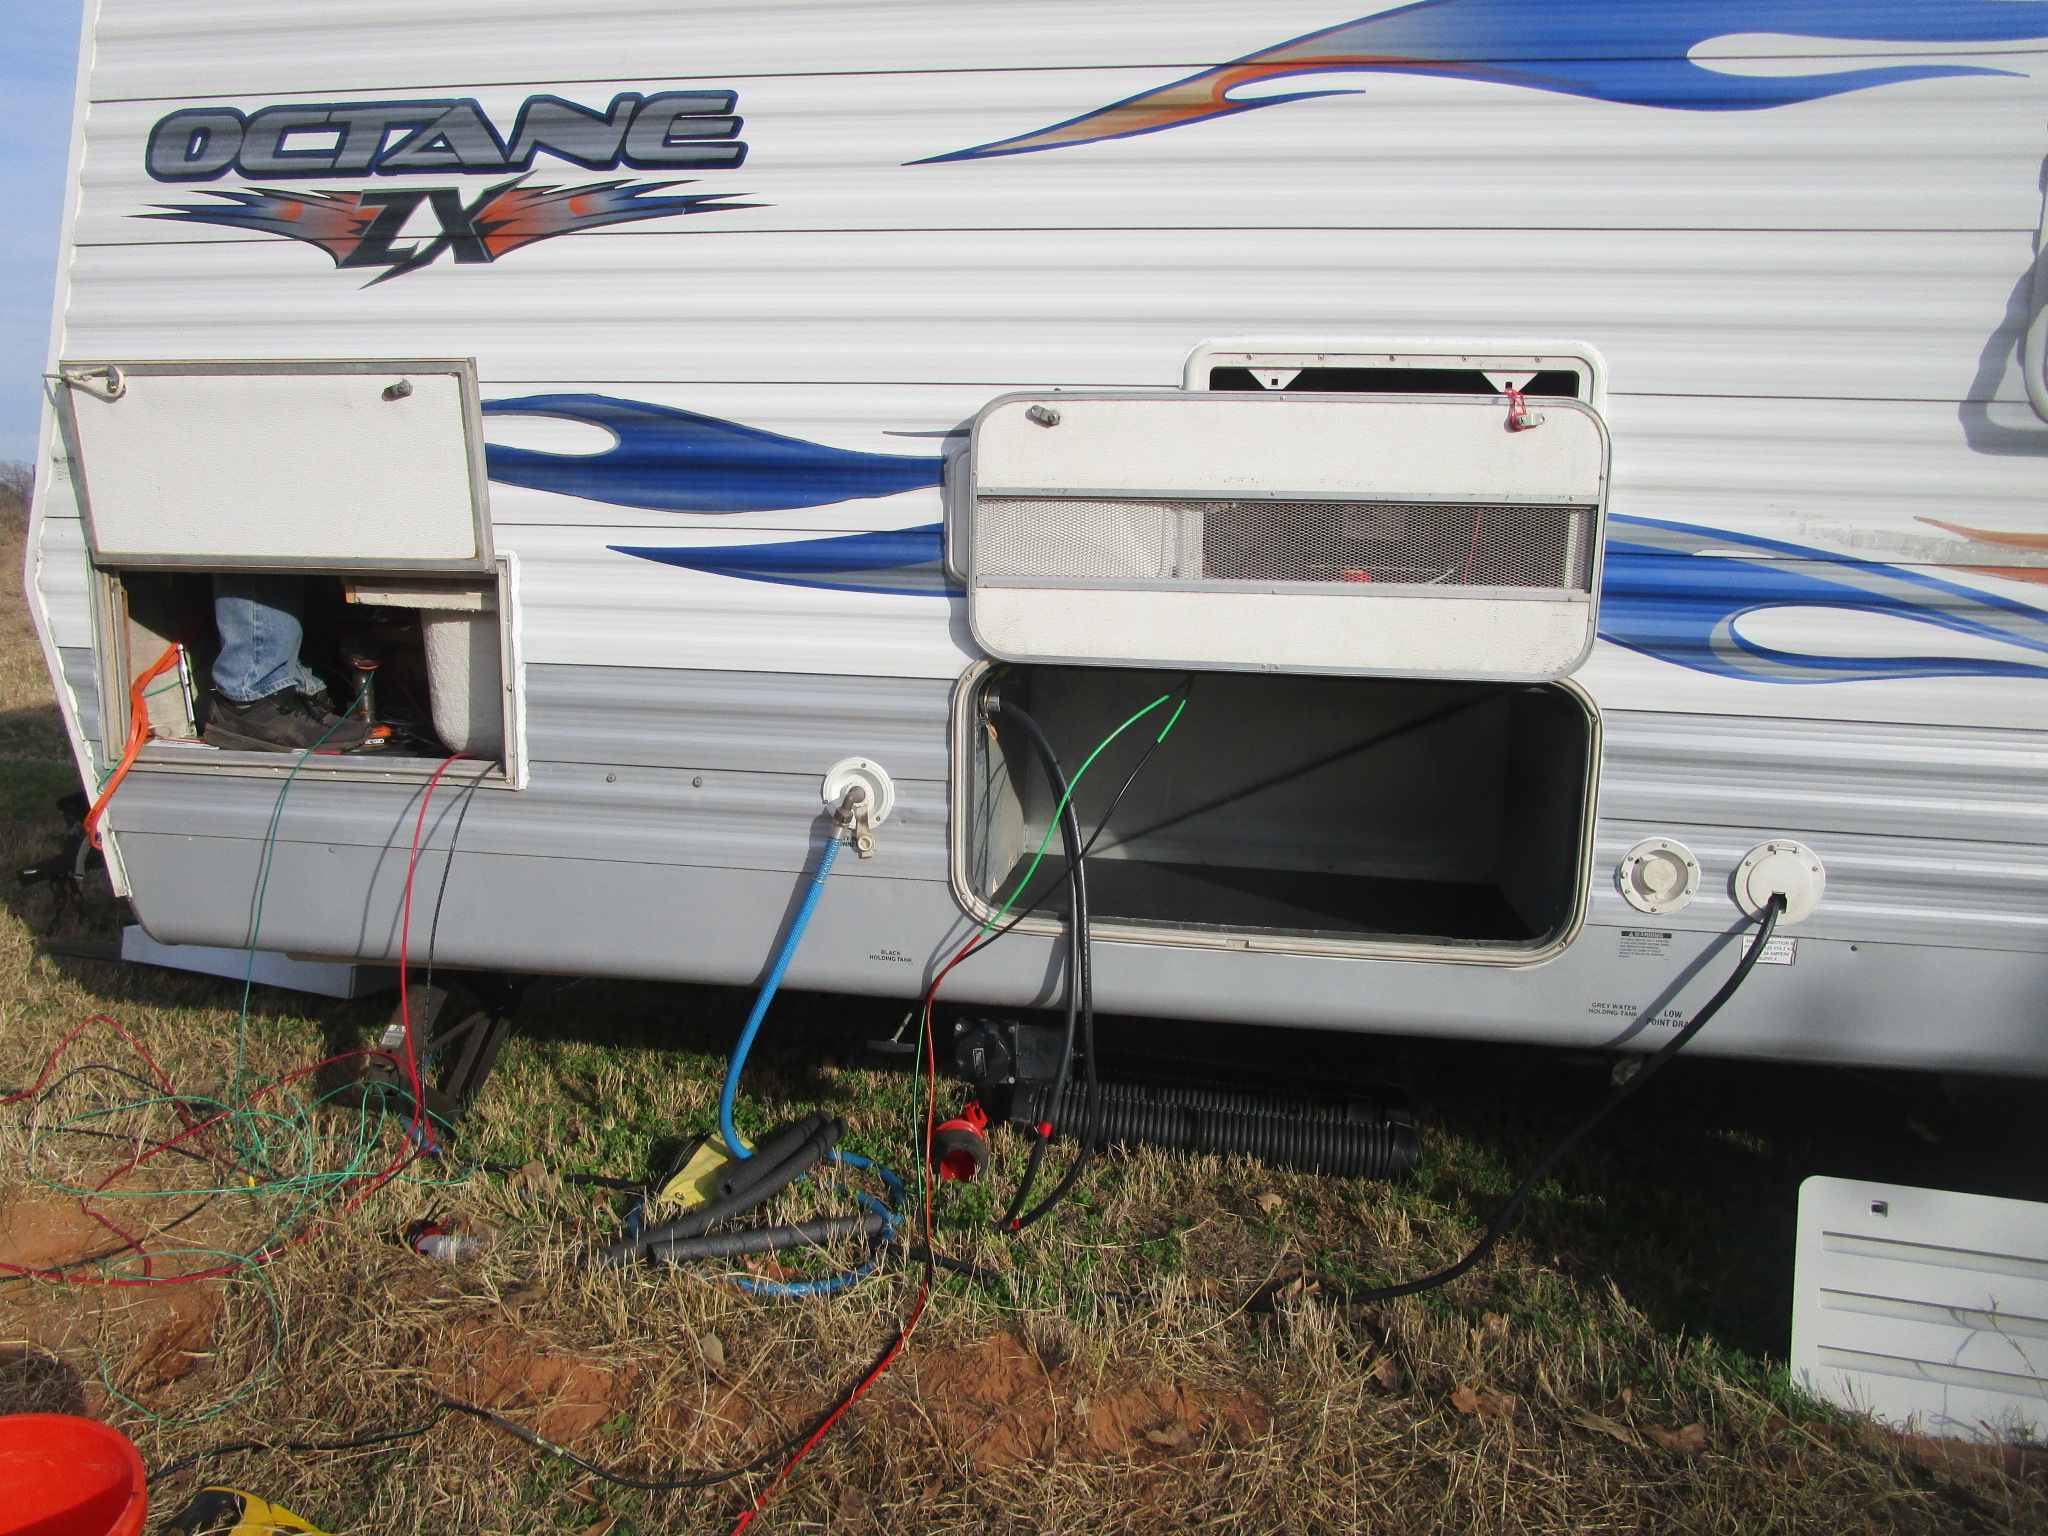
I didn’t know that John fits into that compartment as well!
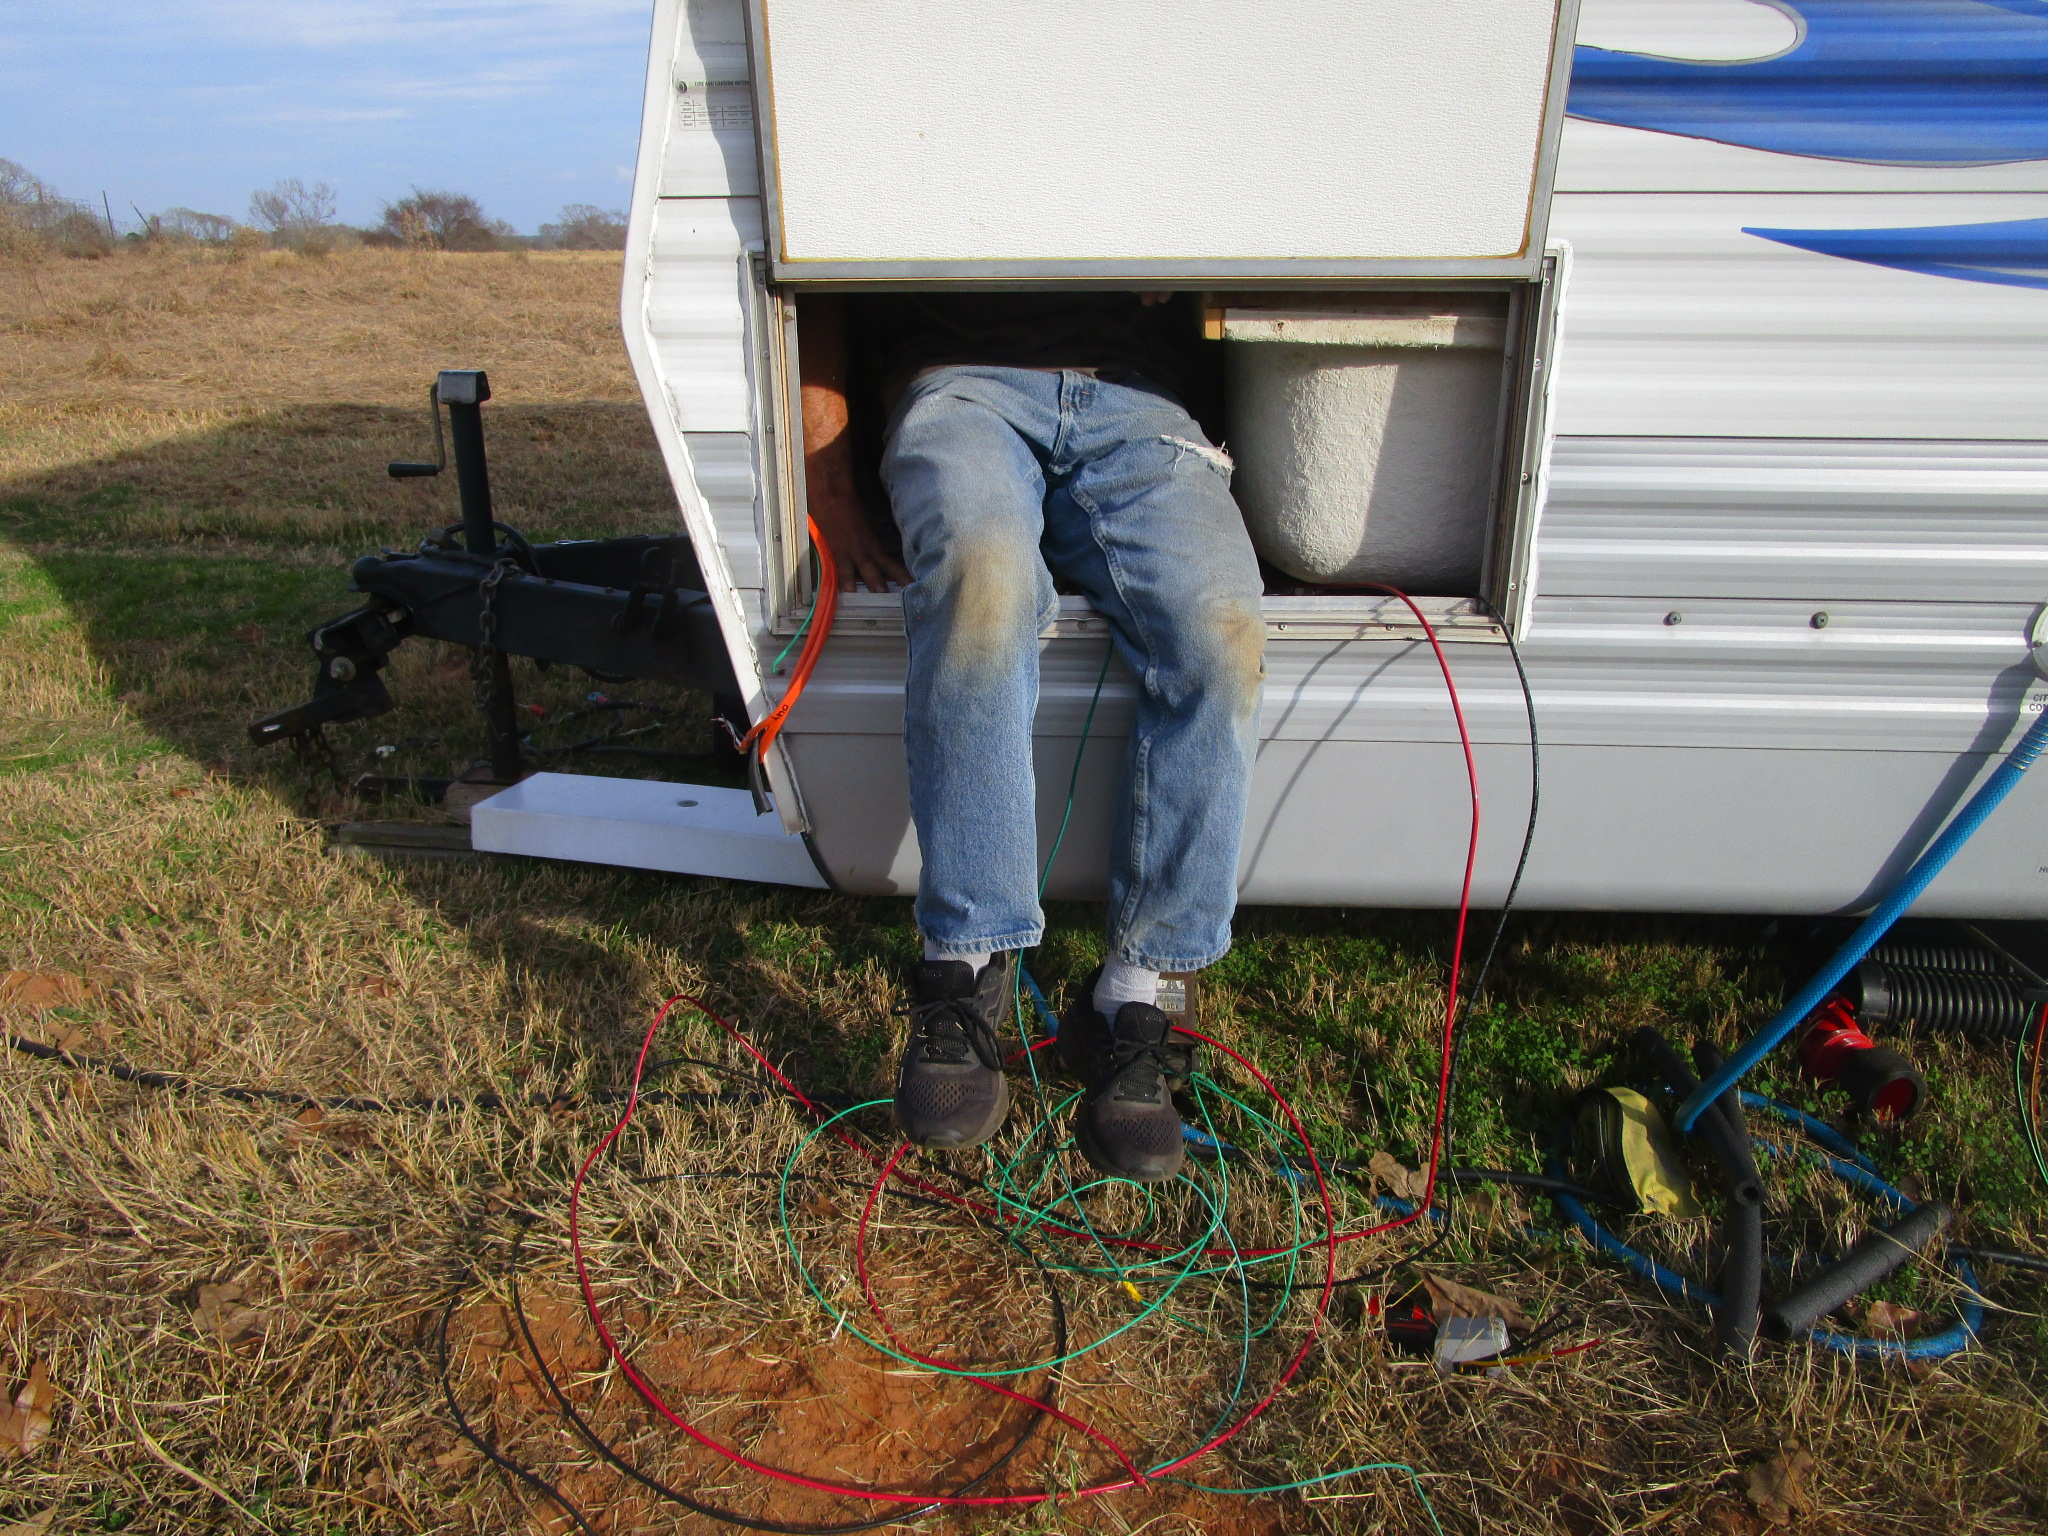
Our trailer has some “storage space opportunities” that I wasn’t aware of before.
Hi John!
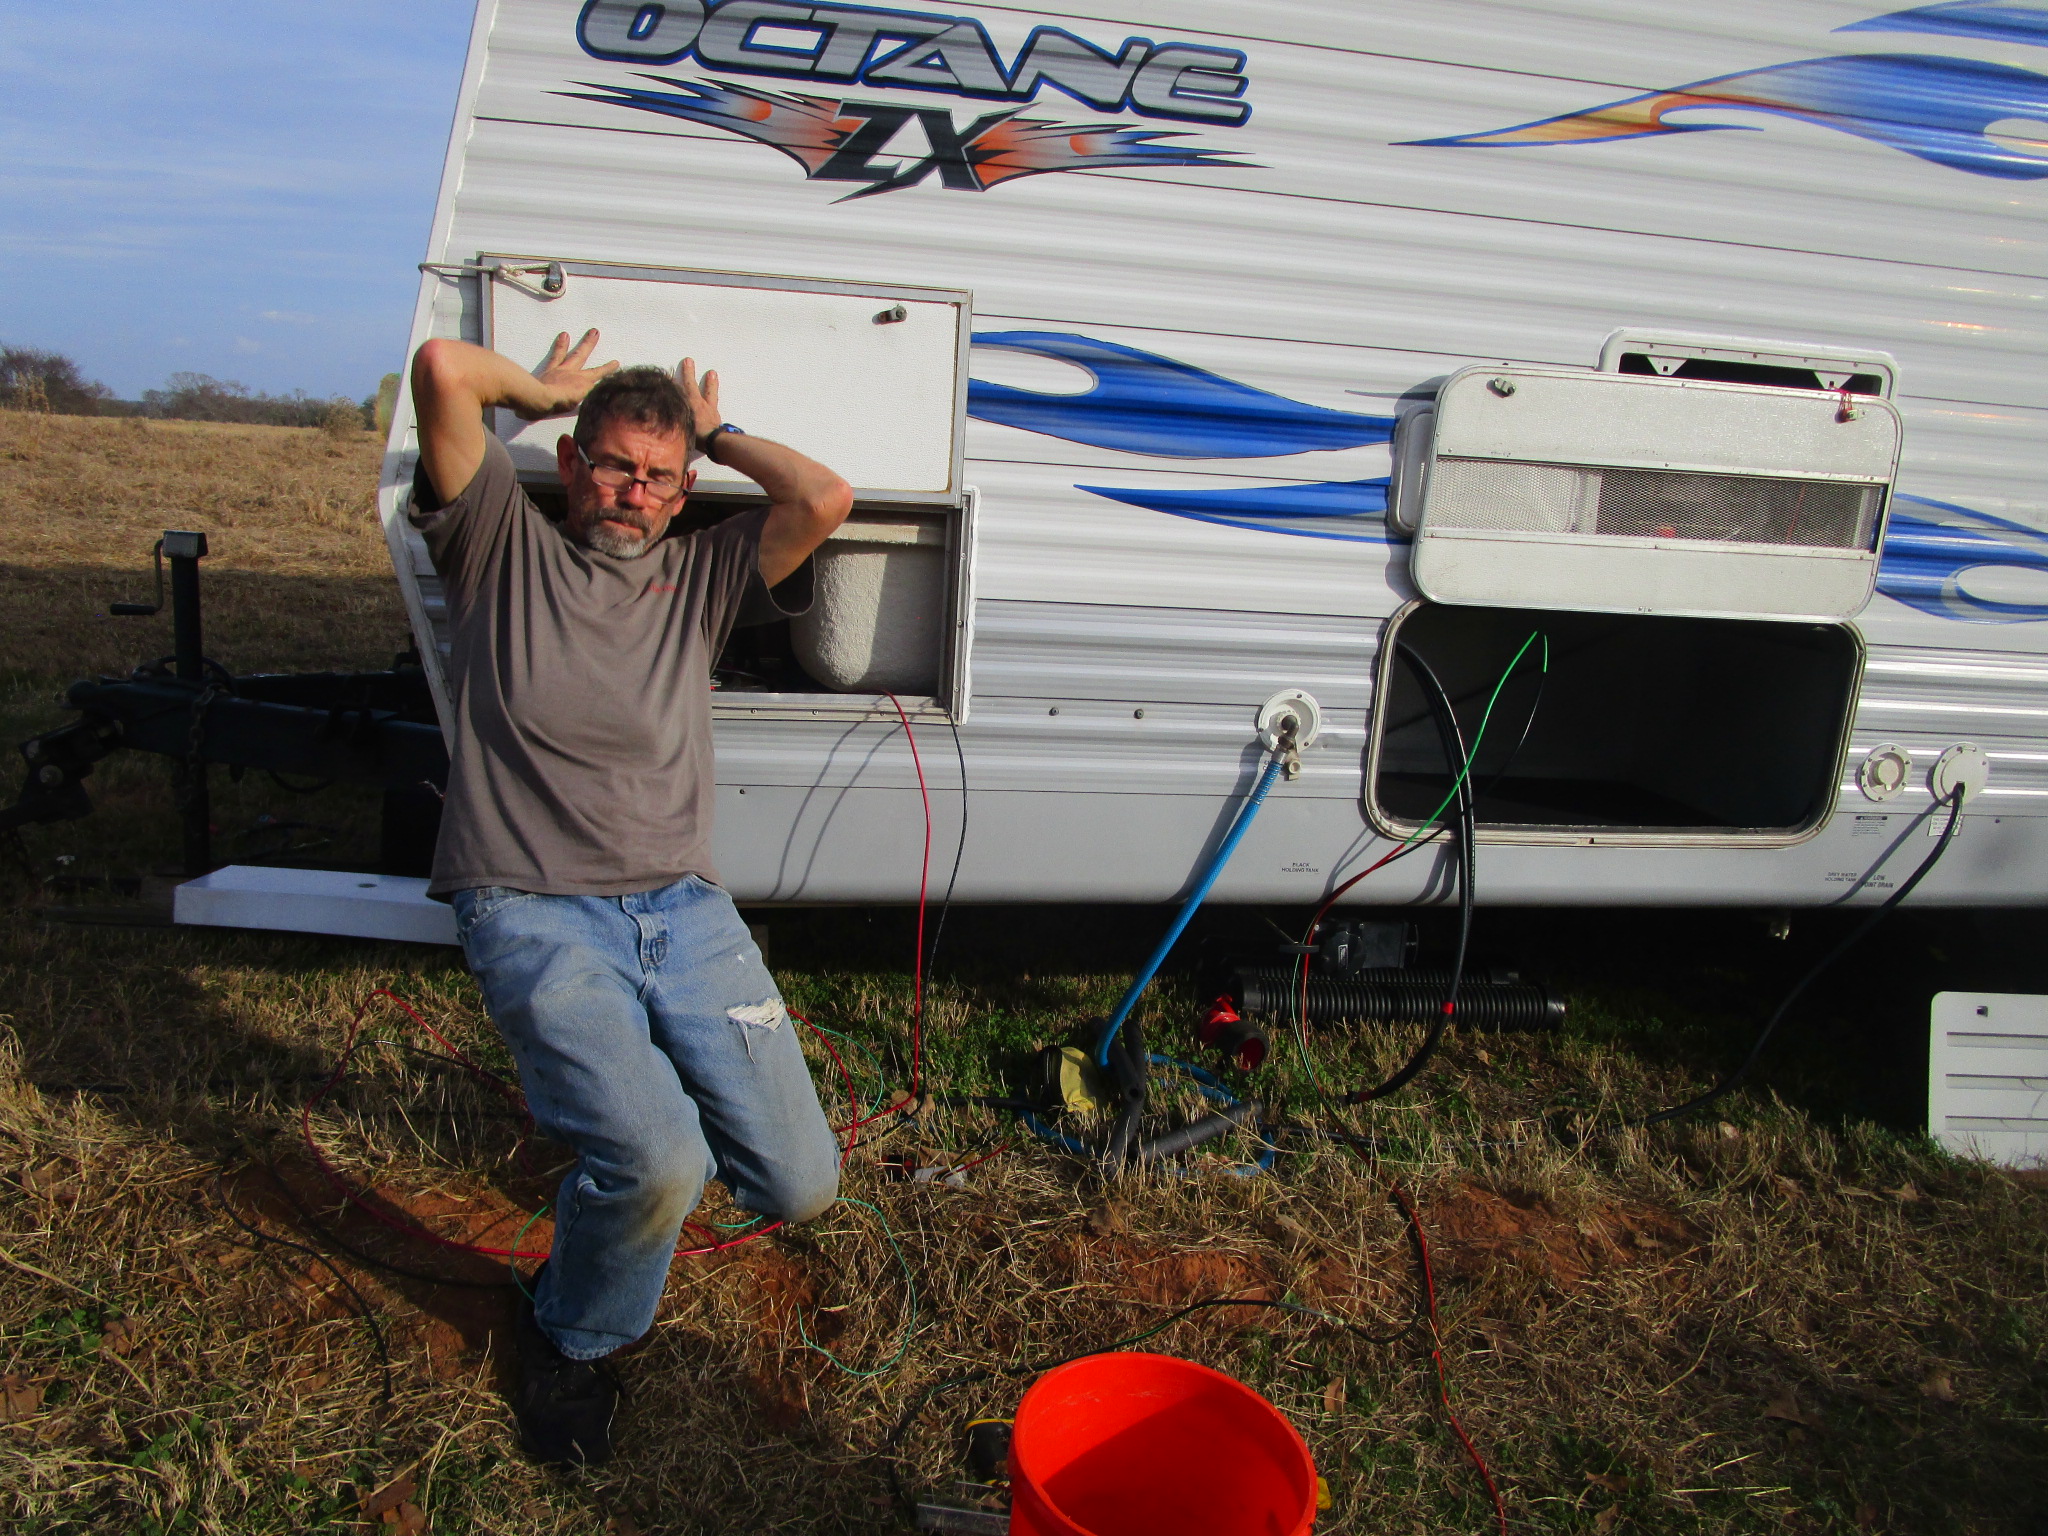
I could almost make a stop-motion video out of that sequence…
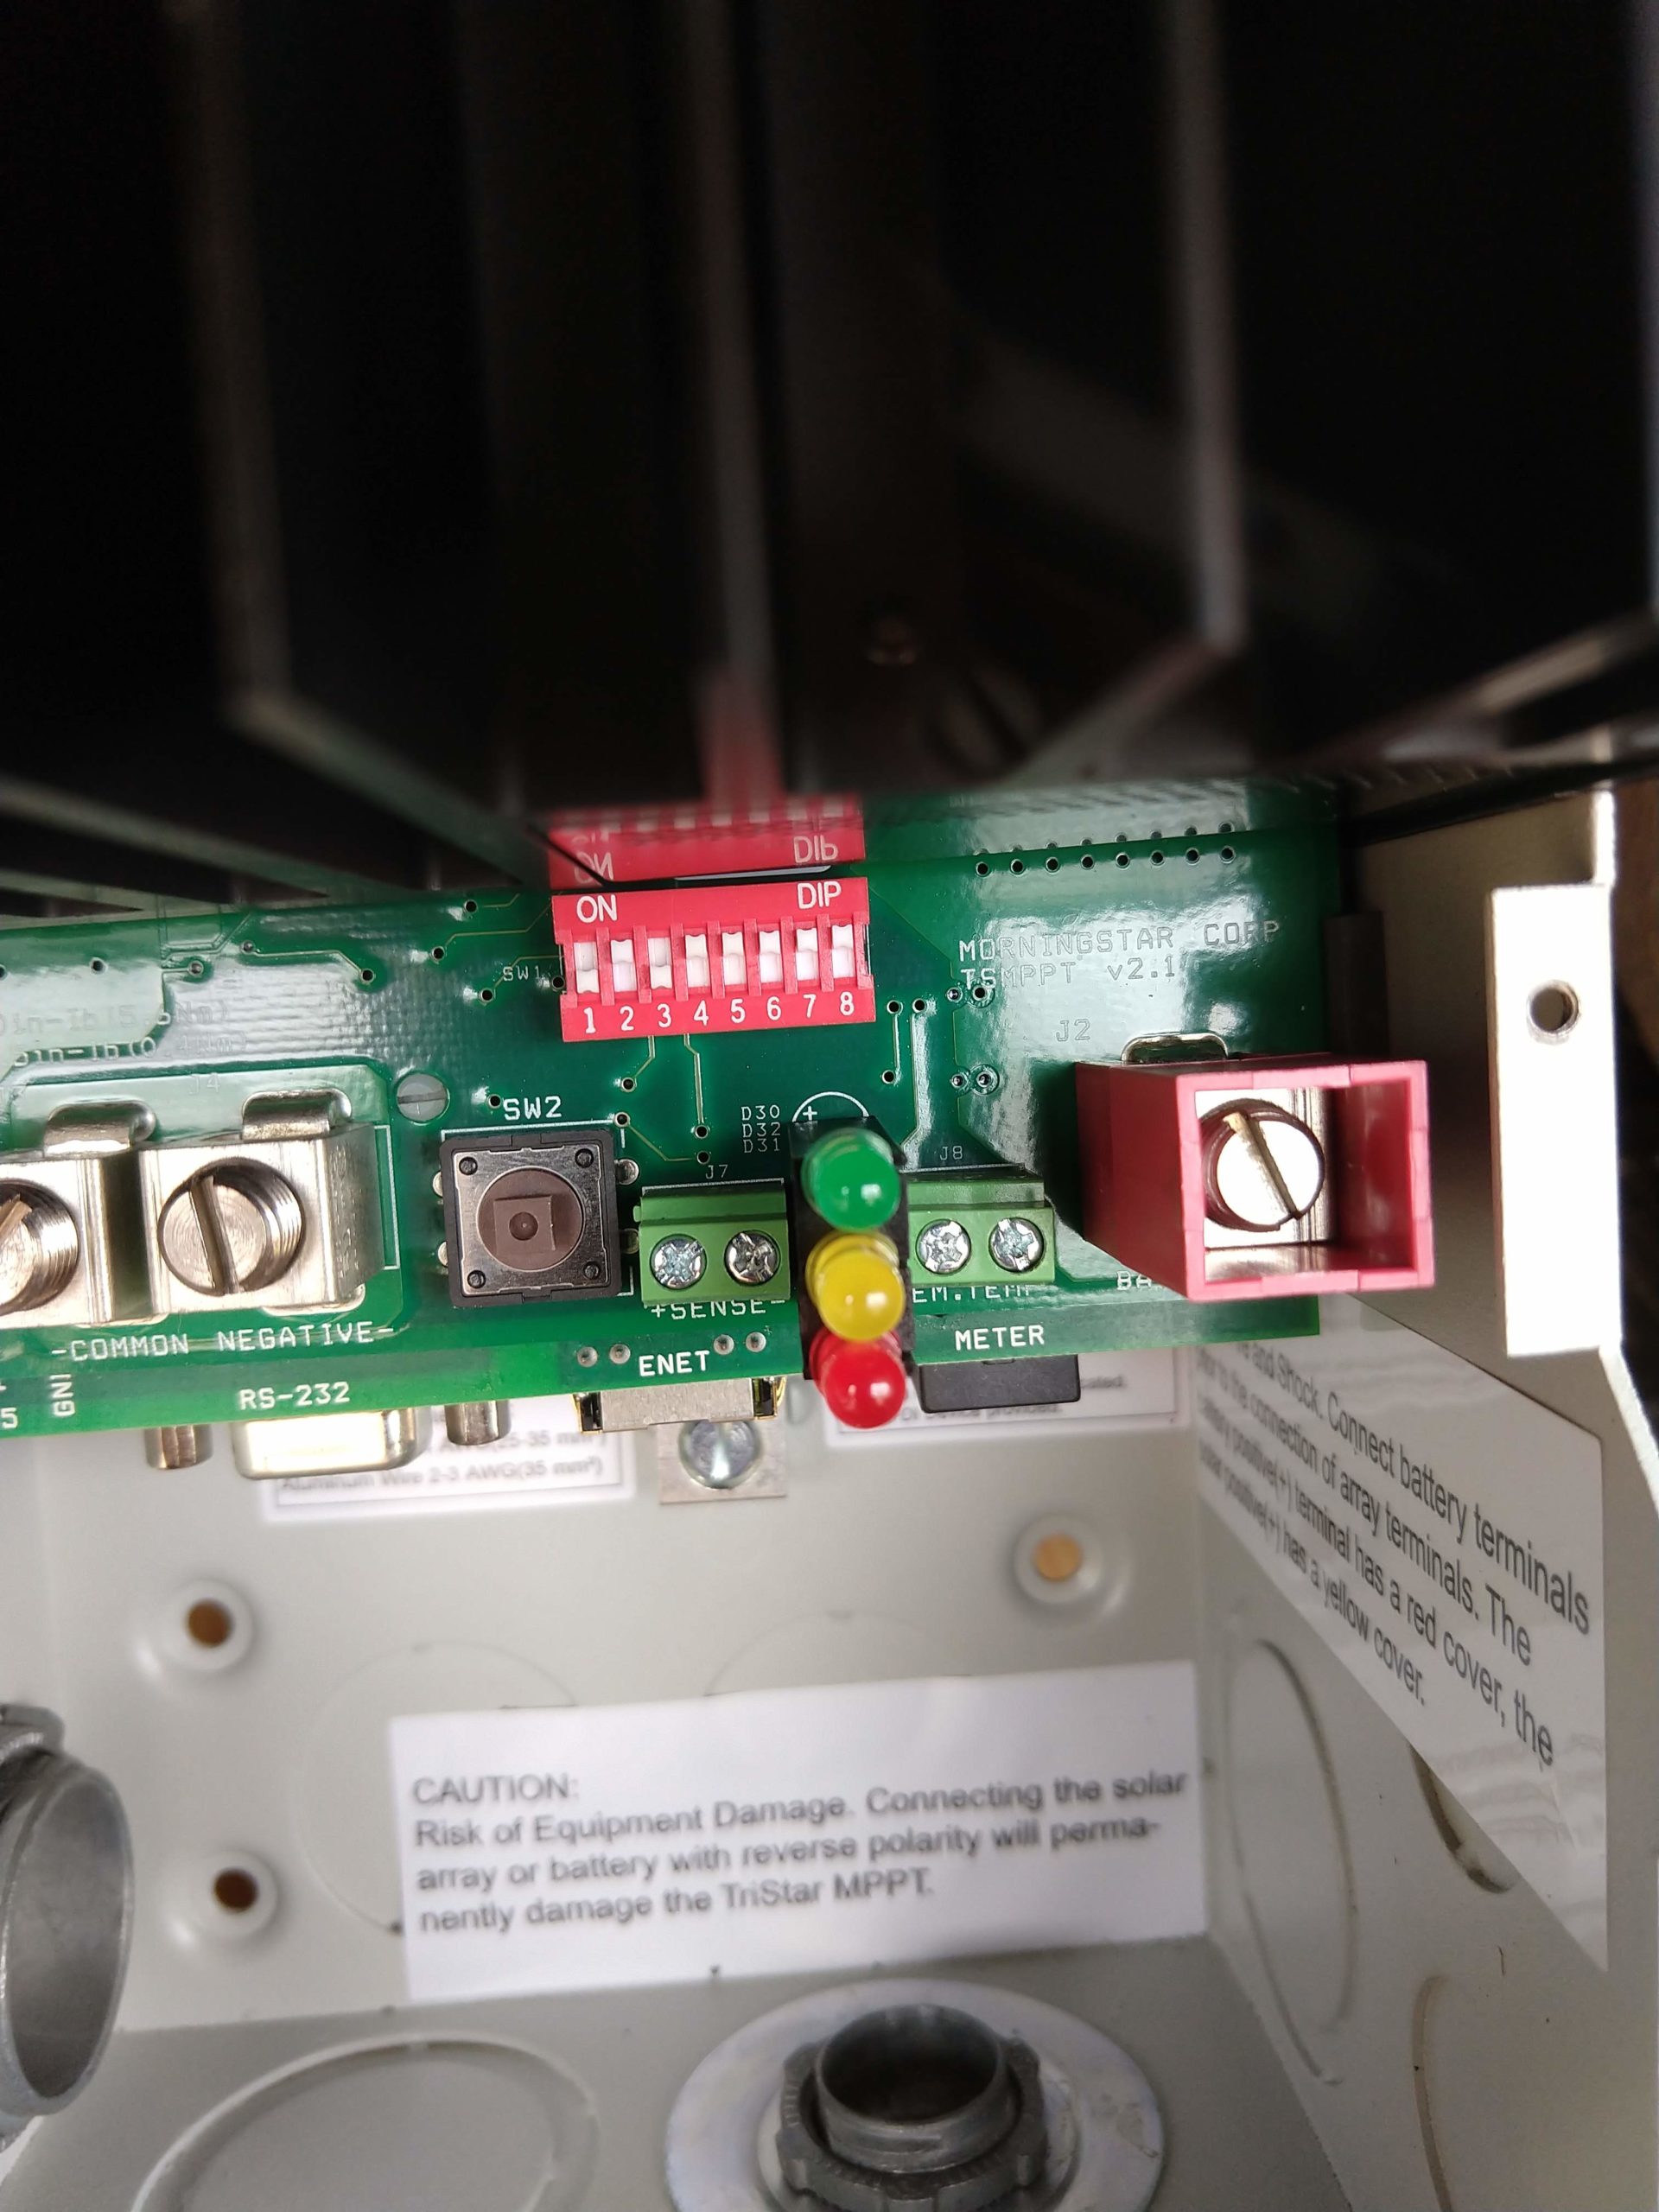
Now that I can get into the compartment to take pictures, here’s the new solar disconnect (on the left). It allows us to isolate the panels if we want to stop electricity from flowing to the batteries. It is now sized for 60 amps instead of 30 amps. On the right is the MPPT charge controller.
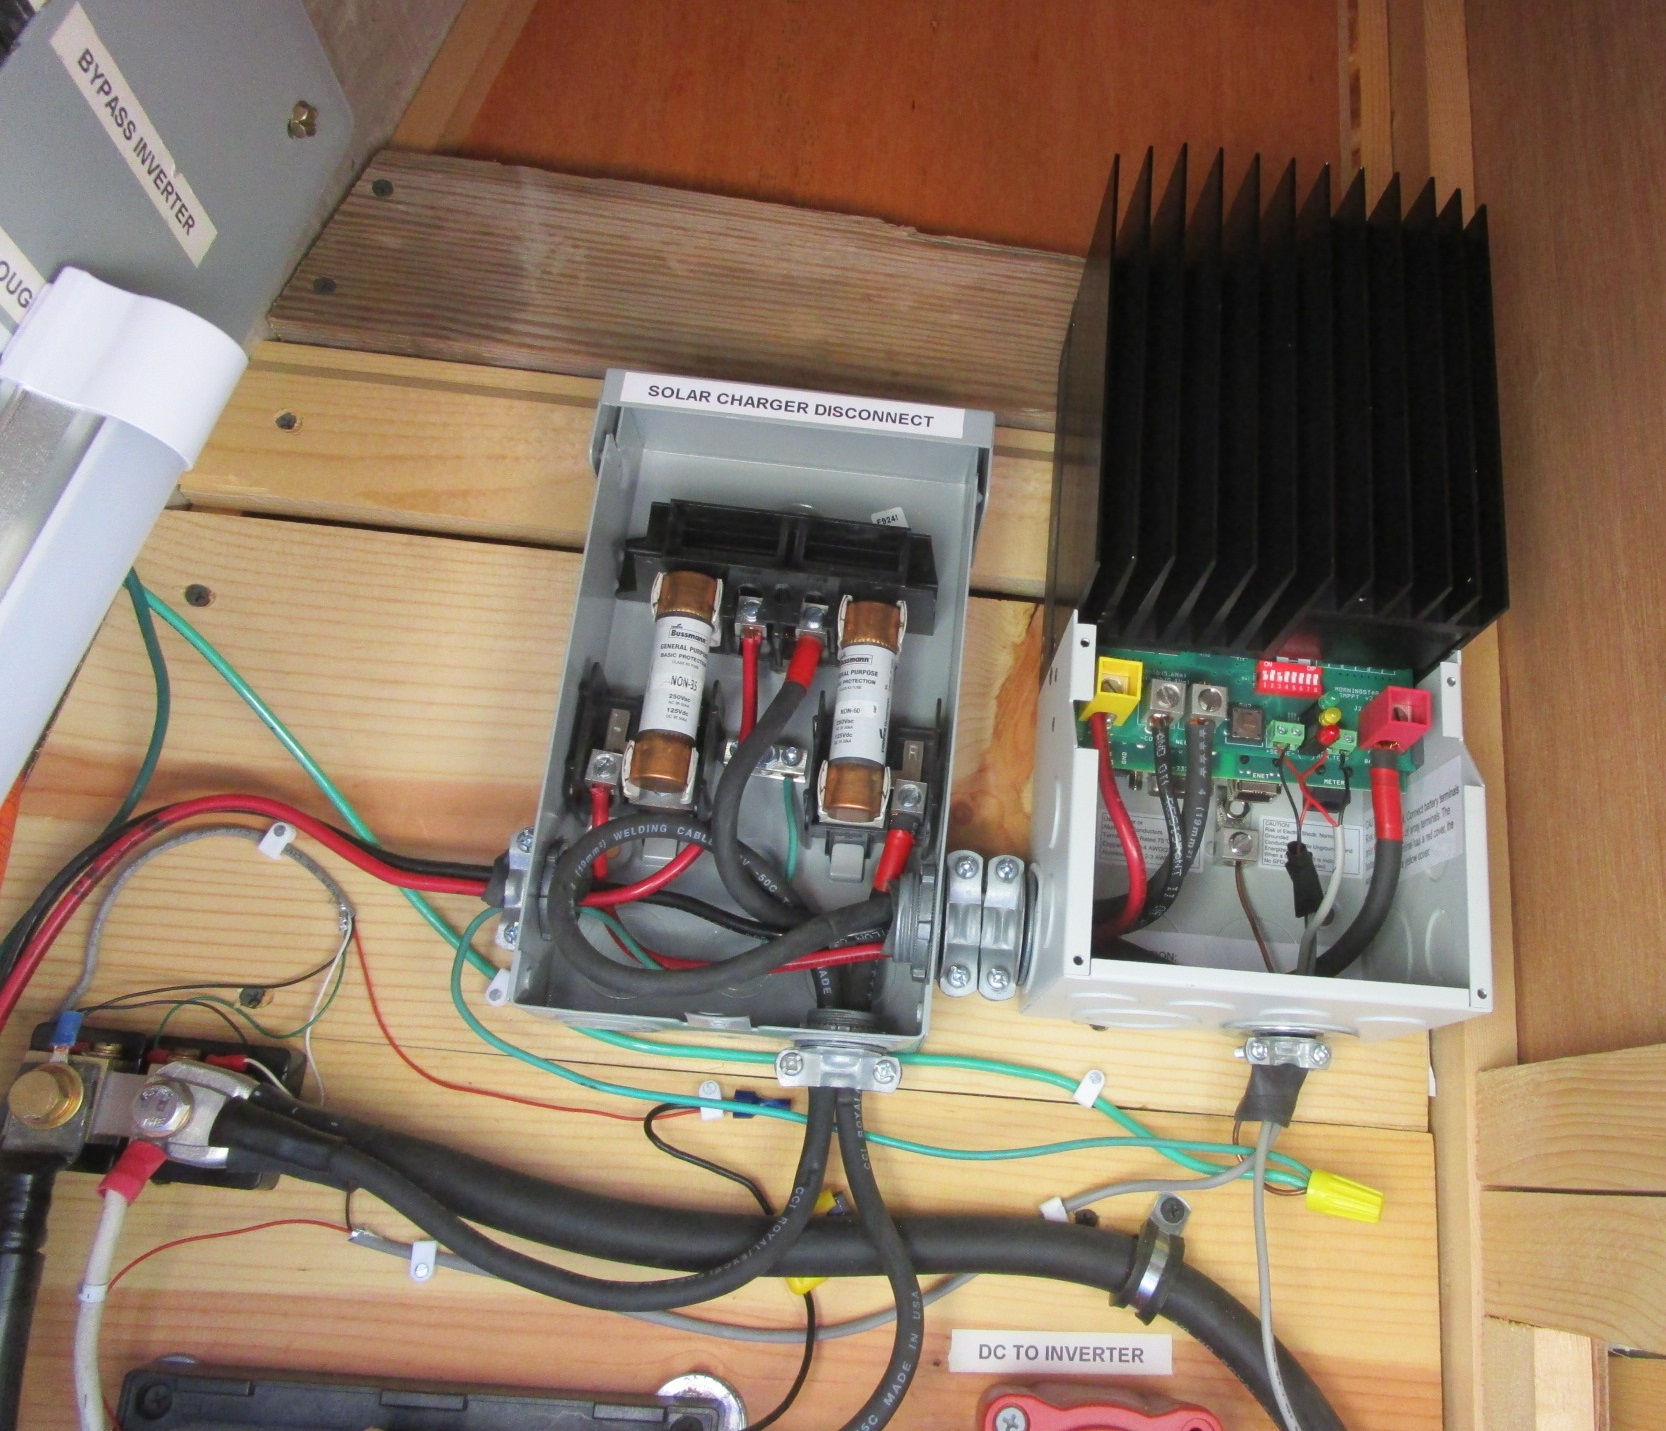
DIP switches on the charge controller are used to select different settings like system voltage and charging parameters:
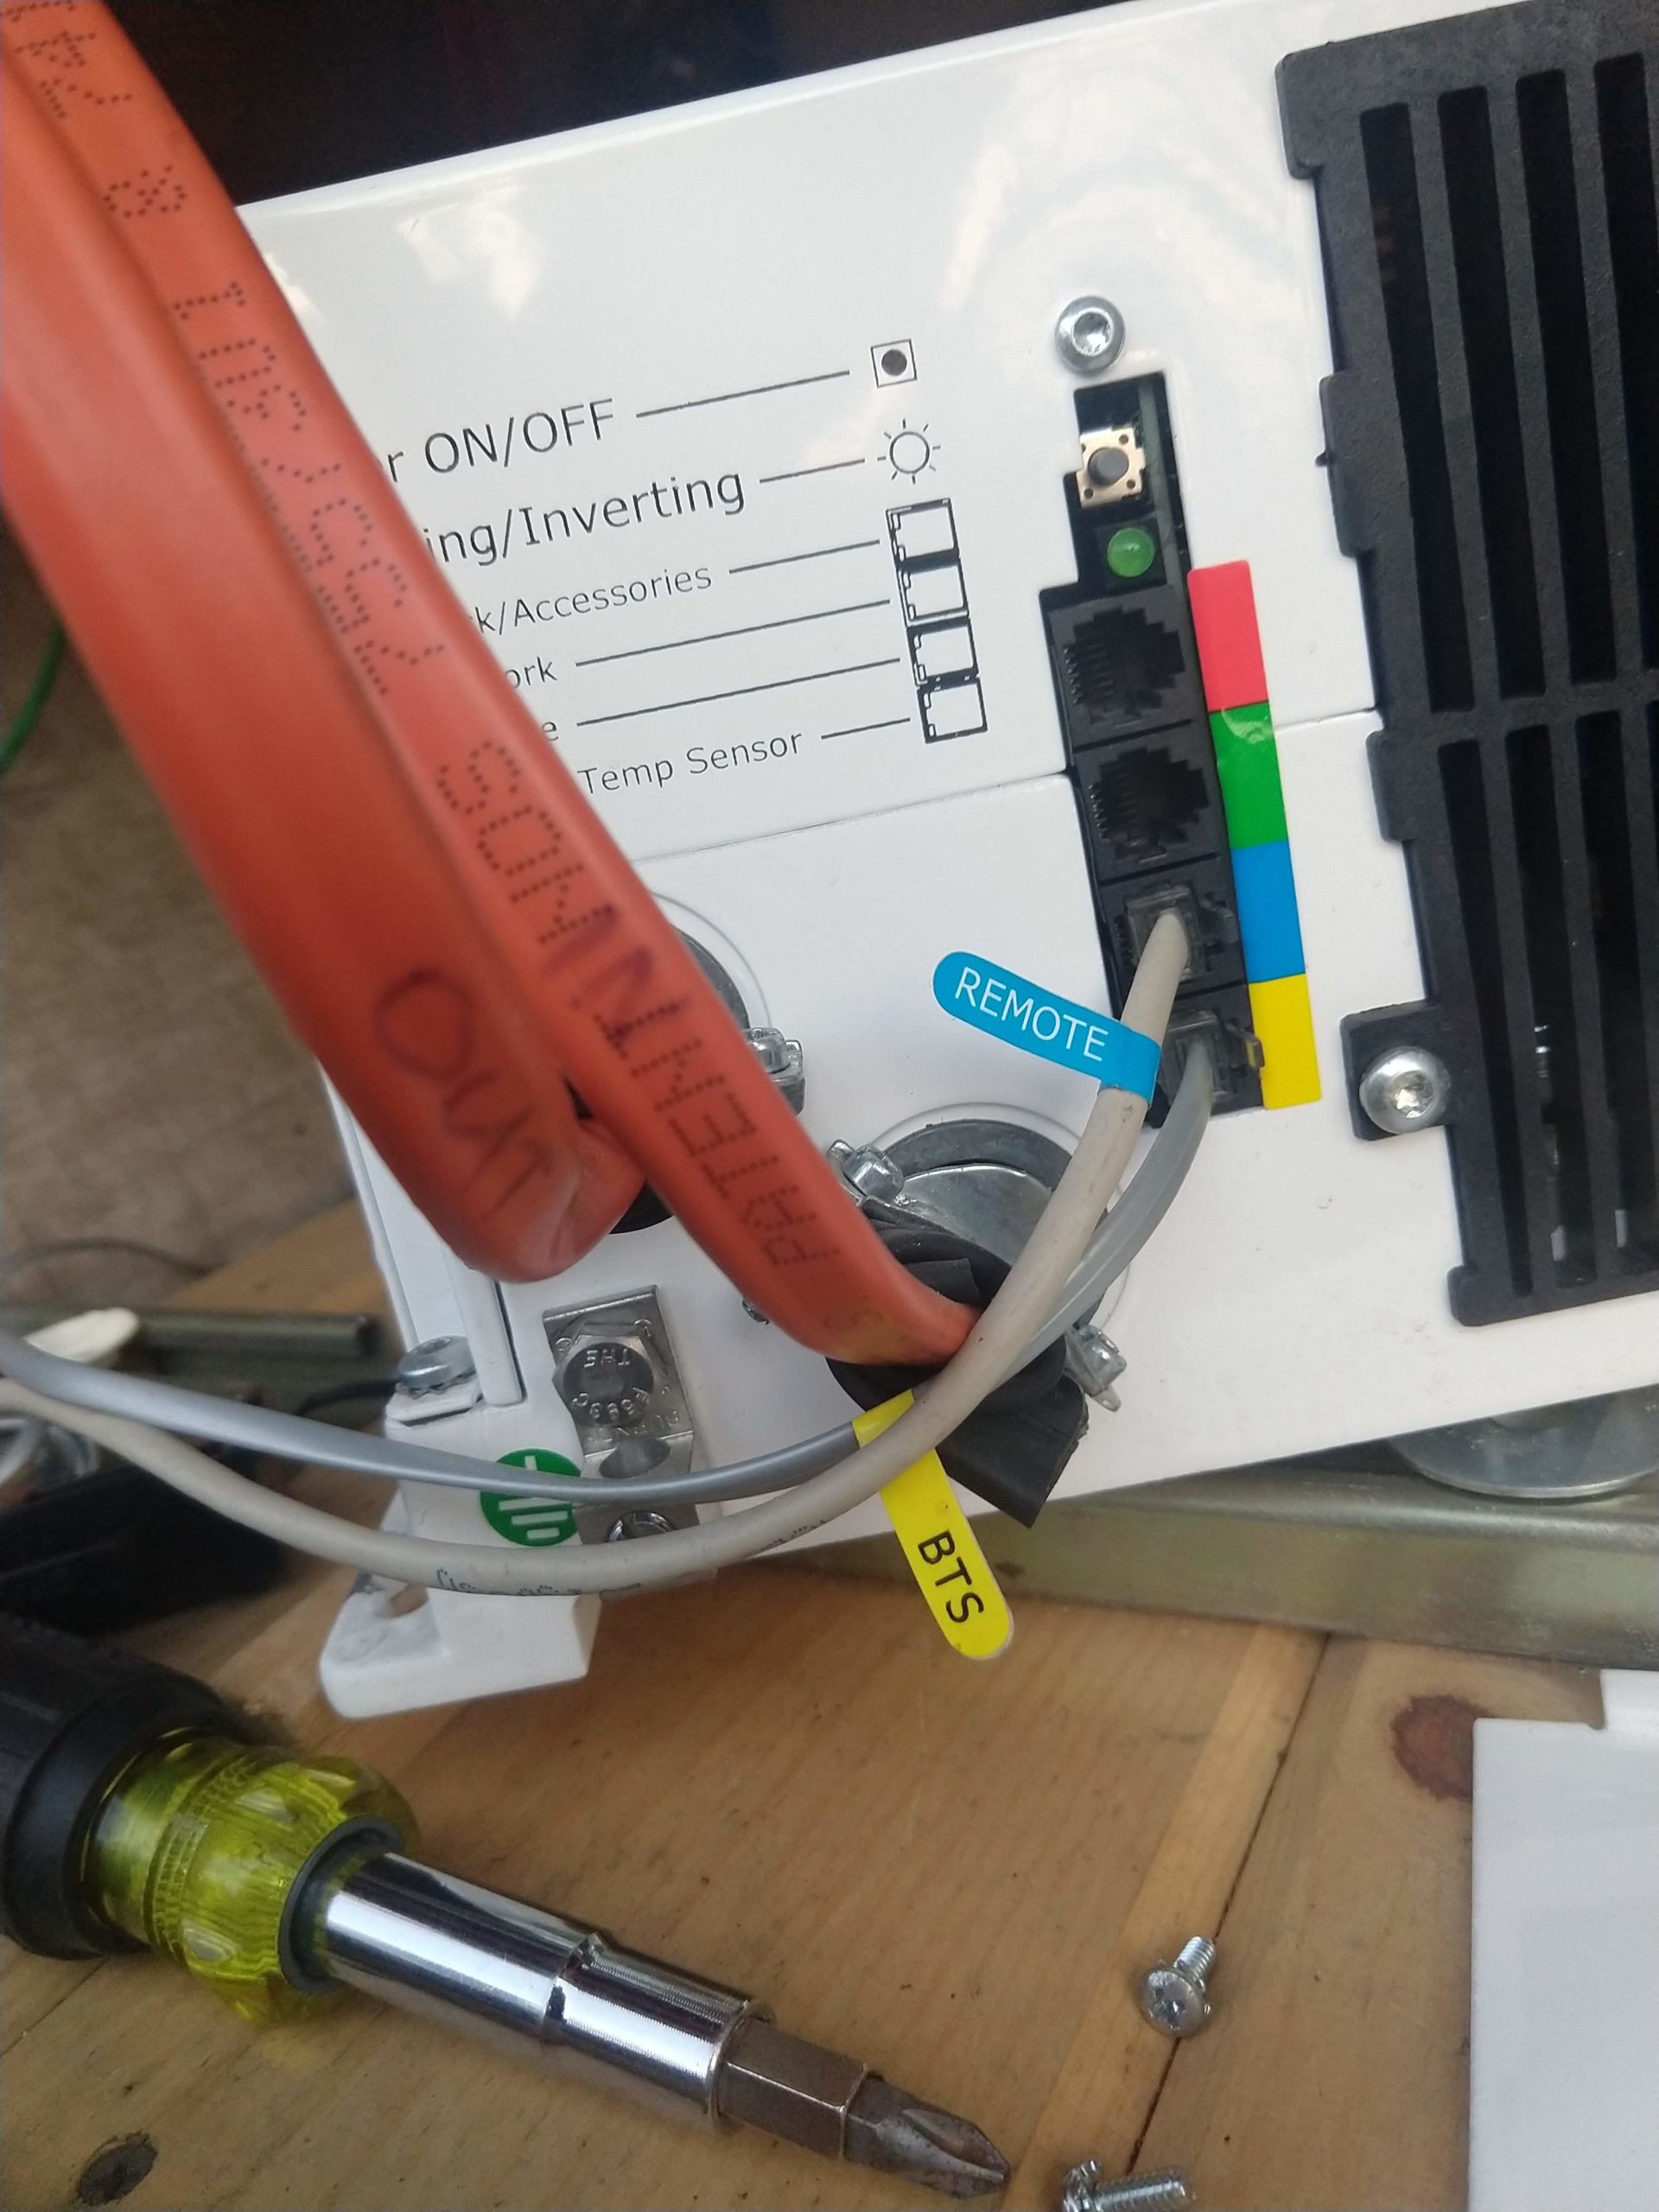
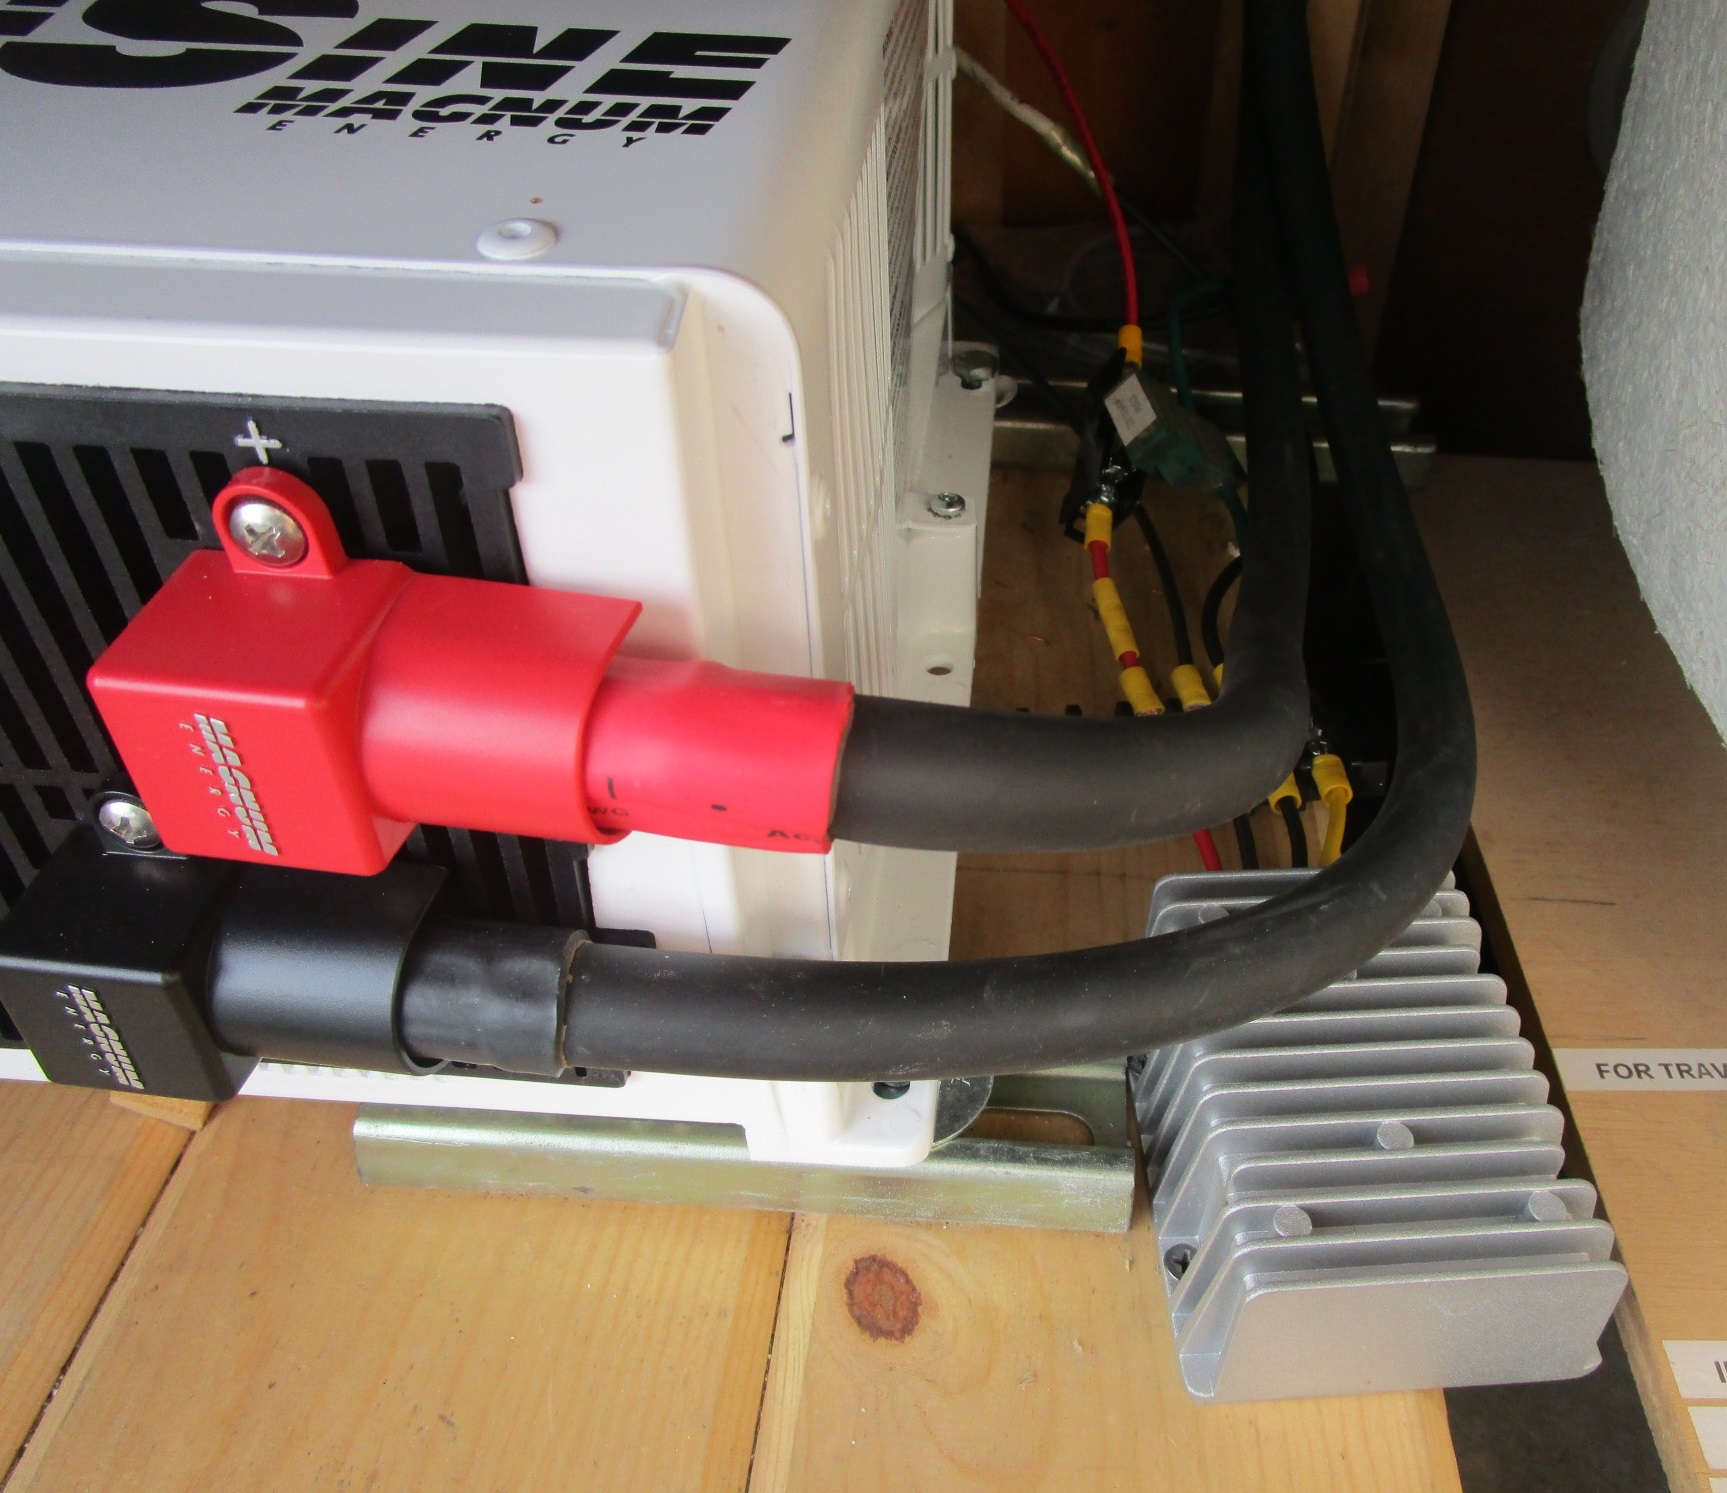
The new inverter is lithium-compatible and operates at 24 volts. Some of the cables running to it:
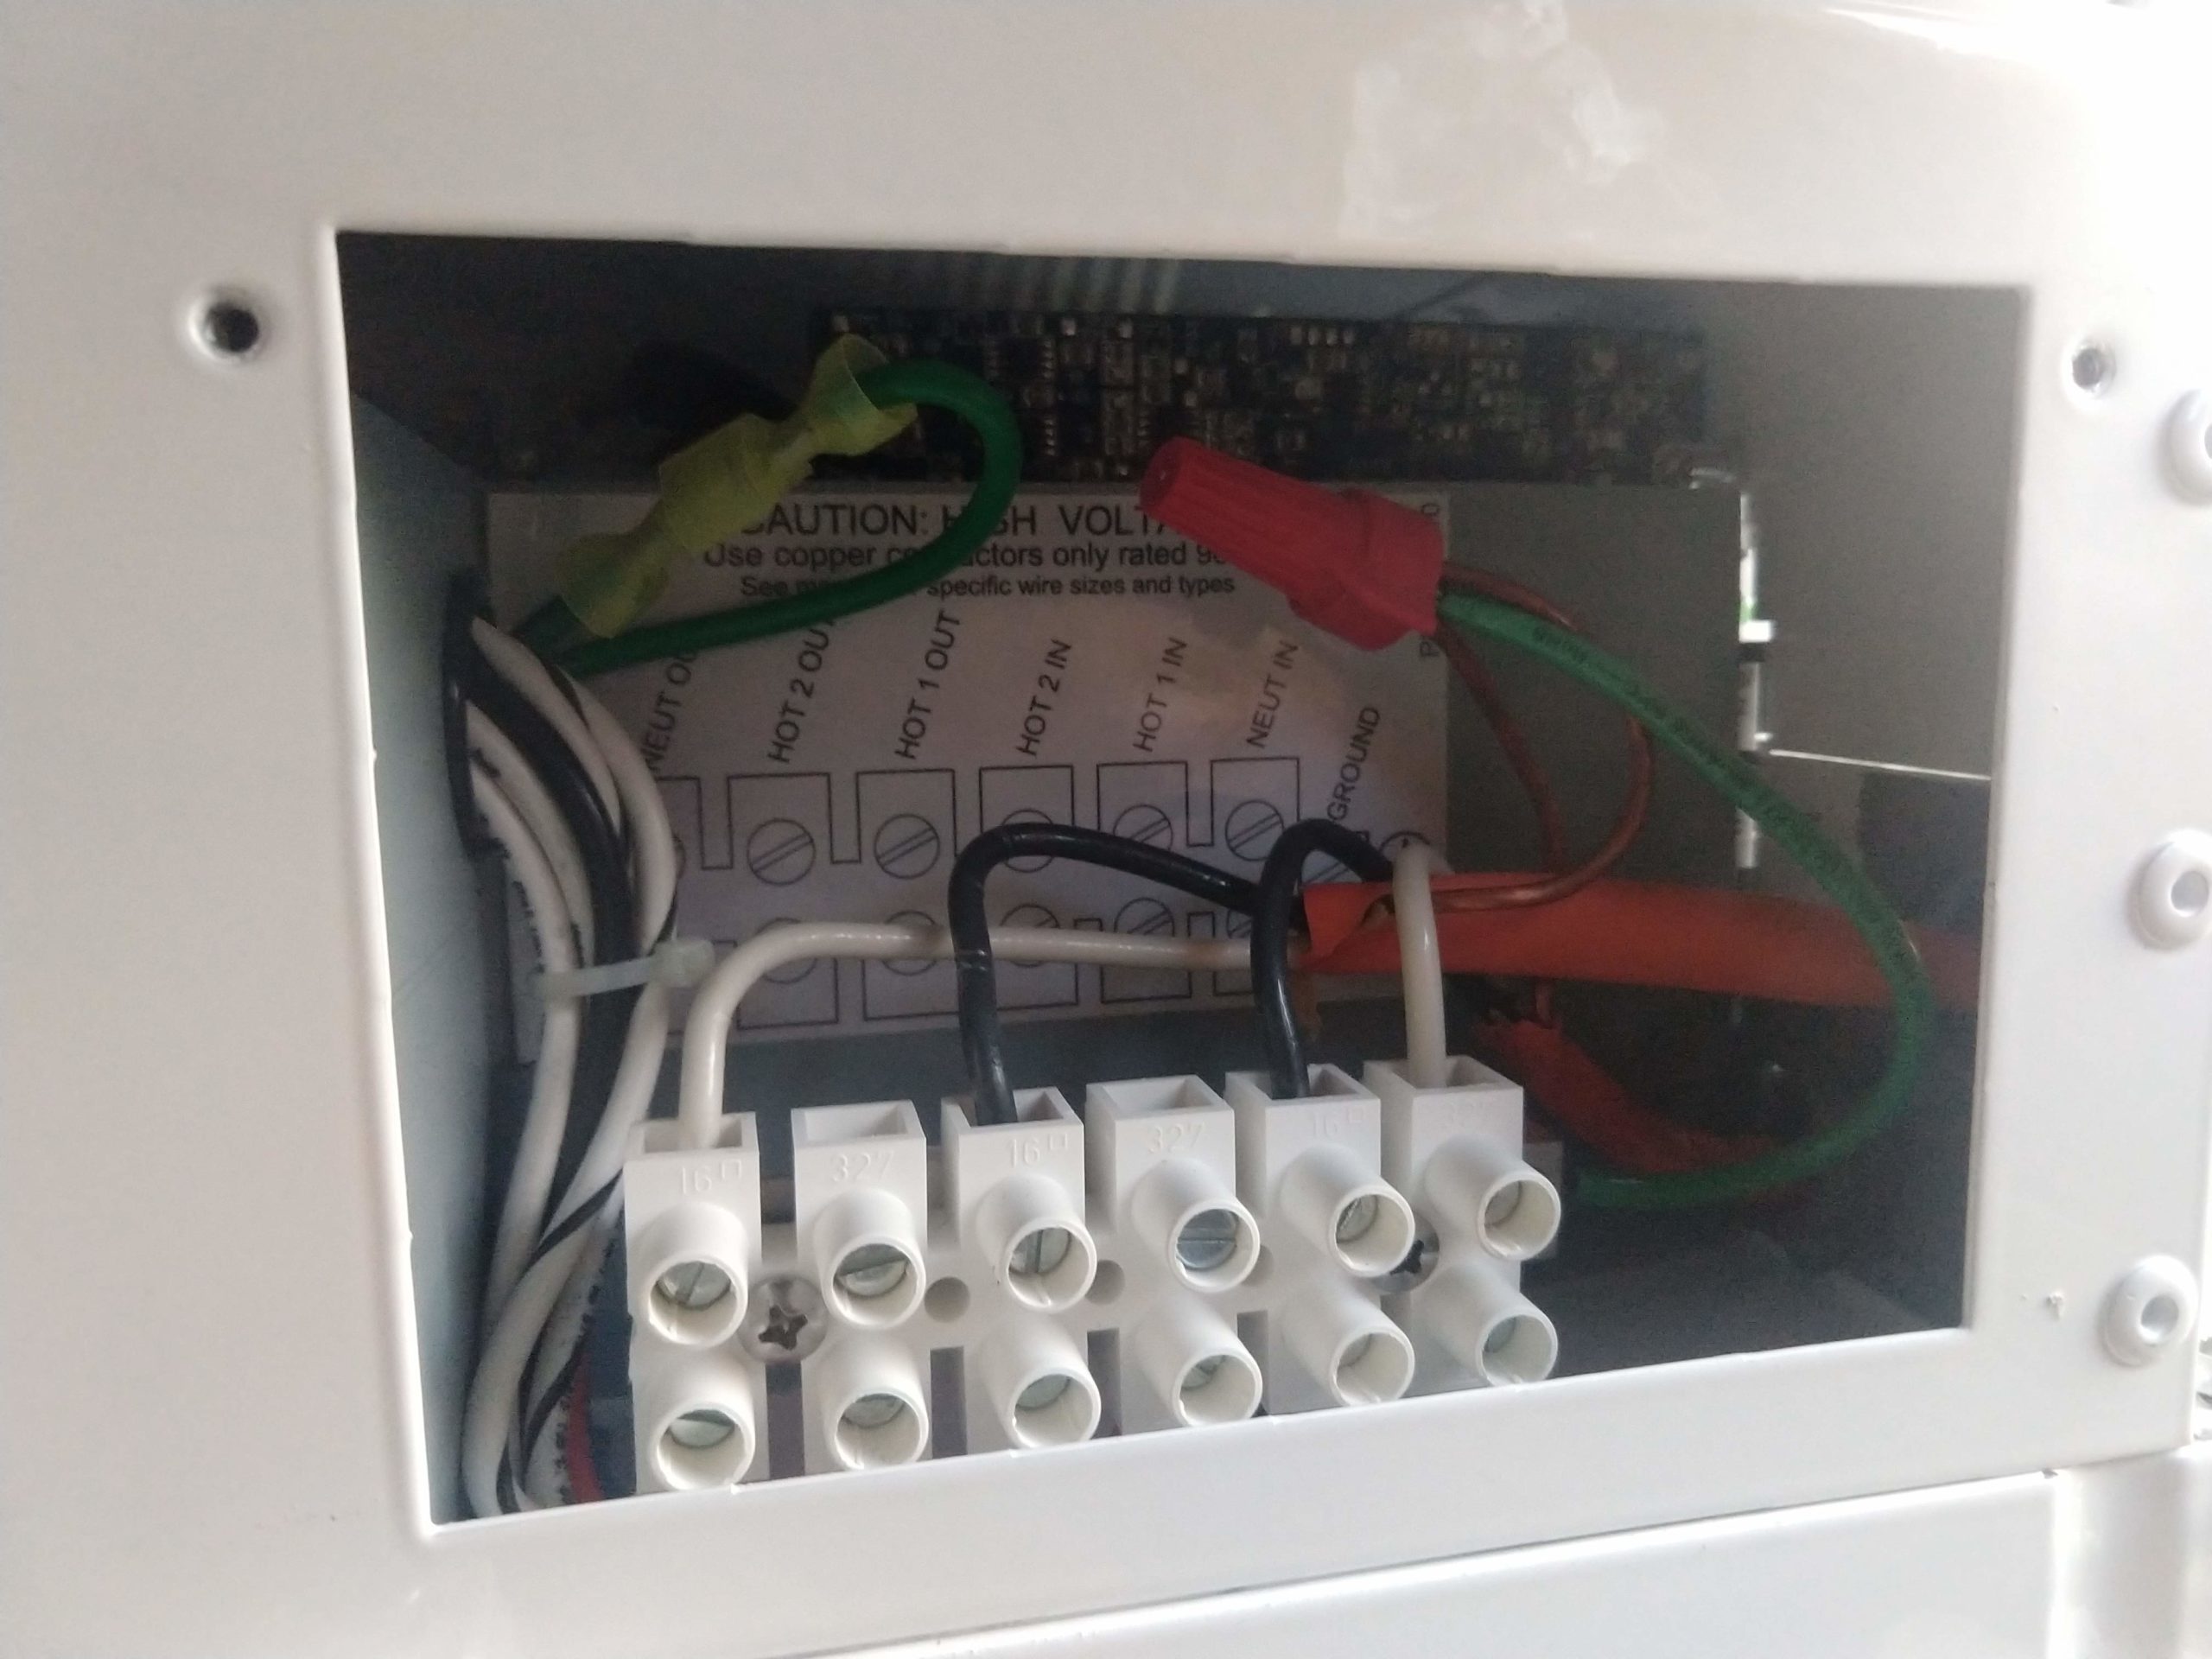
Wiring on the inside of the inverter:
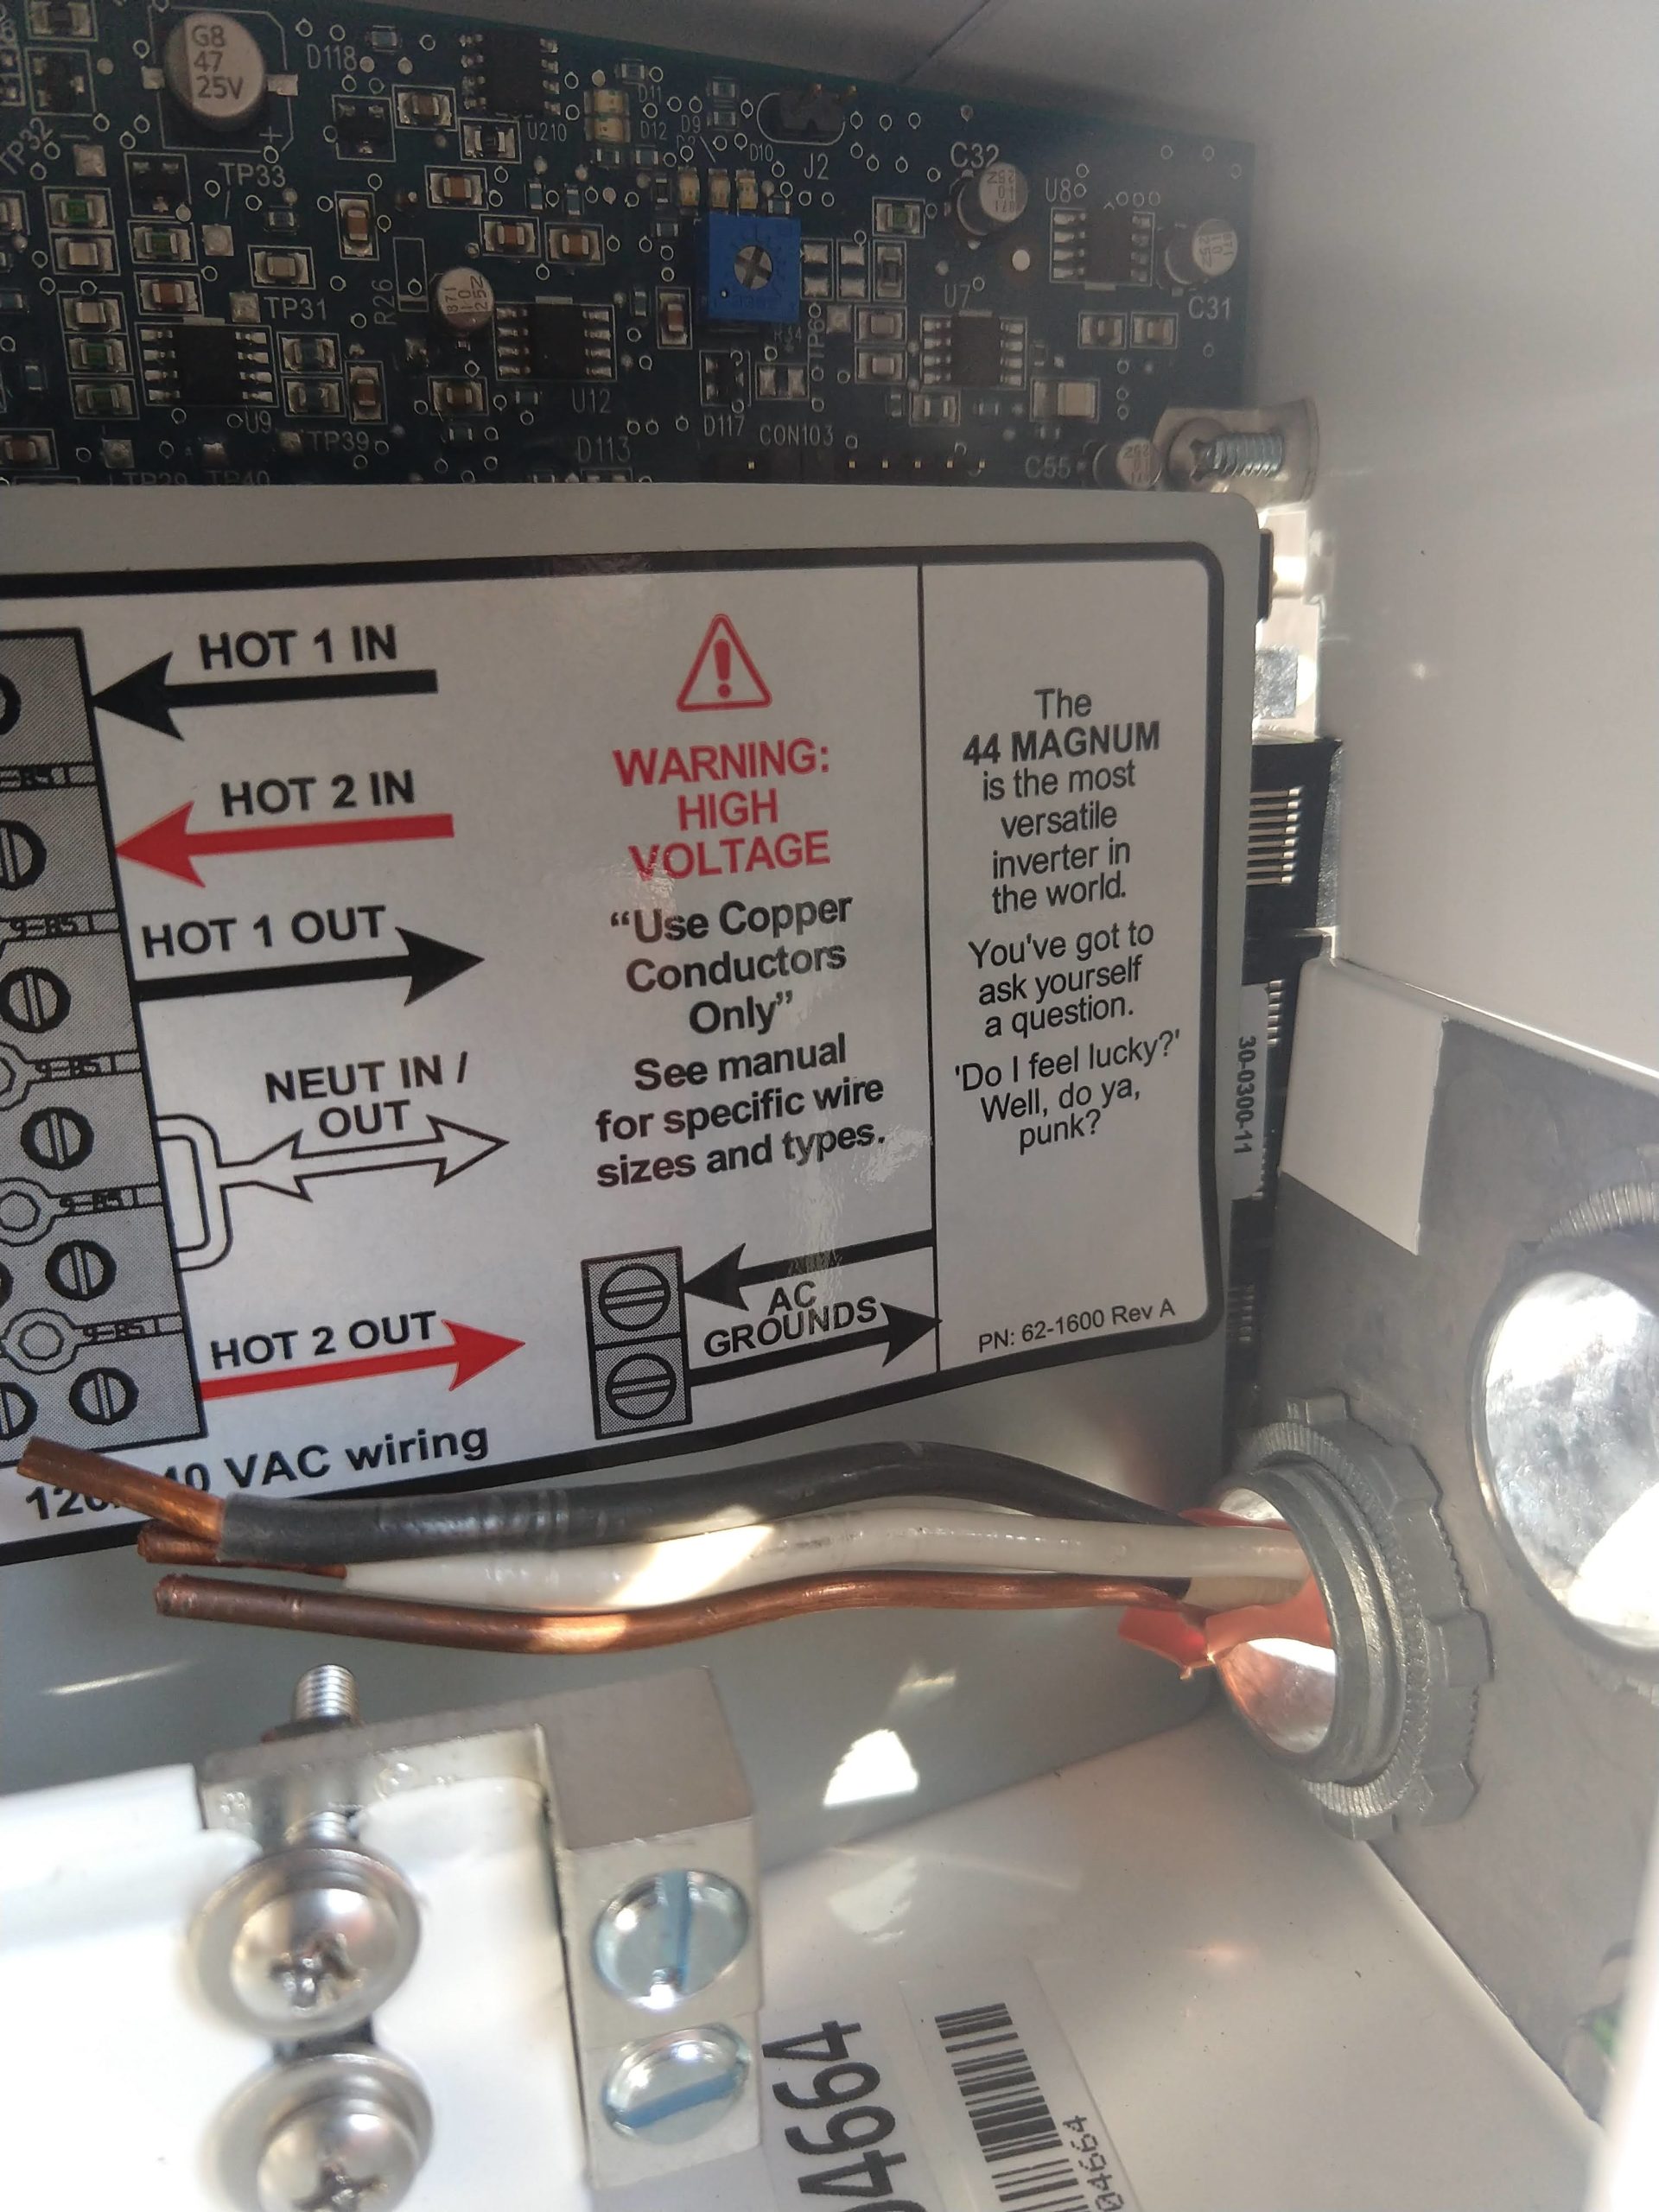
Another picture of the inverter interior, and I JUST NOW noticed the text on the right side. I hope you can read it (embiggen it if you need to) because it’s pretty spectacular. Shout-out to Magnum for putting that in there!
We kept the same battery fuse (bottom bar). Also the shunt (left center) which allows us to read the battery state of charge, voltage, and current going in and out. Both were simply wired to the new battery bank.
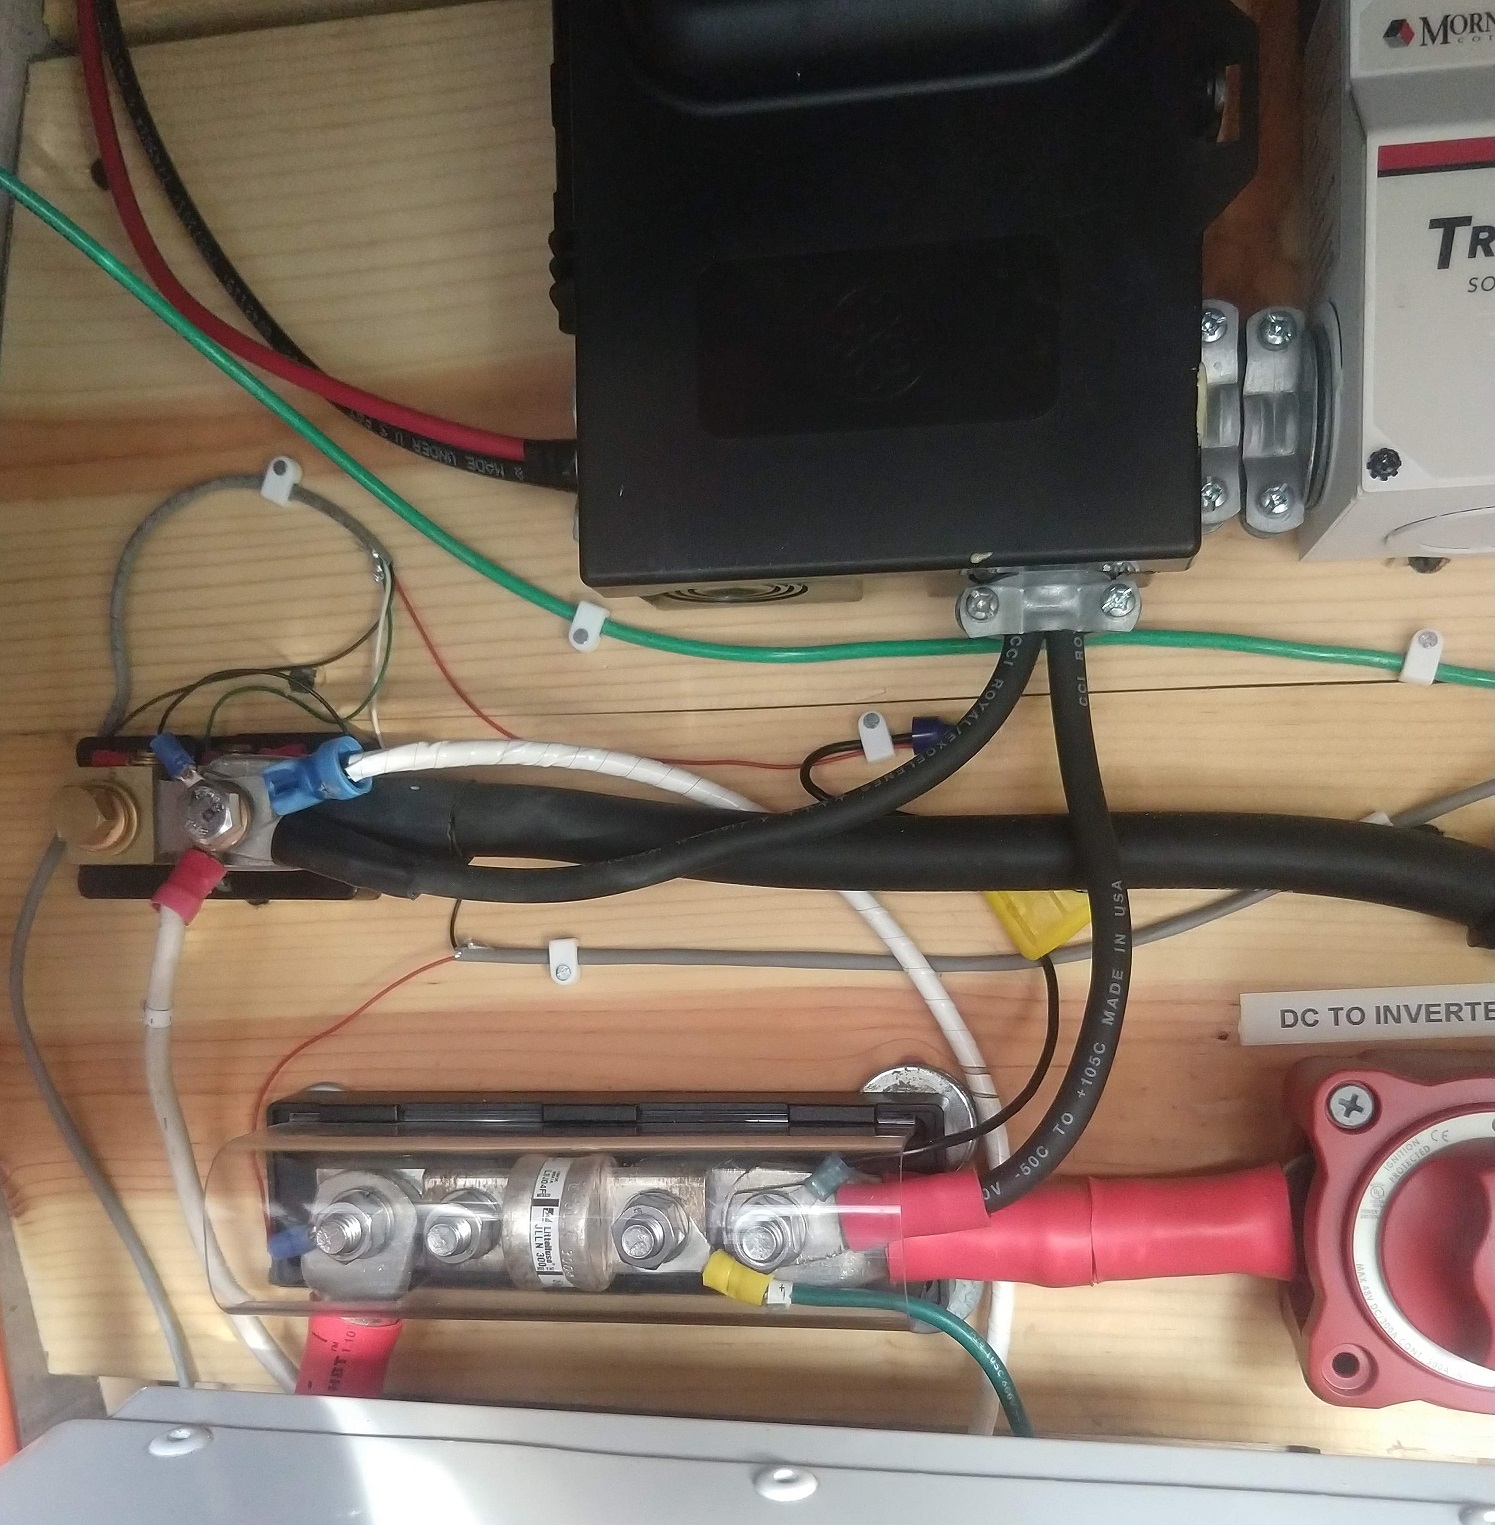
The silver box next to the inverter is the 24V-to-12V converter. This is the new one after our brief labeling/wiring error issue:
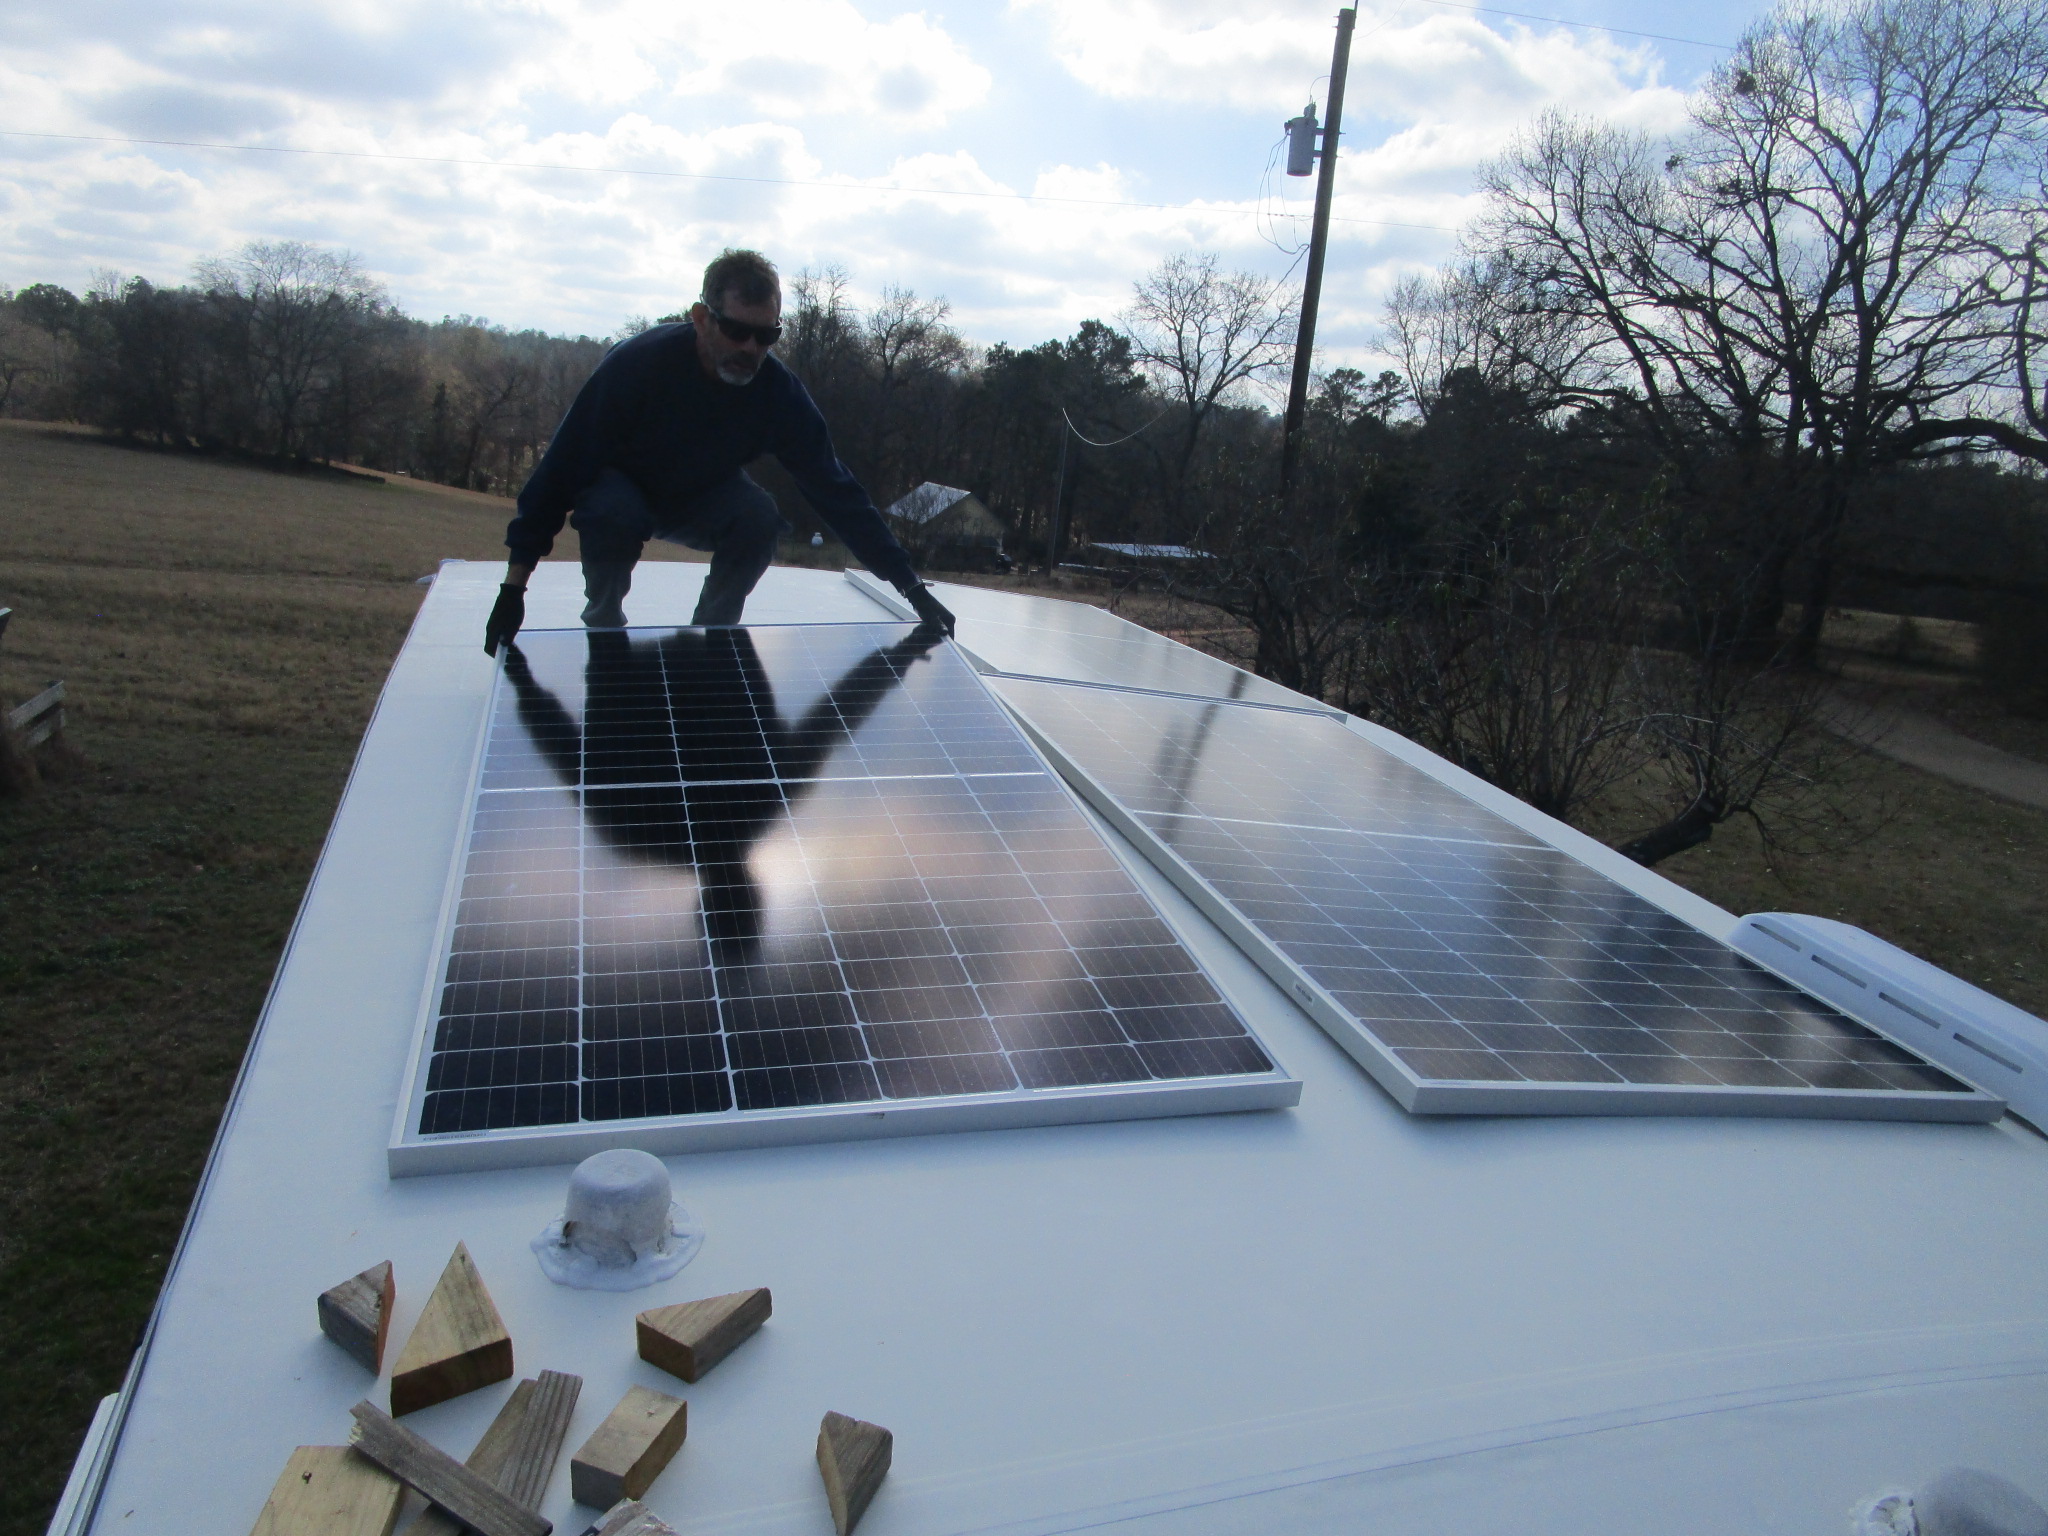
Time for the fun part – panel installation! With help from our niece Abby. Thank you Abby!
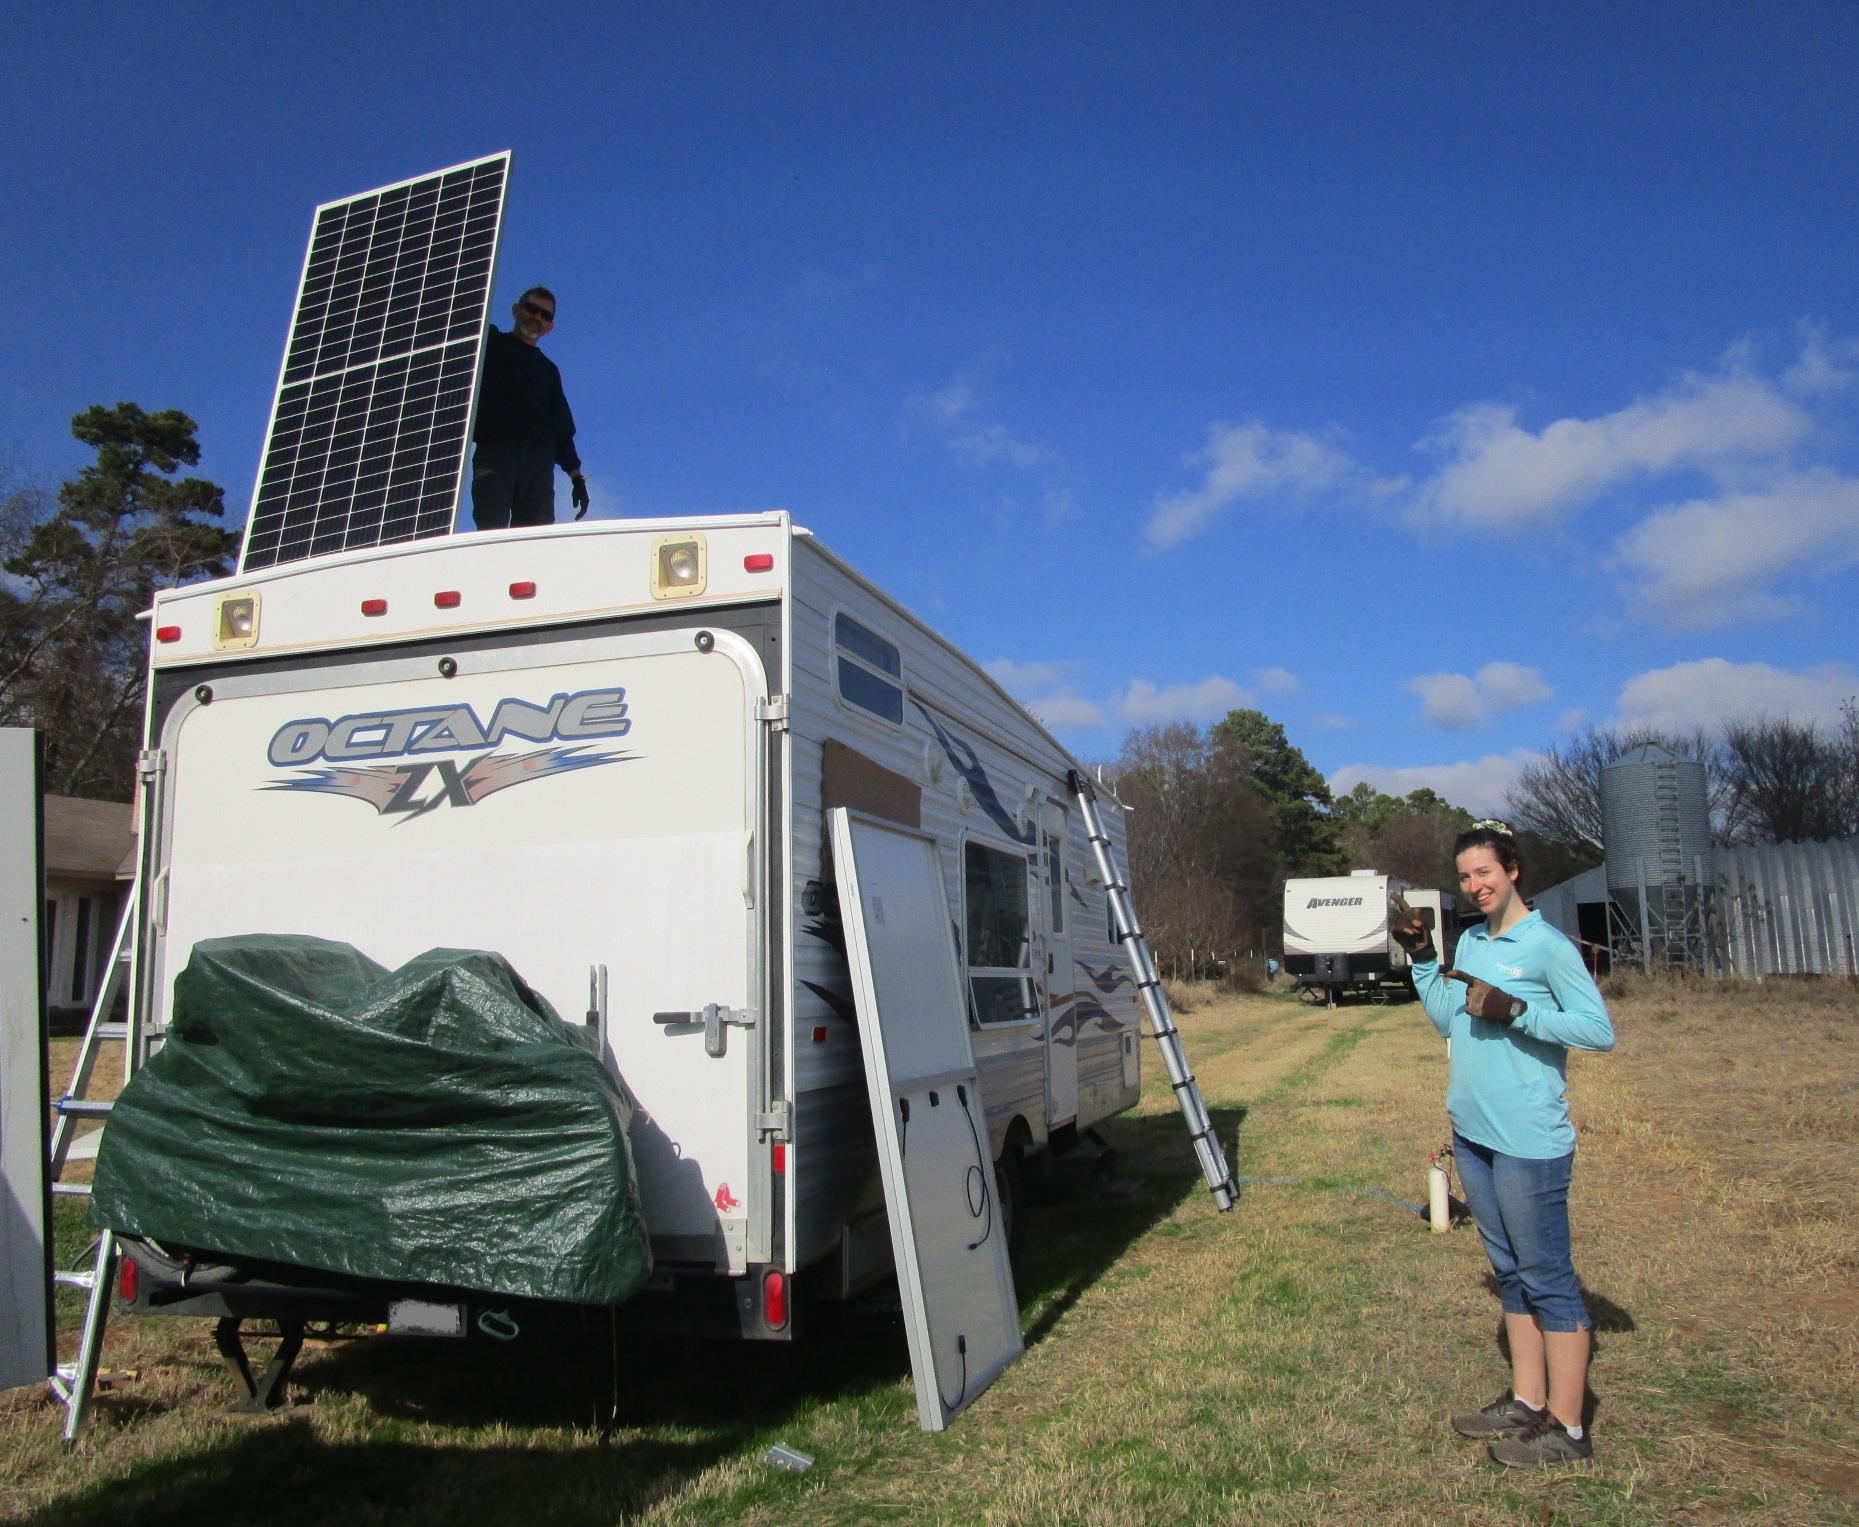
We handed up the panels to John, who was on the roof (in his socks to protect the pretty new roof surface):
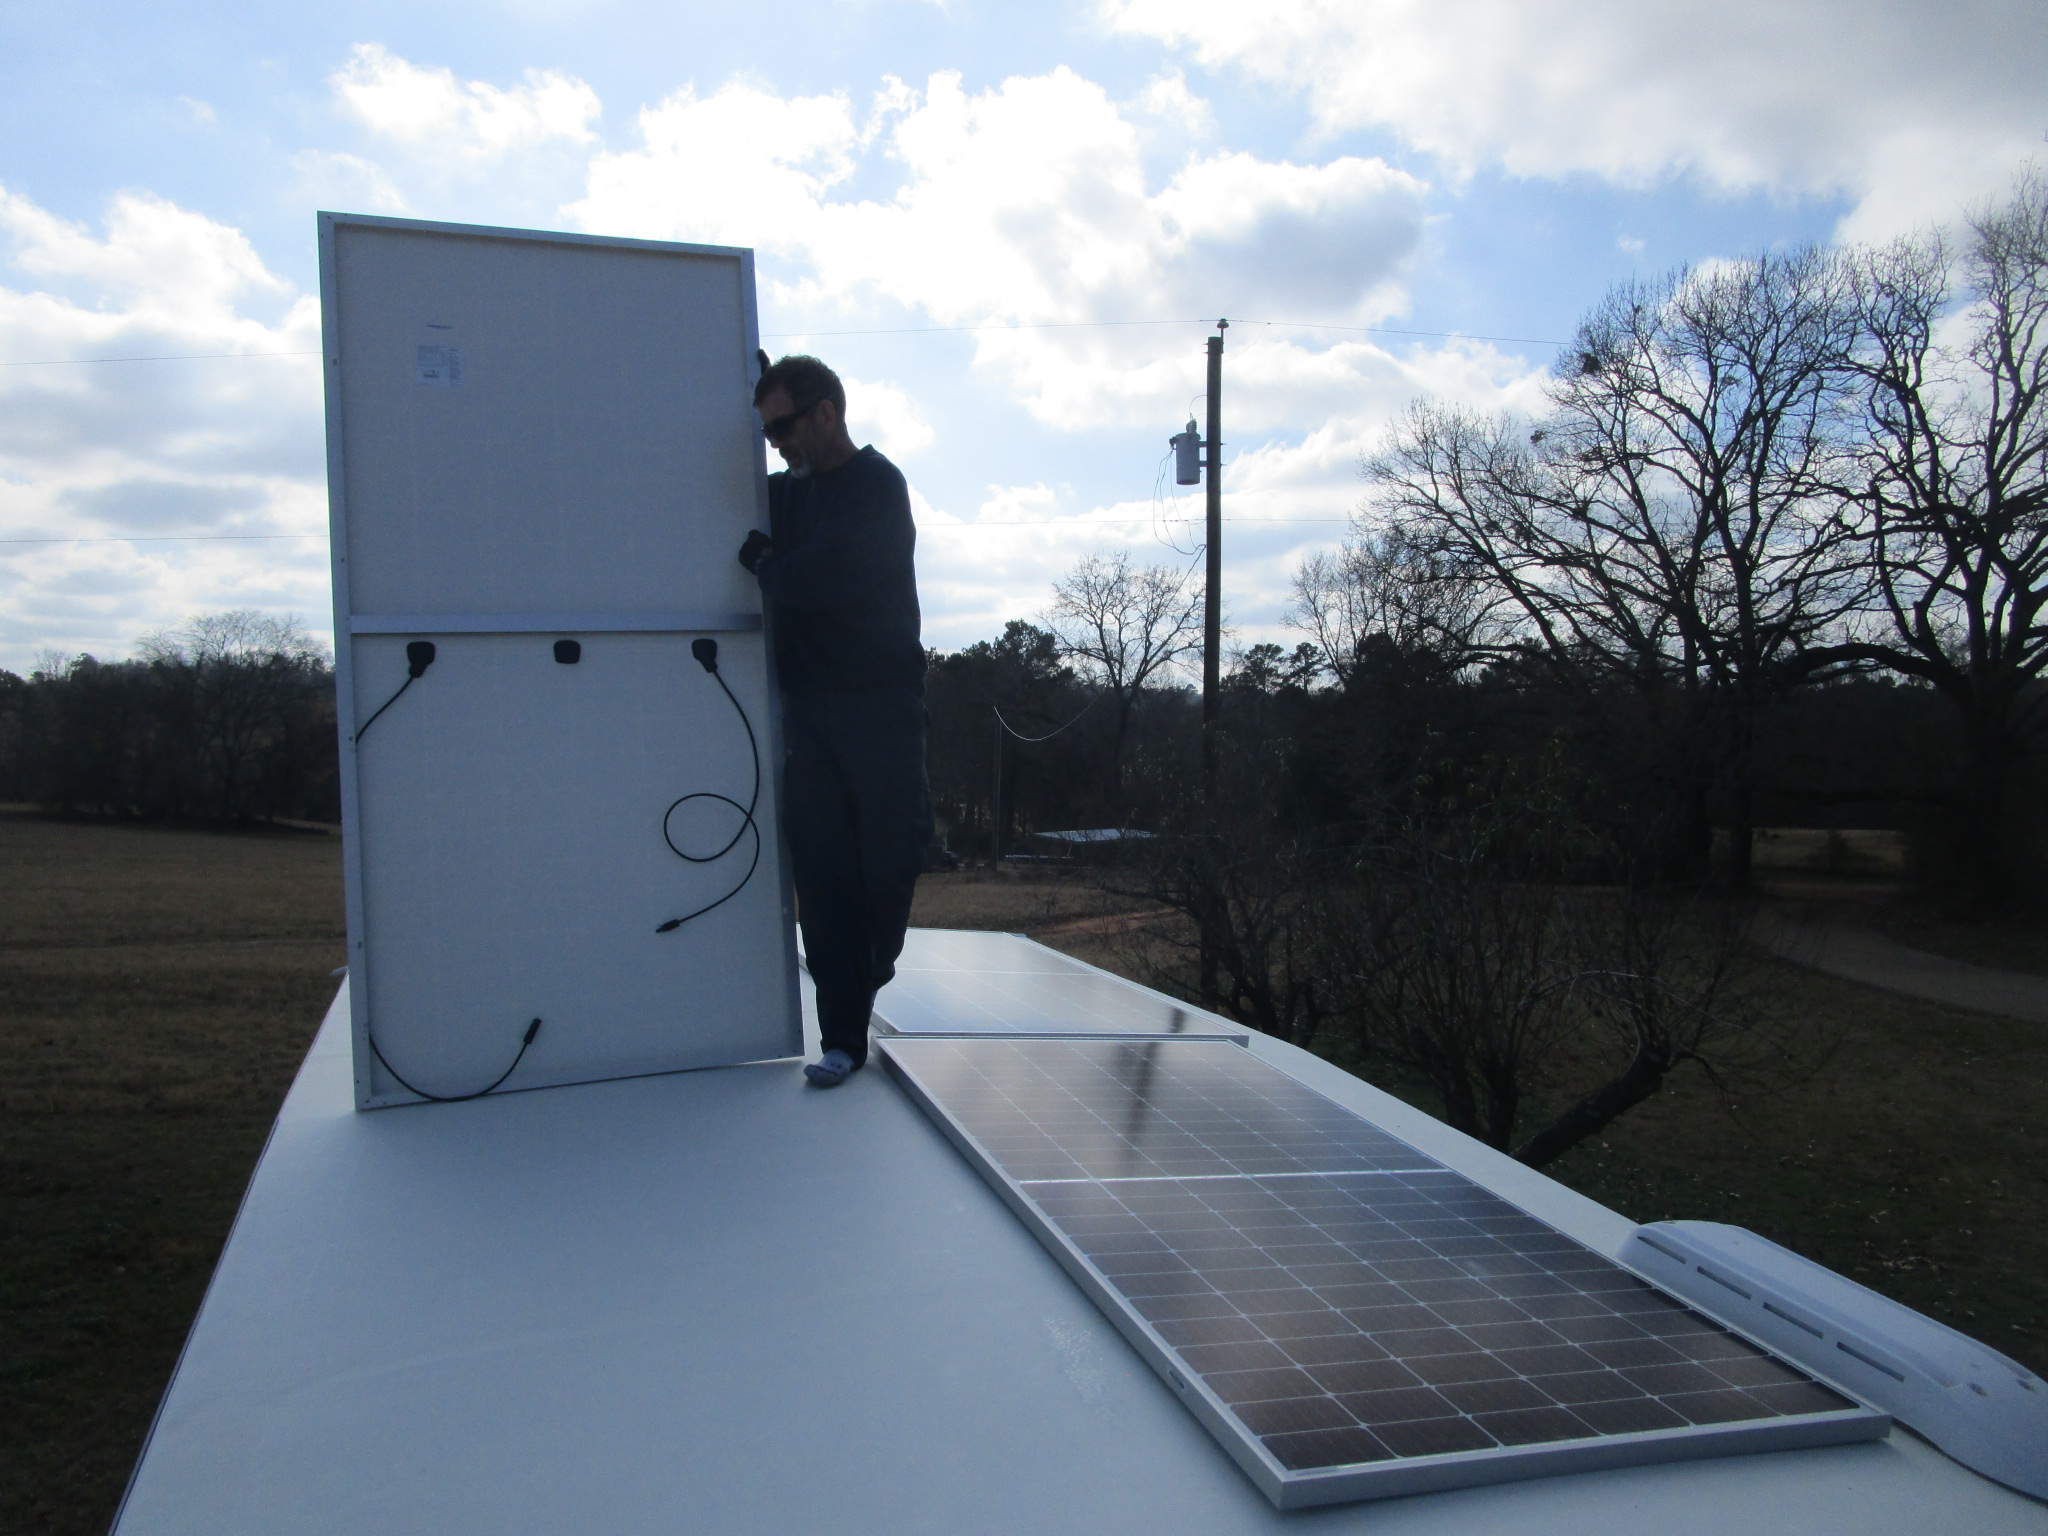
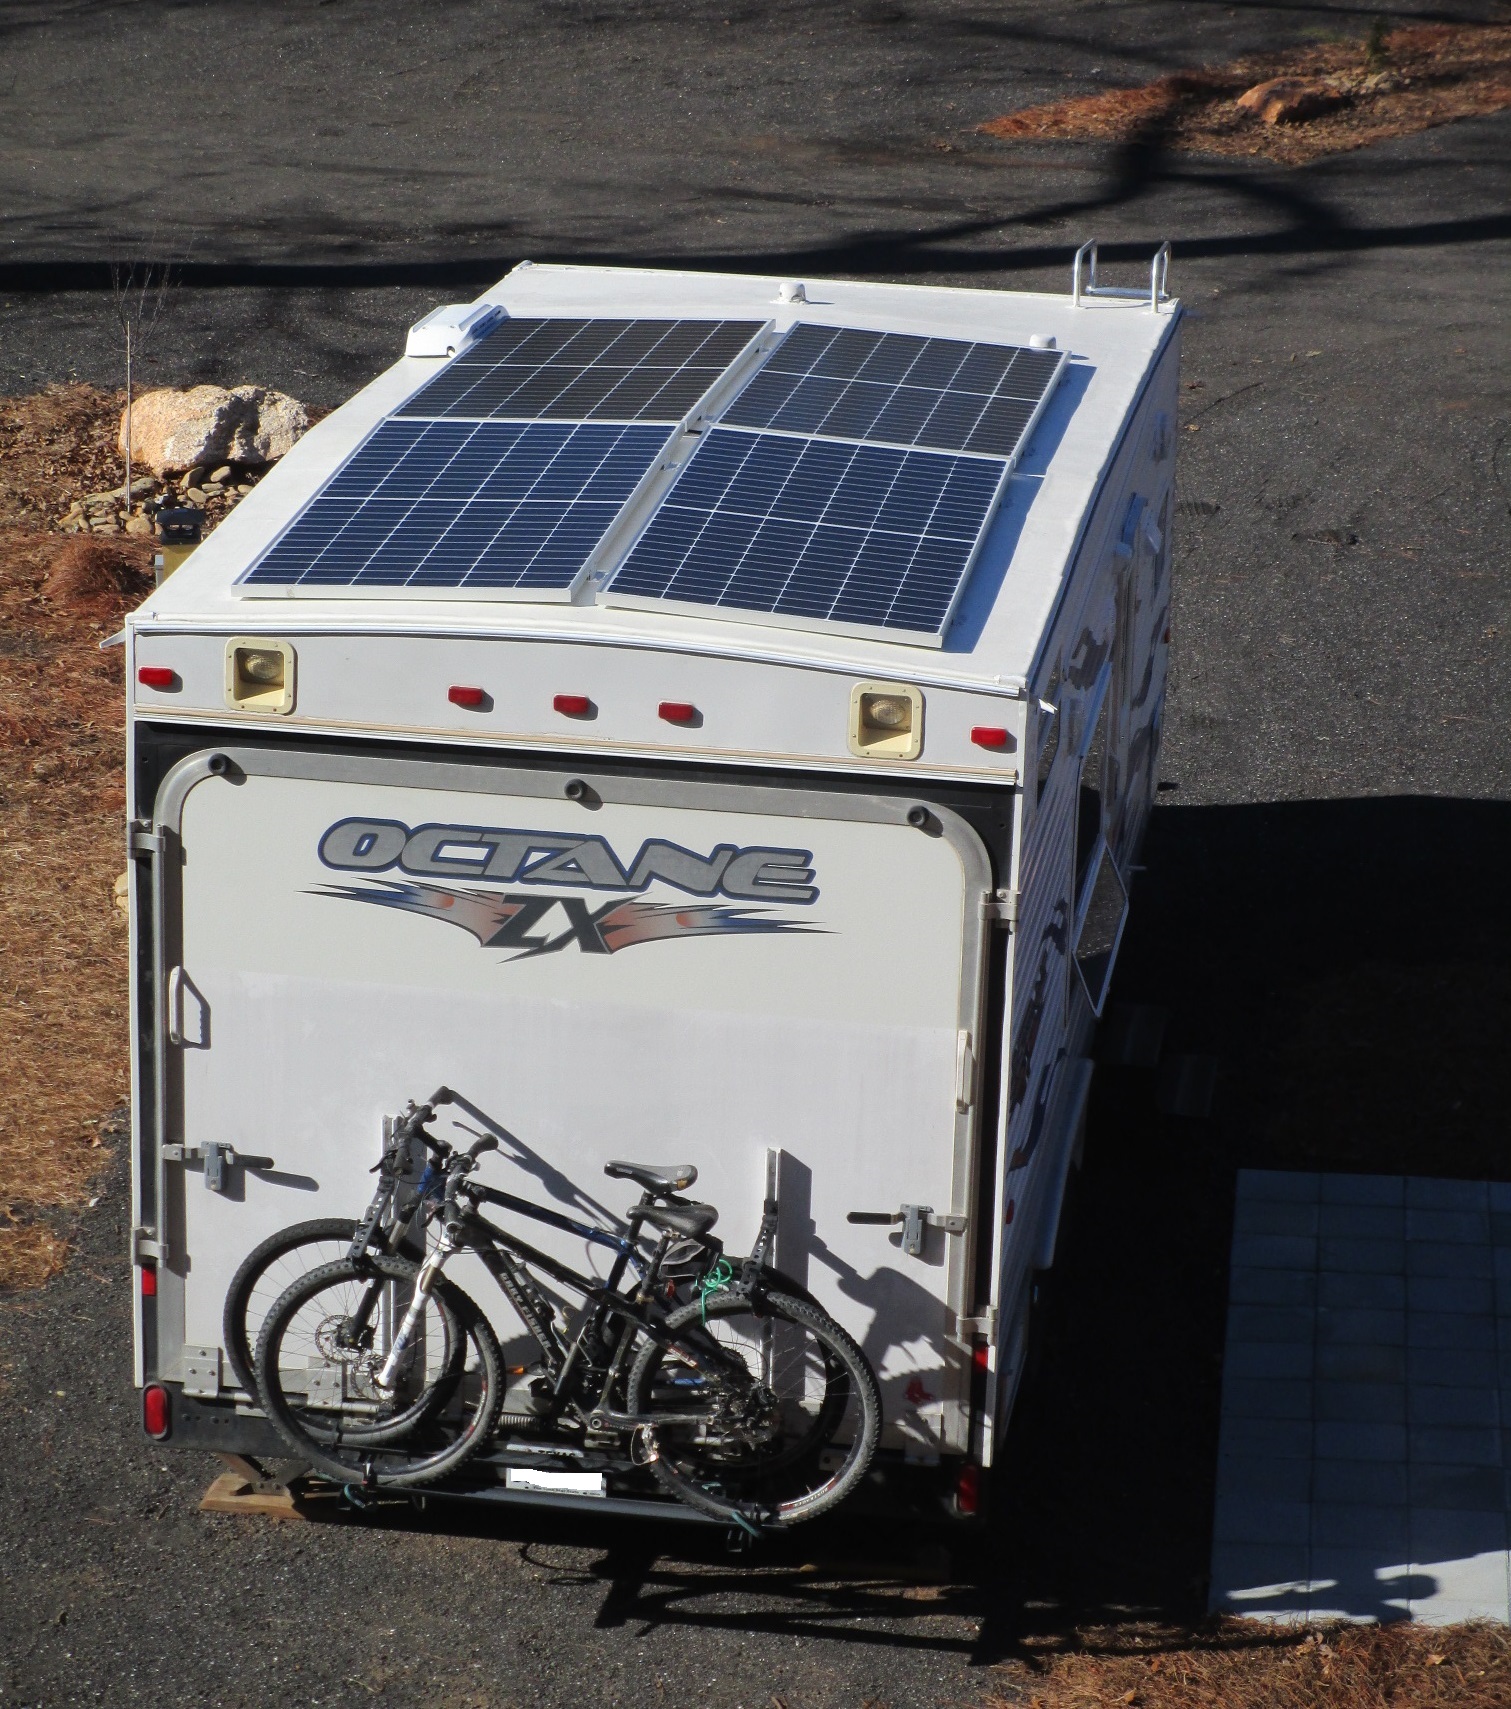
Panel layout on top of Howie:
Last panel up:
The farm, the panels, and I’ve got to work on my photography skills so I’ll get better at keeping my shadow out of the picture unless it’s on purpose:
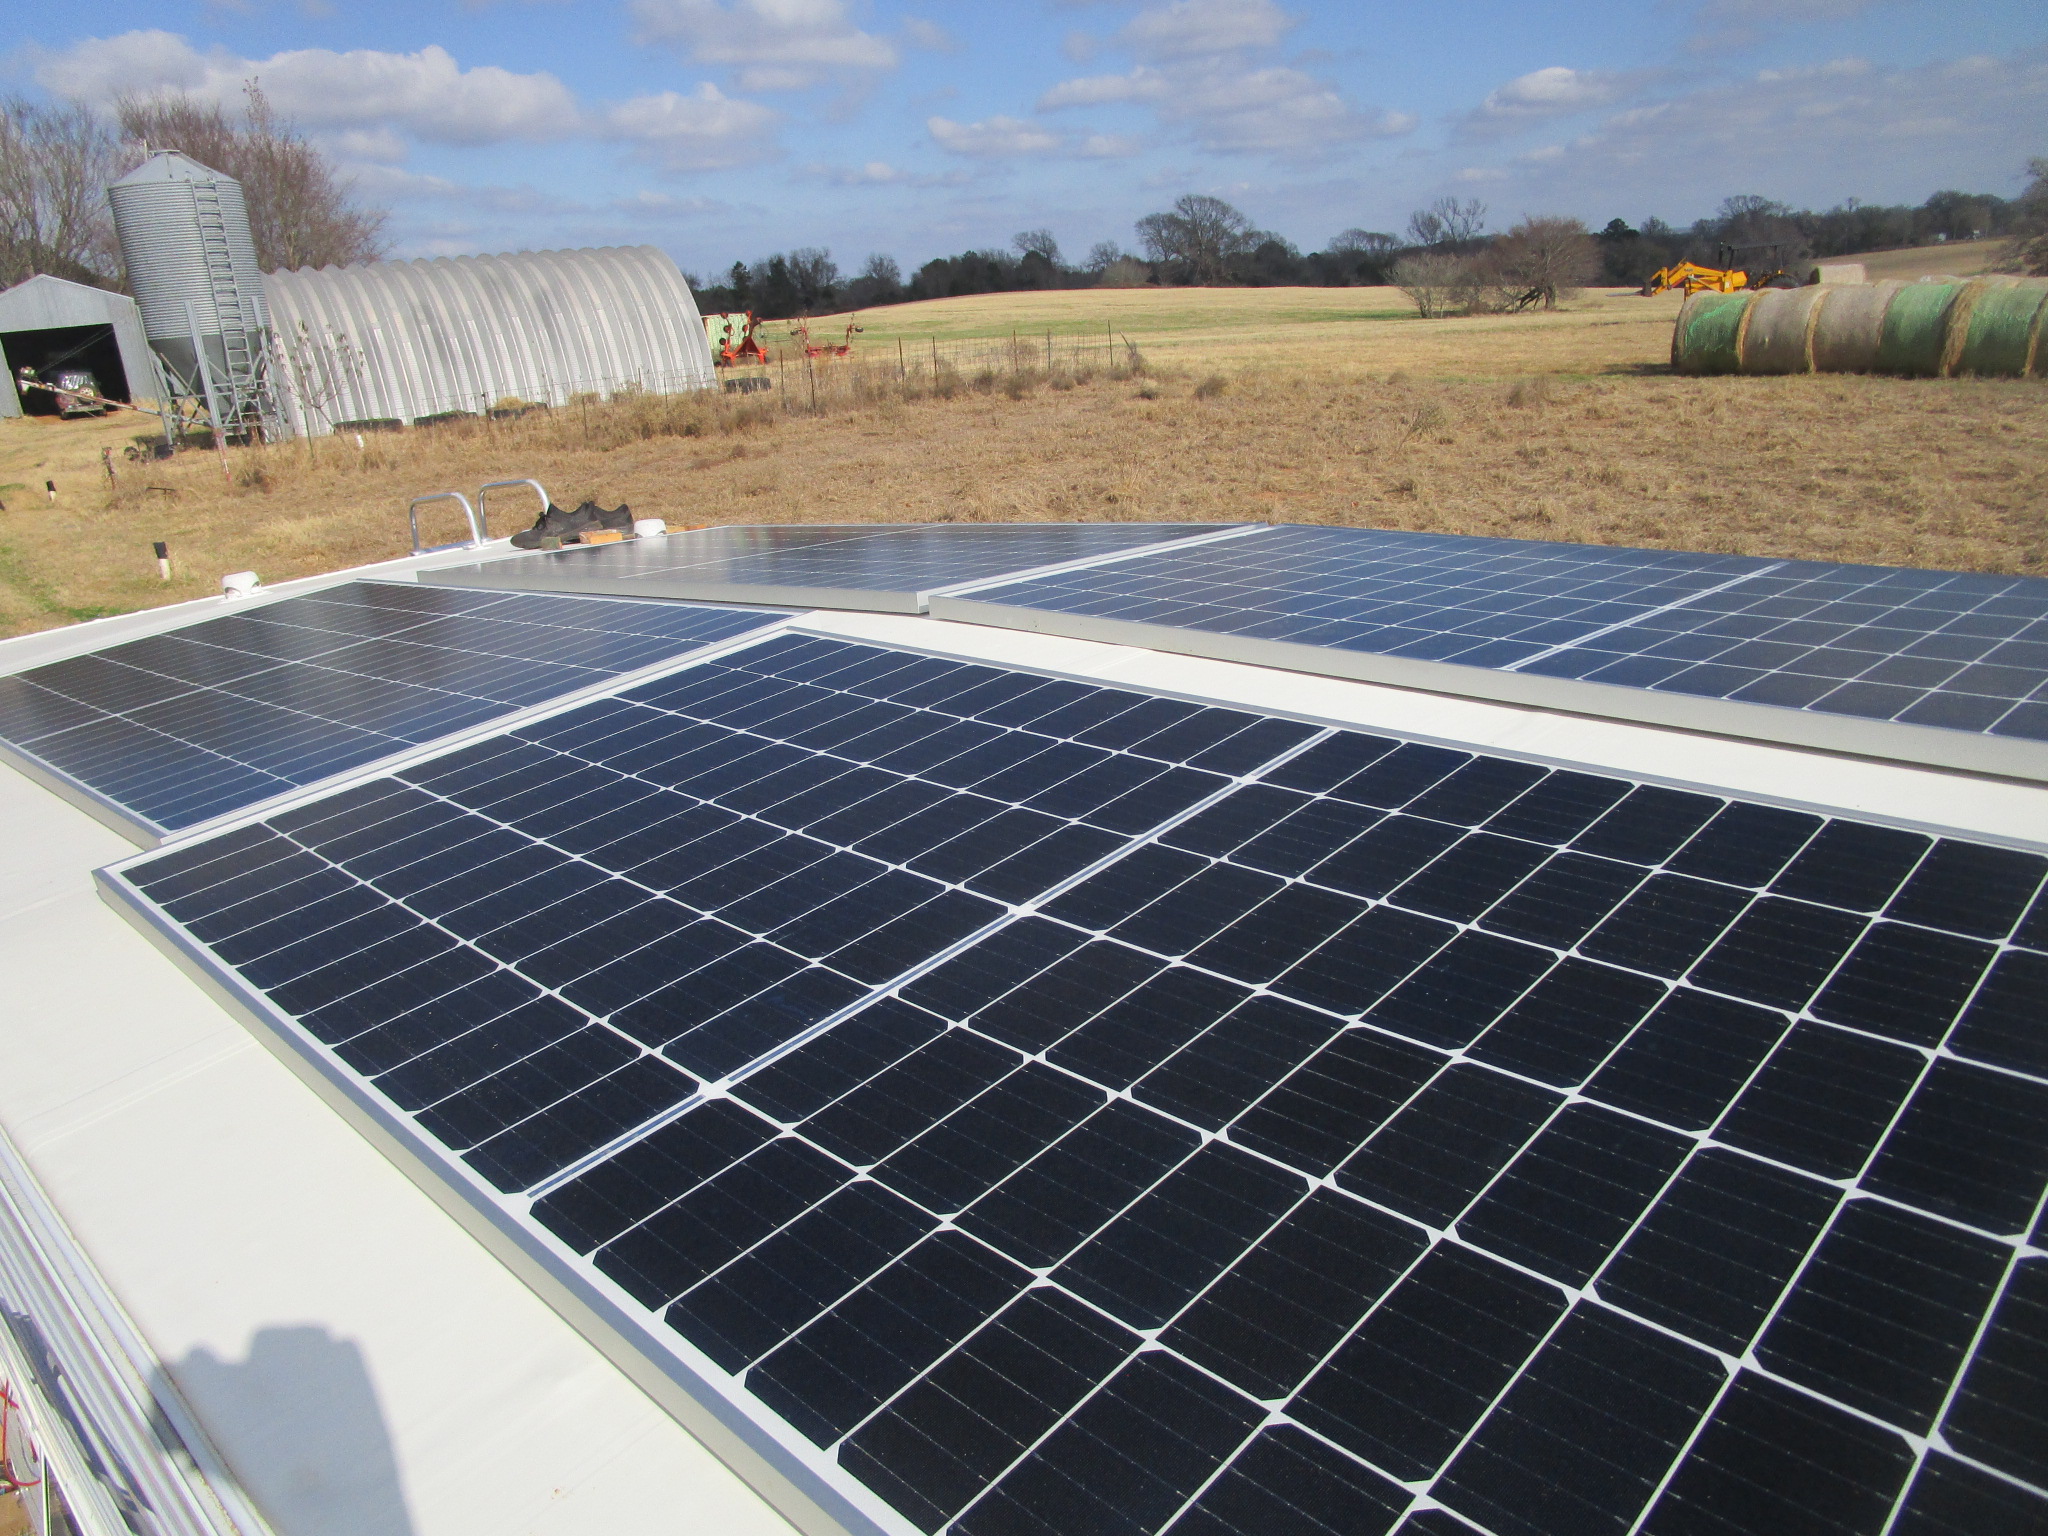
Our roof has a centerline, with slope to each side, plus an inflection point between the front and the back. Having all four panels on slightly different planes means slightly different amounts of energy production from each. Merging them together results in some losses of efficiency, as the charge controller can’t perform power point tracking on each panel individually.
It’s possible to add an optimizer to each panel, which might adjust for the variation. Optimizers could also help with partial shading situations. However, we’re not sure we can actually source an optimizer that would work with our charge controller, and we’re not sure it would be worth it if we could.
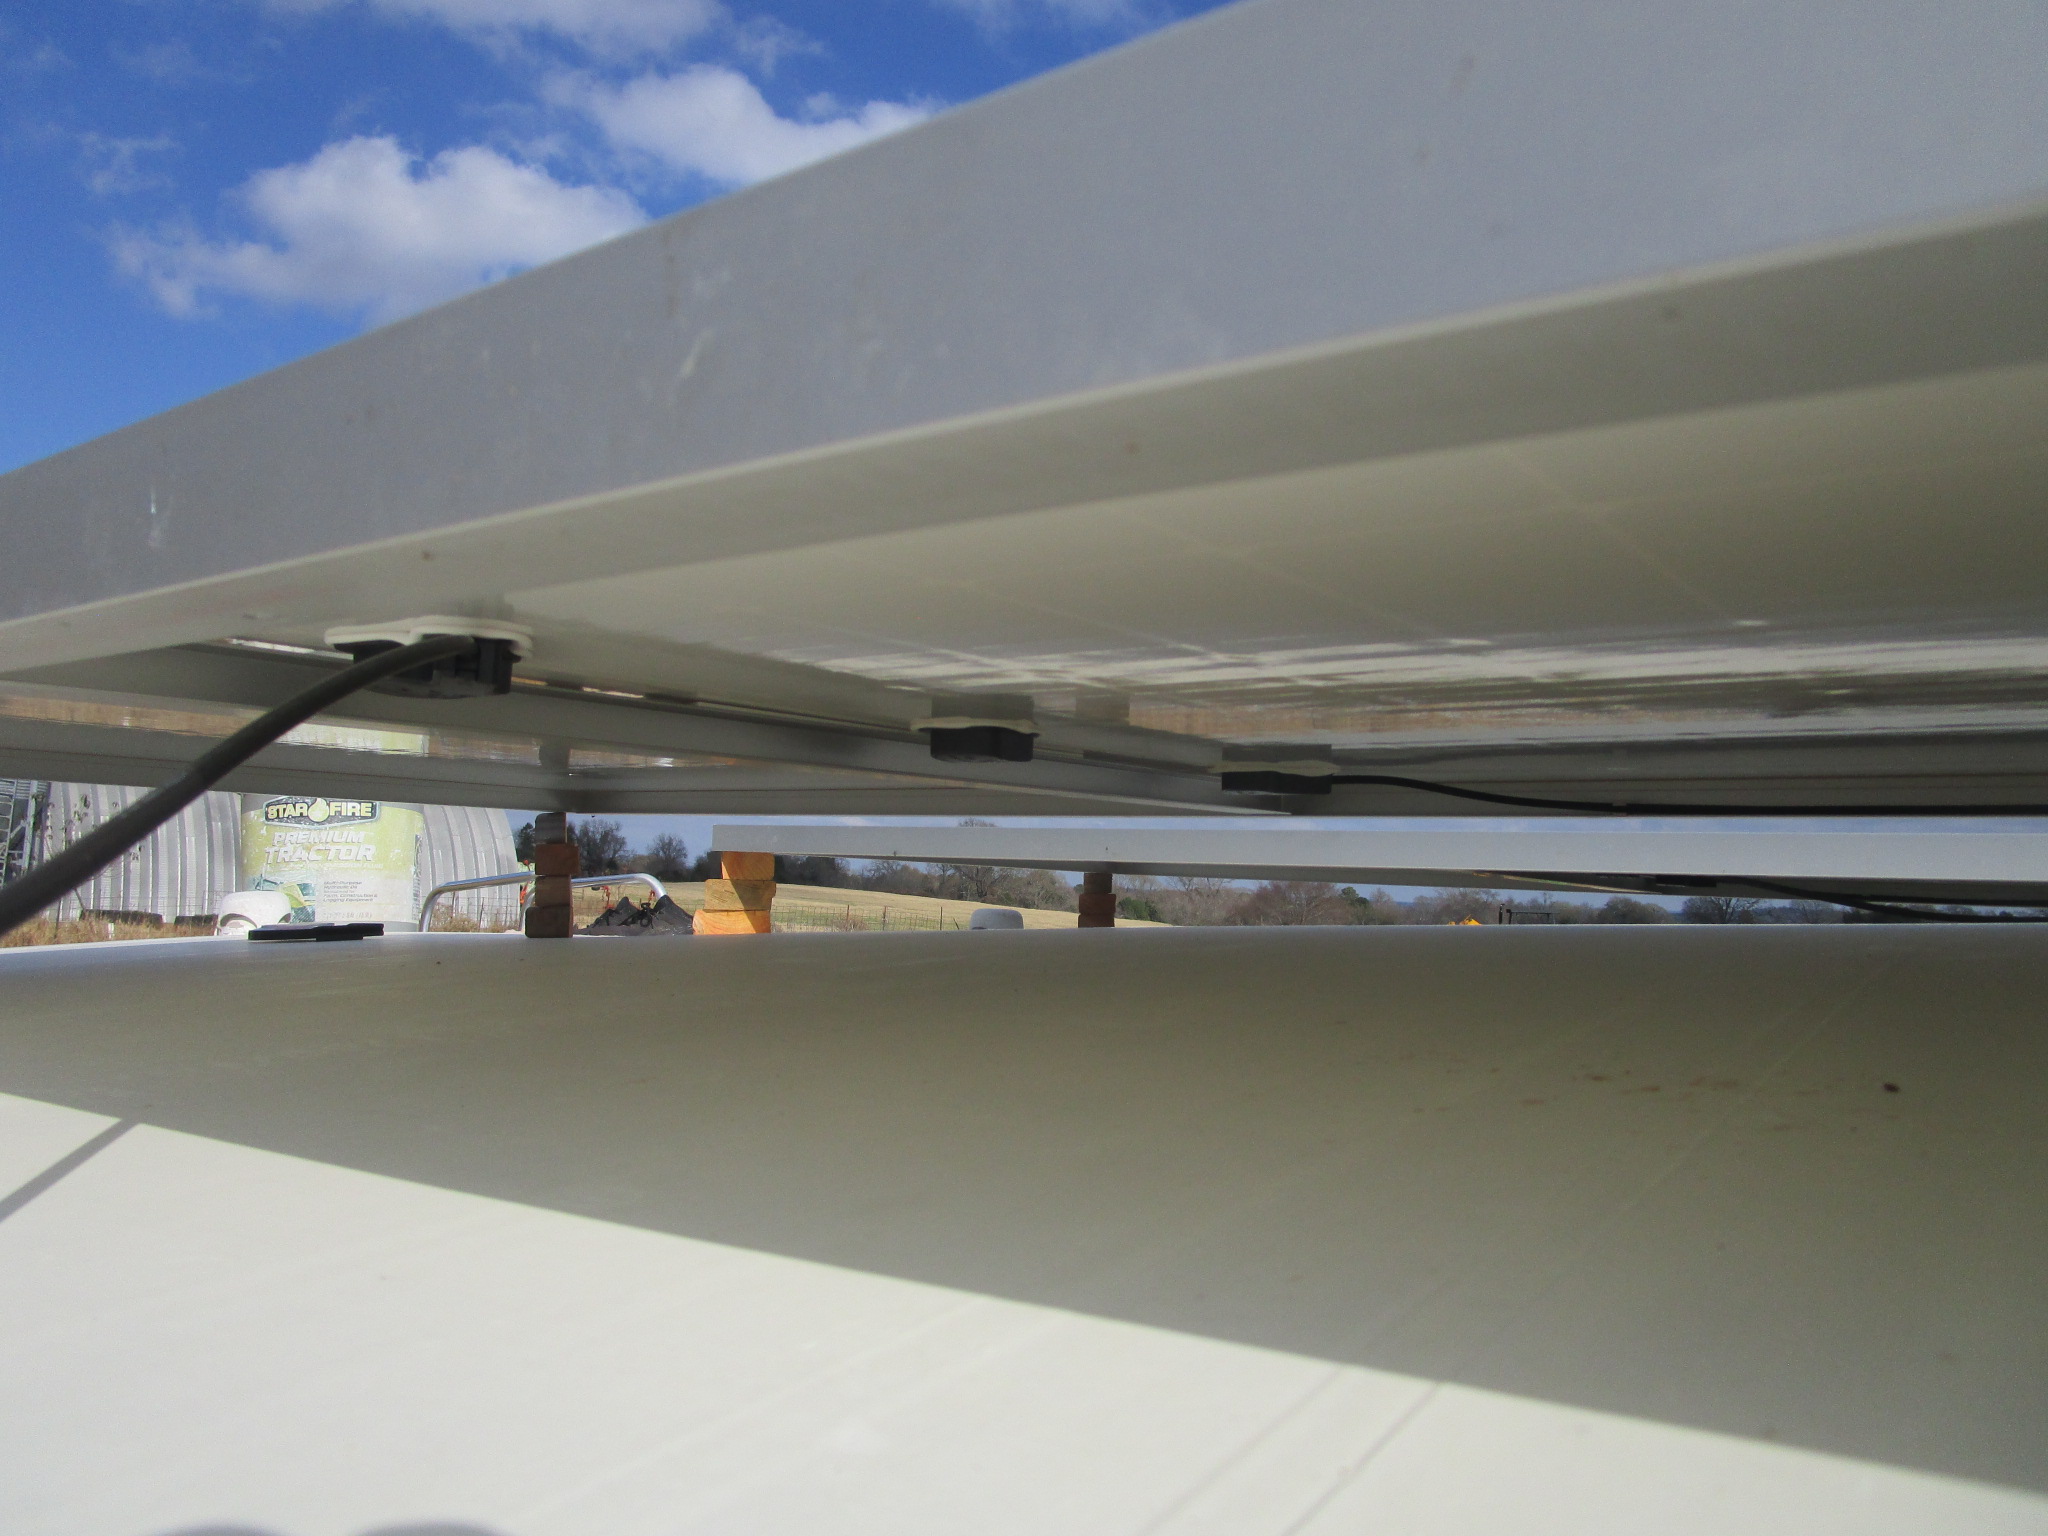
Before the panels were nailed down to the roof, we decided to run a quick/dirty test just for kicks. Setting it up with Abby:
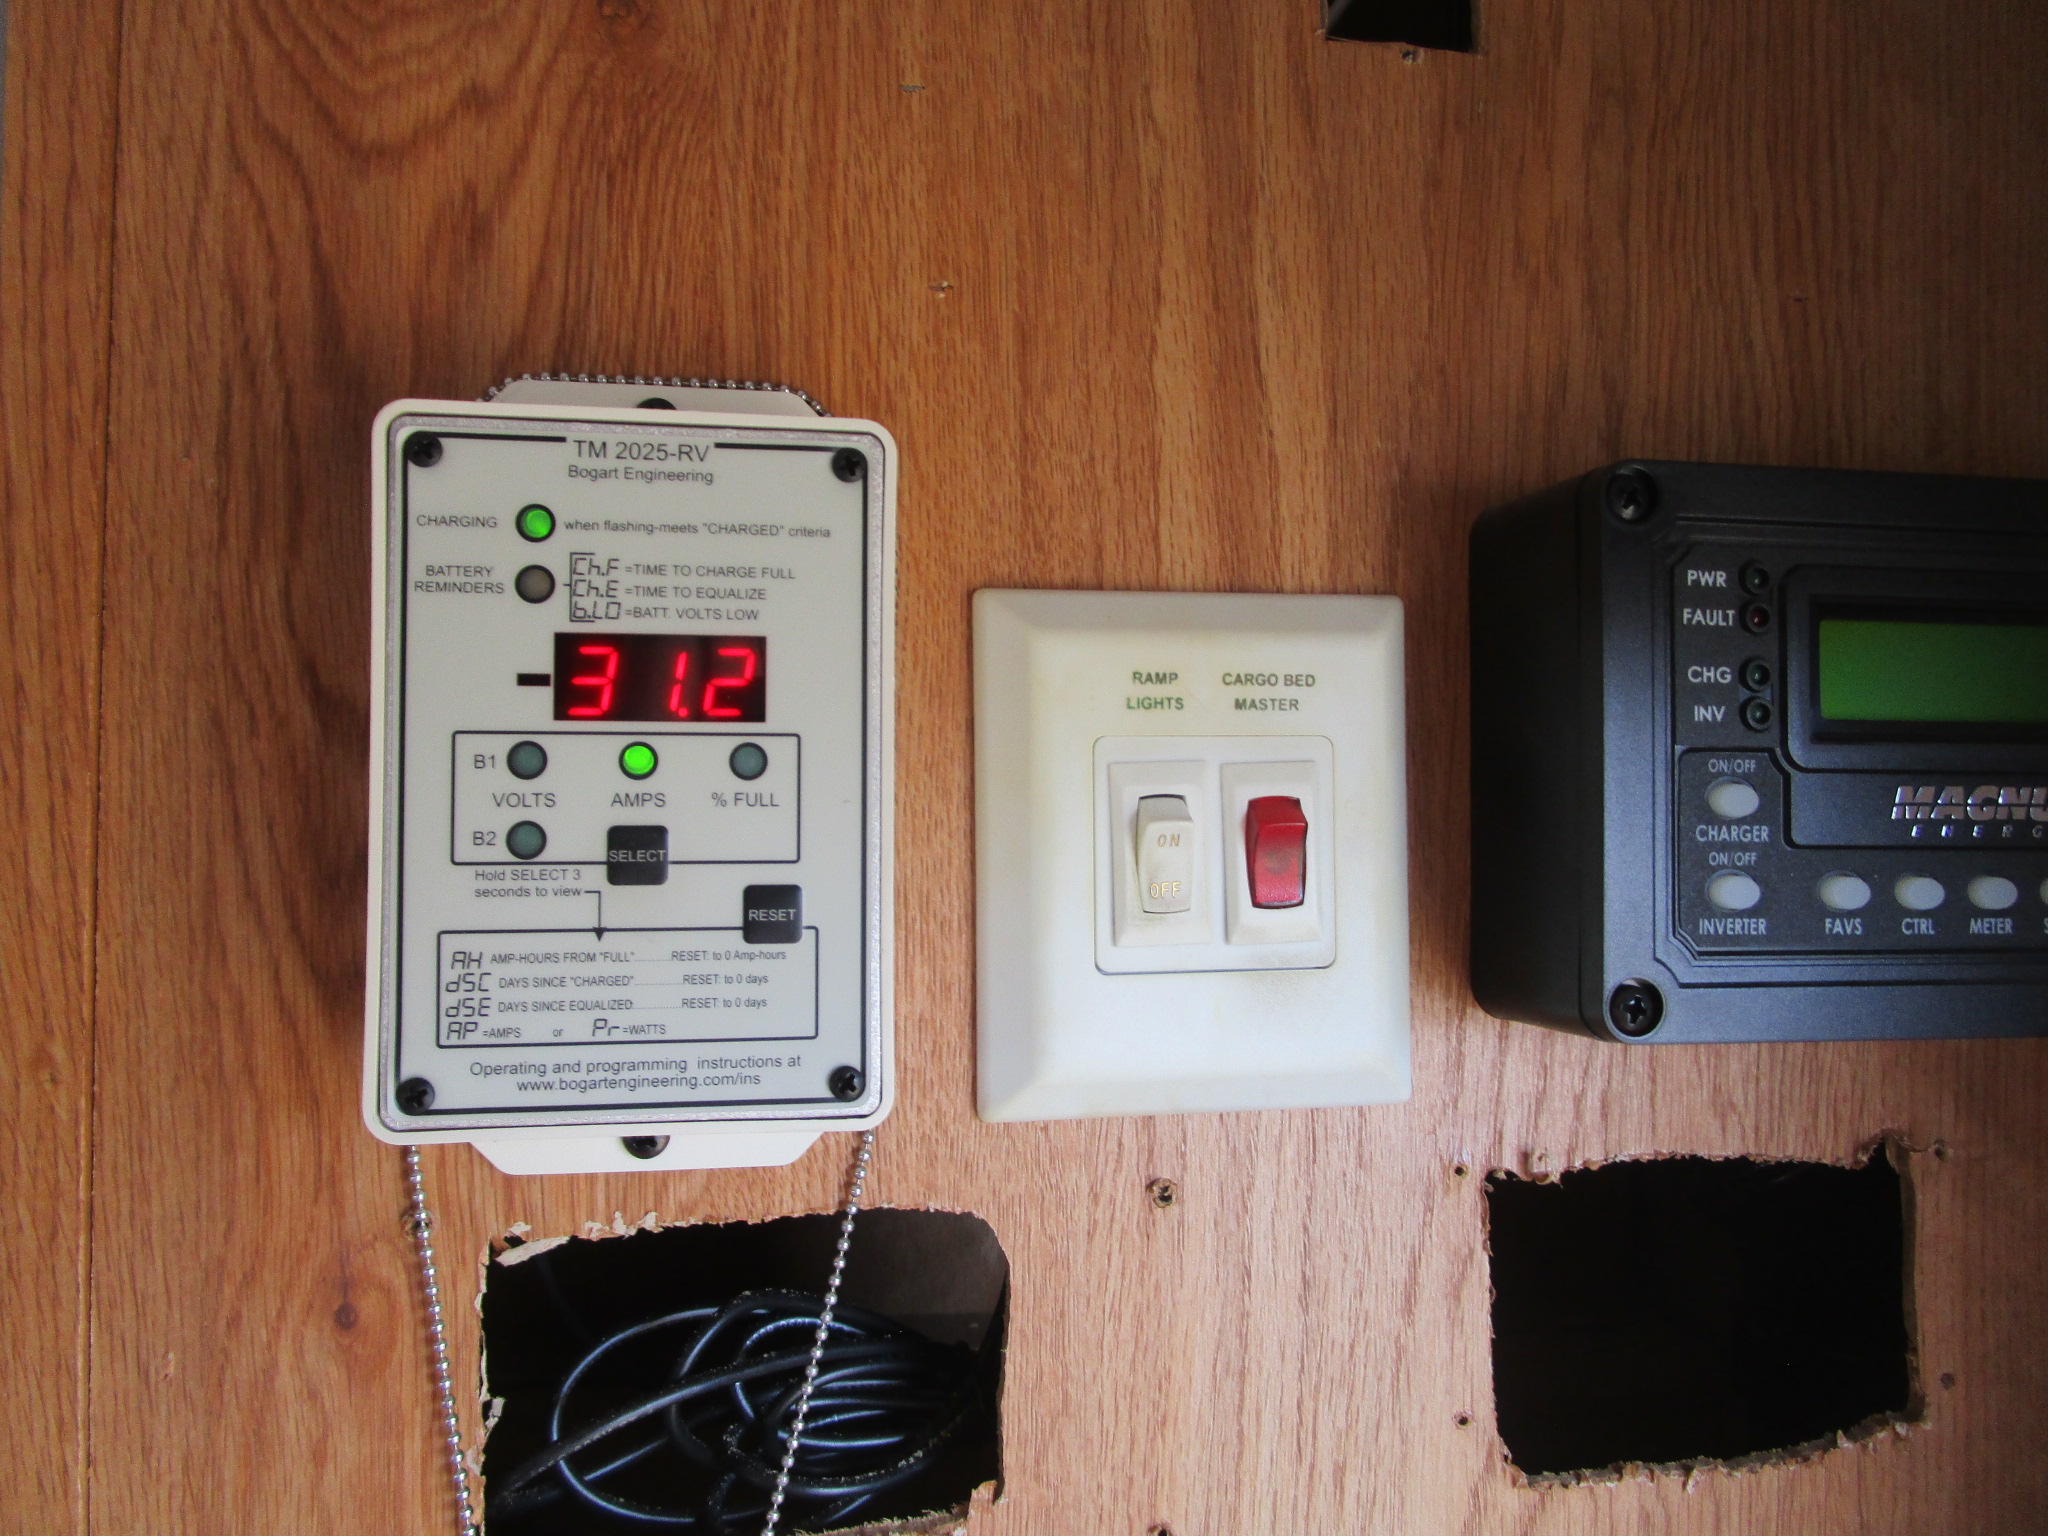
We used the meter to read how much current was going from the panels to the batteries. This was a December day in east Texas, so obviously it’s just one data point.
An example of the meter showing 31.2 amps:
Setup #1 = four panels propped on the edges so they are all in the same plane (1 degree off horizontal)
Full sun, although not super high in the sky (it being December and all)
Solar generation = 33.0 A
Setup #2 = front edges of the front panels dropped down to the roof (3.5 degree delta, front-to-back)
Generation = 31.7 A
Setup #3 = all panels flush with the roof (additional 2.5 degree drop from the center to the sides)
Generation = 31.7 A
Back to setup #1 = all panels in the same plane, with slightly more sun
Generation = 33.5 A
In this case it looks like ~4-5% difference between having the panels all on the same plane vs. laying them flush on the roof. Overall we’re not sure how much we would gain by adding optimizers (if we could even find some), so we’re tabling that idea for now.
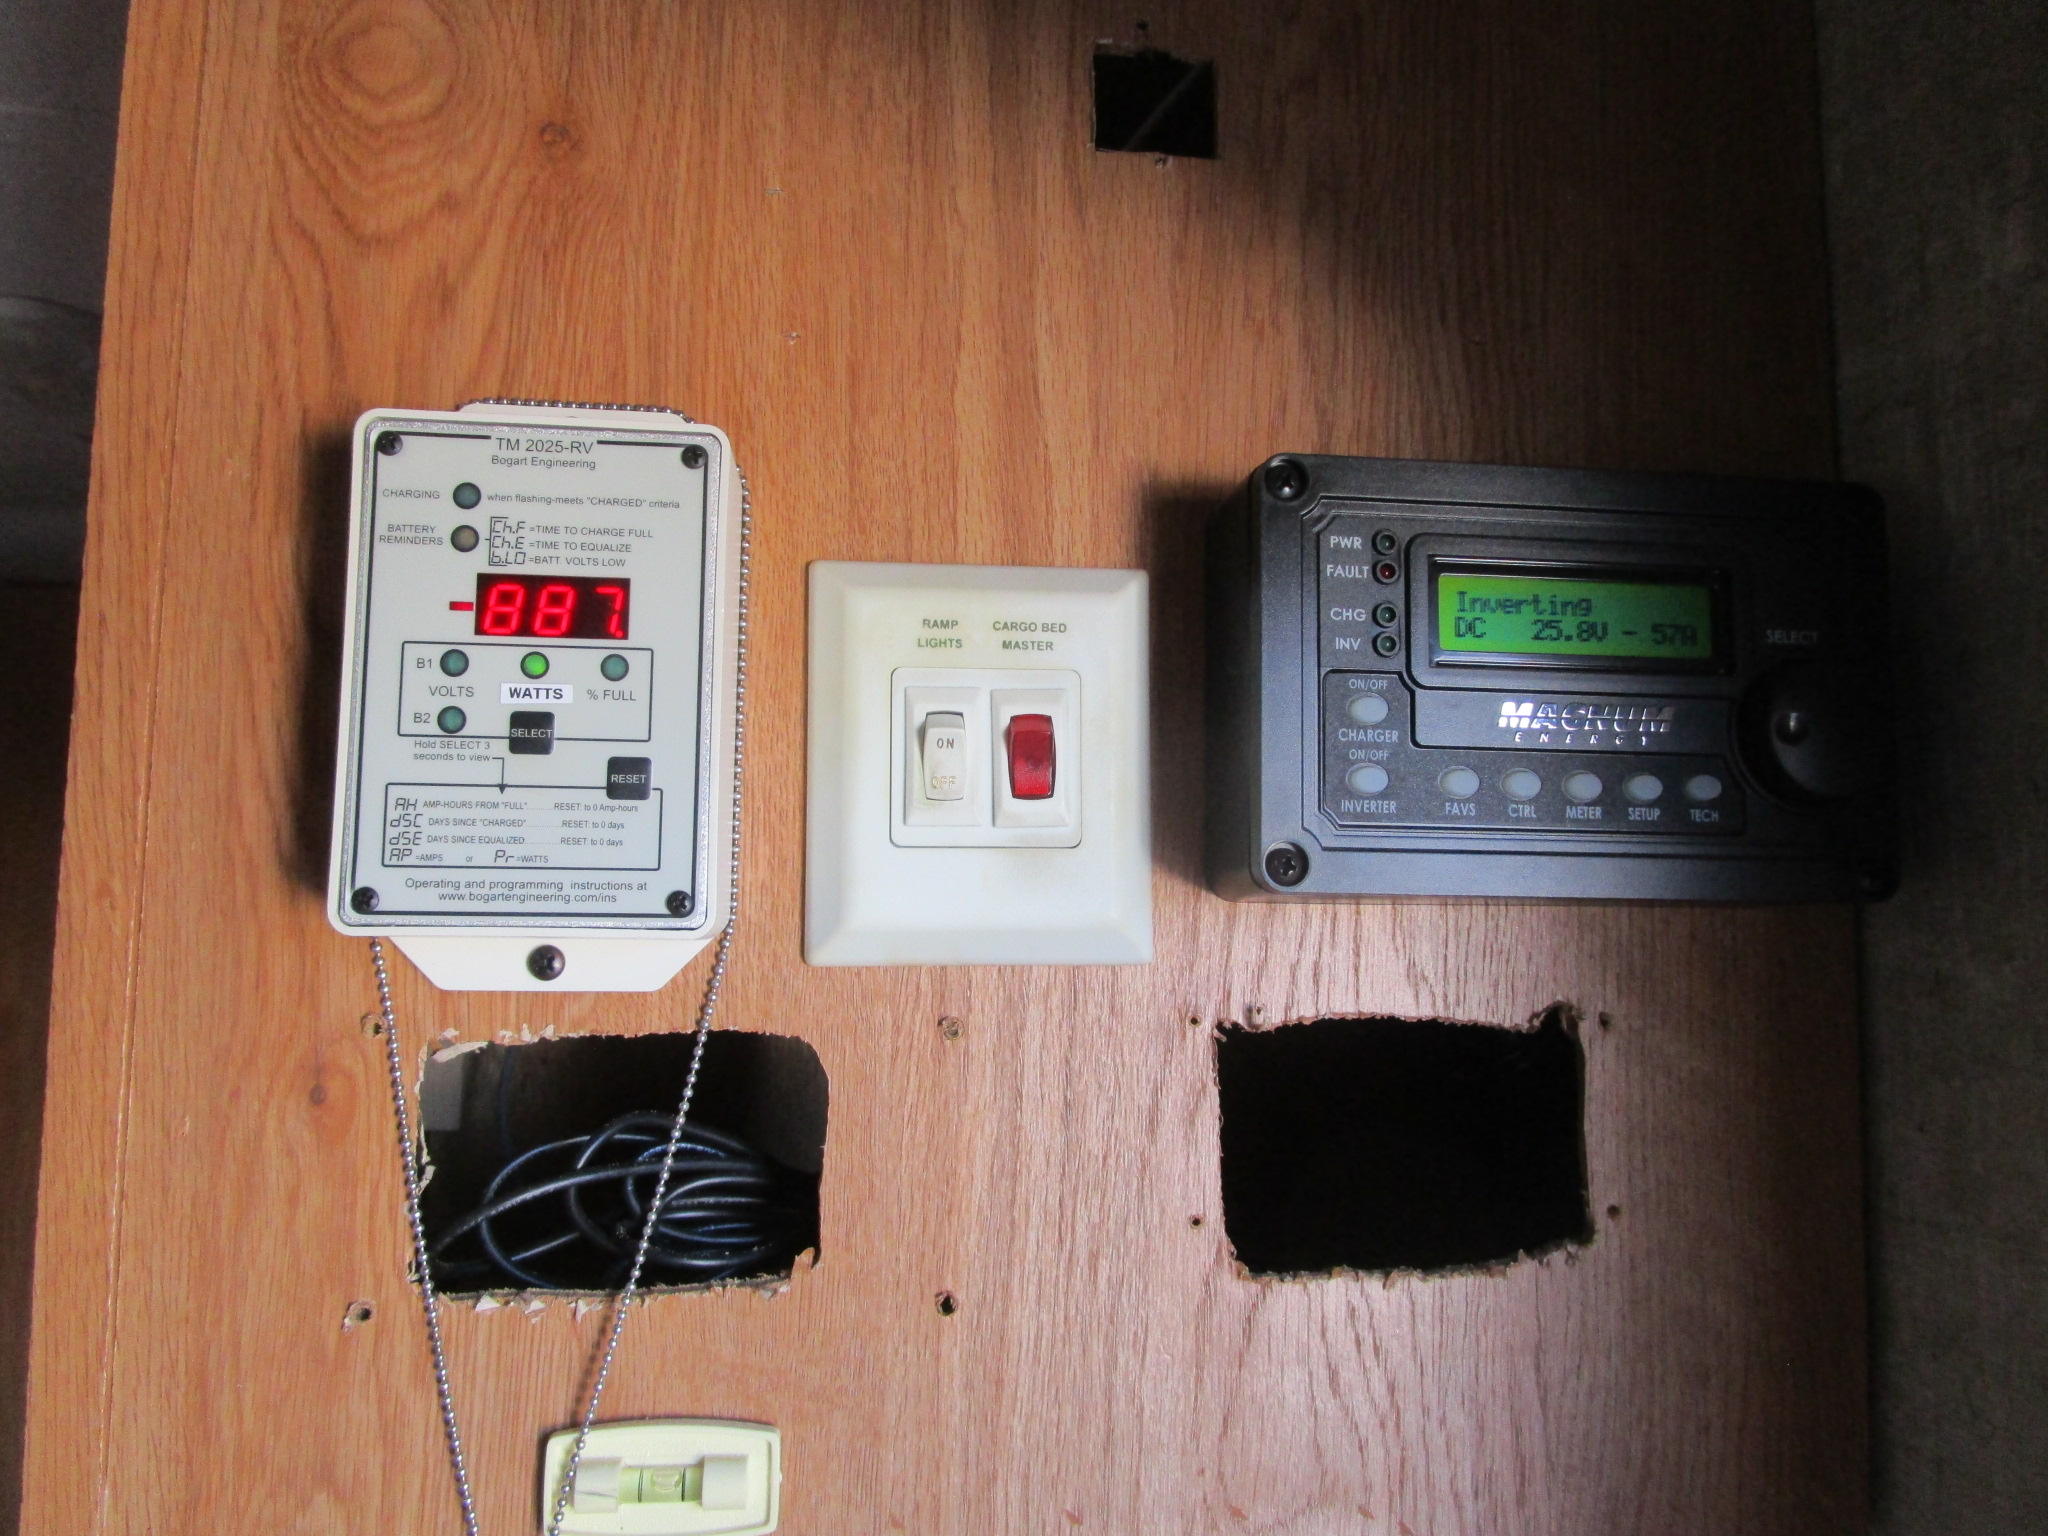
Not long after the solar installation, we decided that we have too many different voltages in our house. Whenever we talk about current we have to specify whether it’s 12, 24, or 120 volts. Finally it became very clear that we need to switch to talking in terms of power (watts). Power = voltage * current, so it takes both into account and is easier to understand.
We switched the meter to display wattage and changed the label on it. In this case we’re drawing 887 watts from the battery:
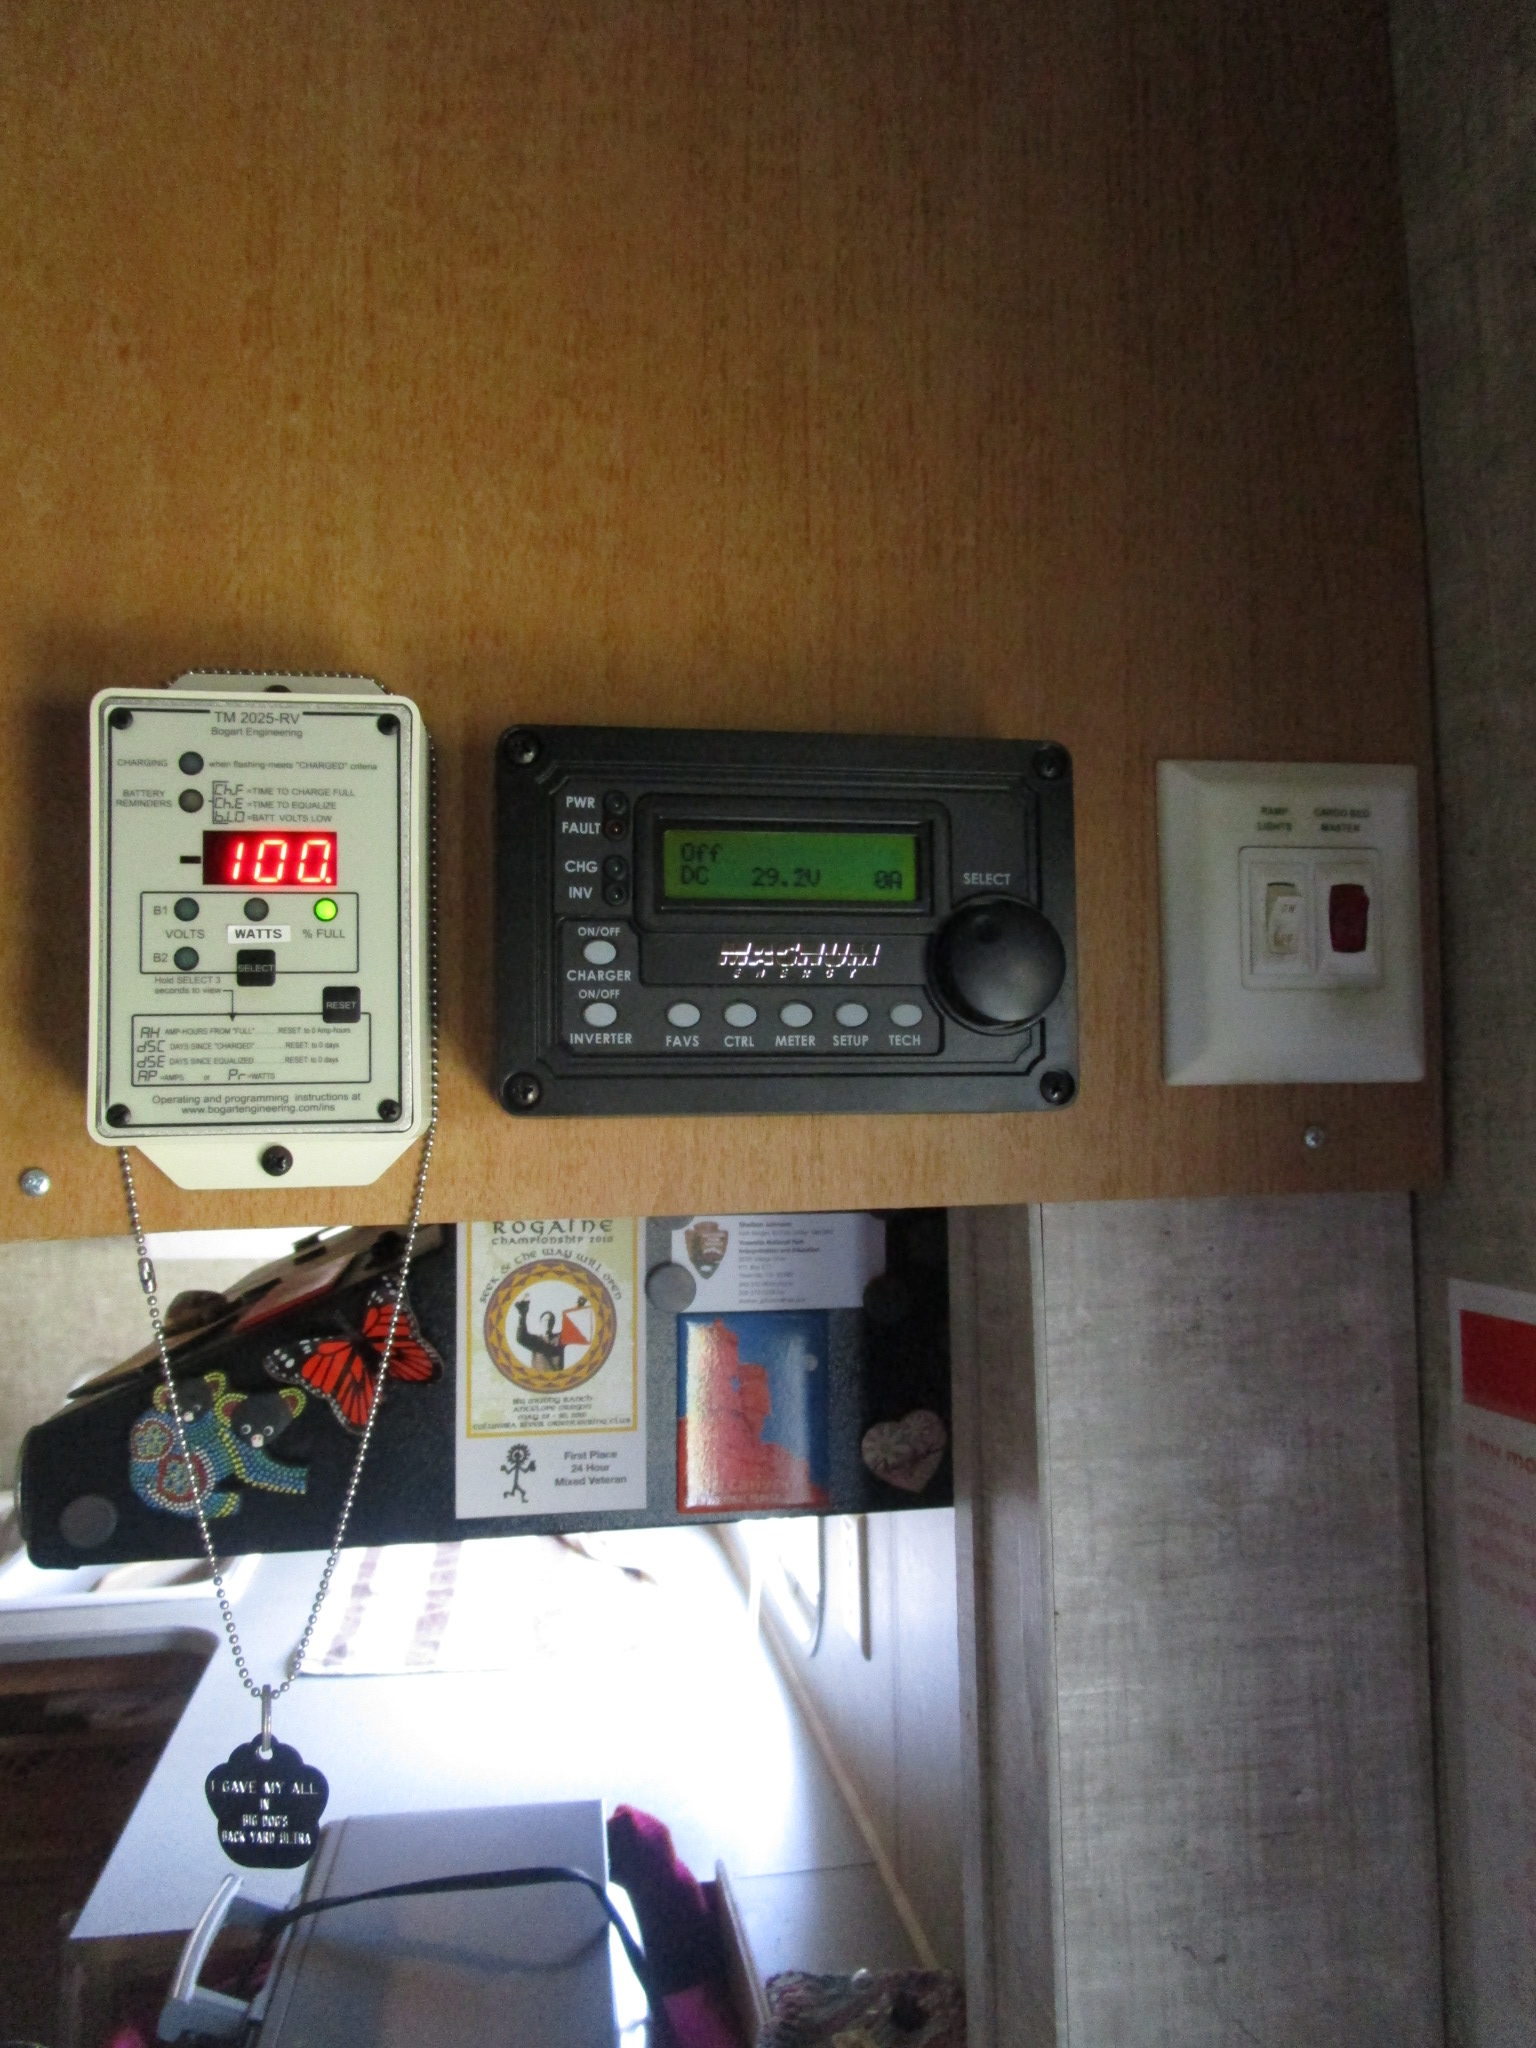
Recently John redid the cabinet wall so it looks a lot better – no more holes, nice!
So that’s the upgrade – and without any mishaps or issues to report, for once.
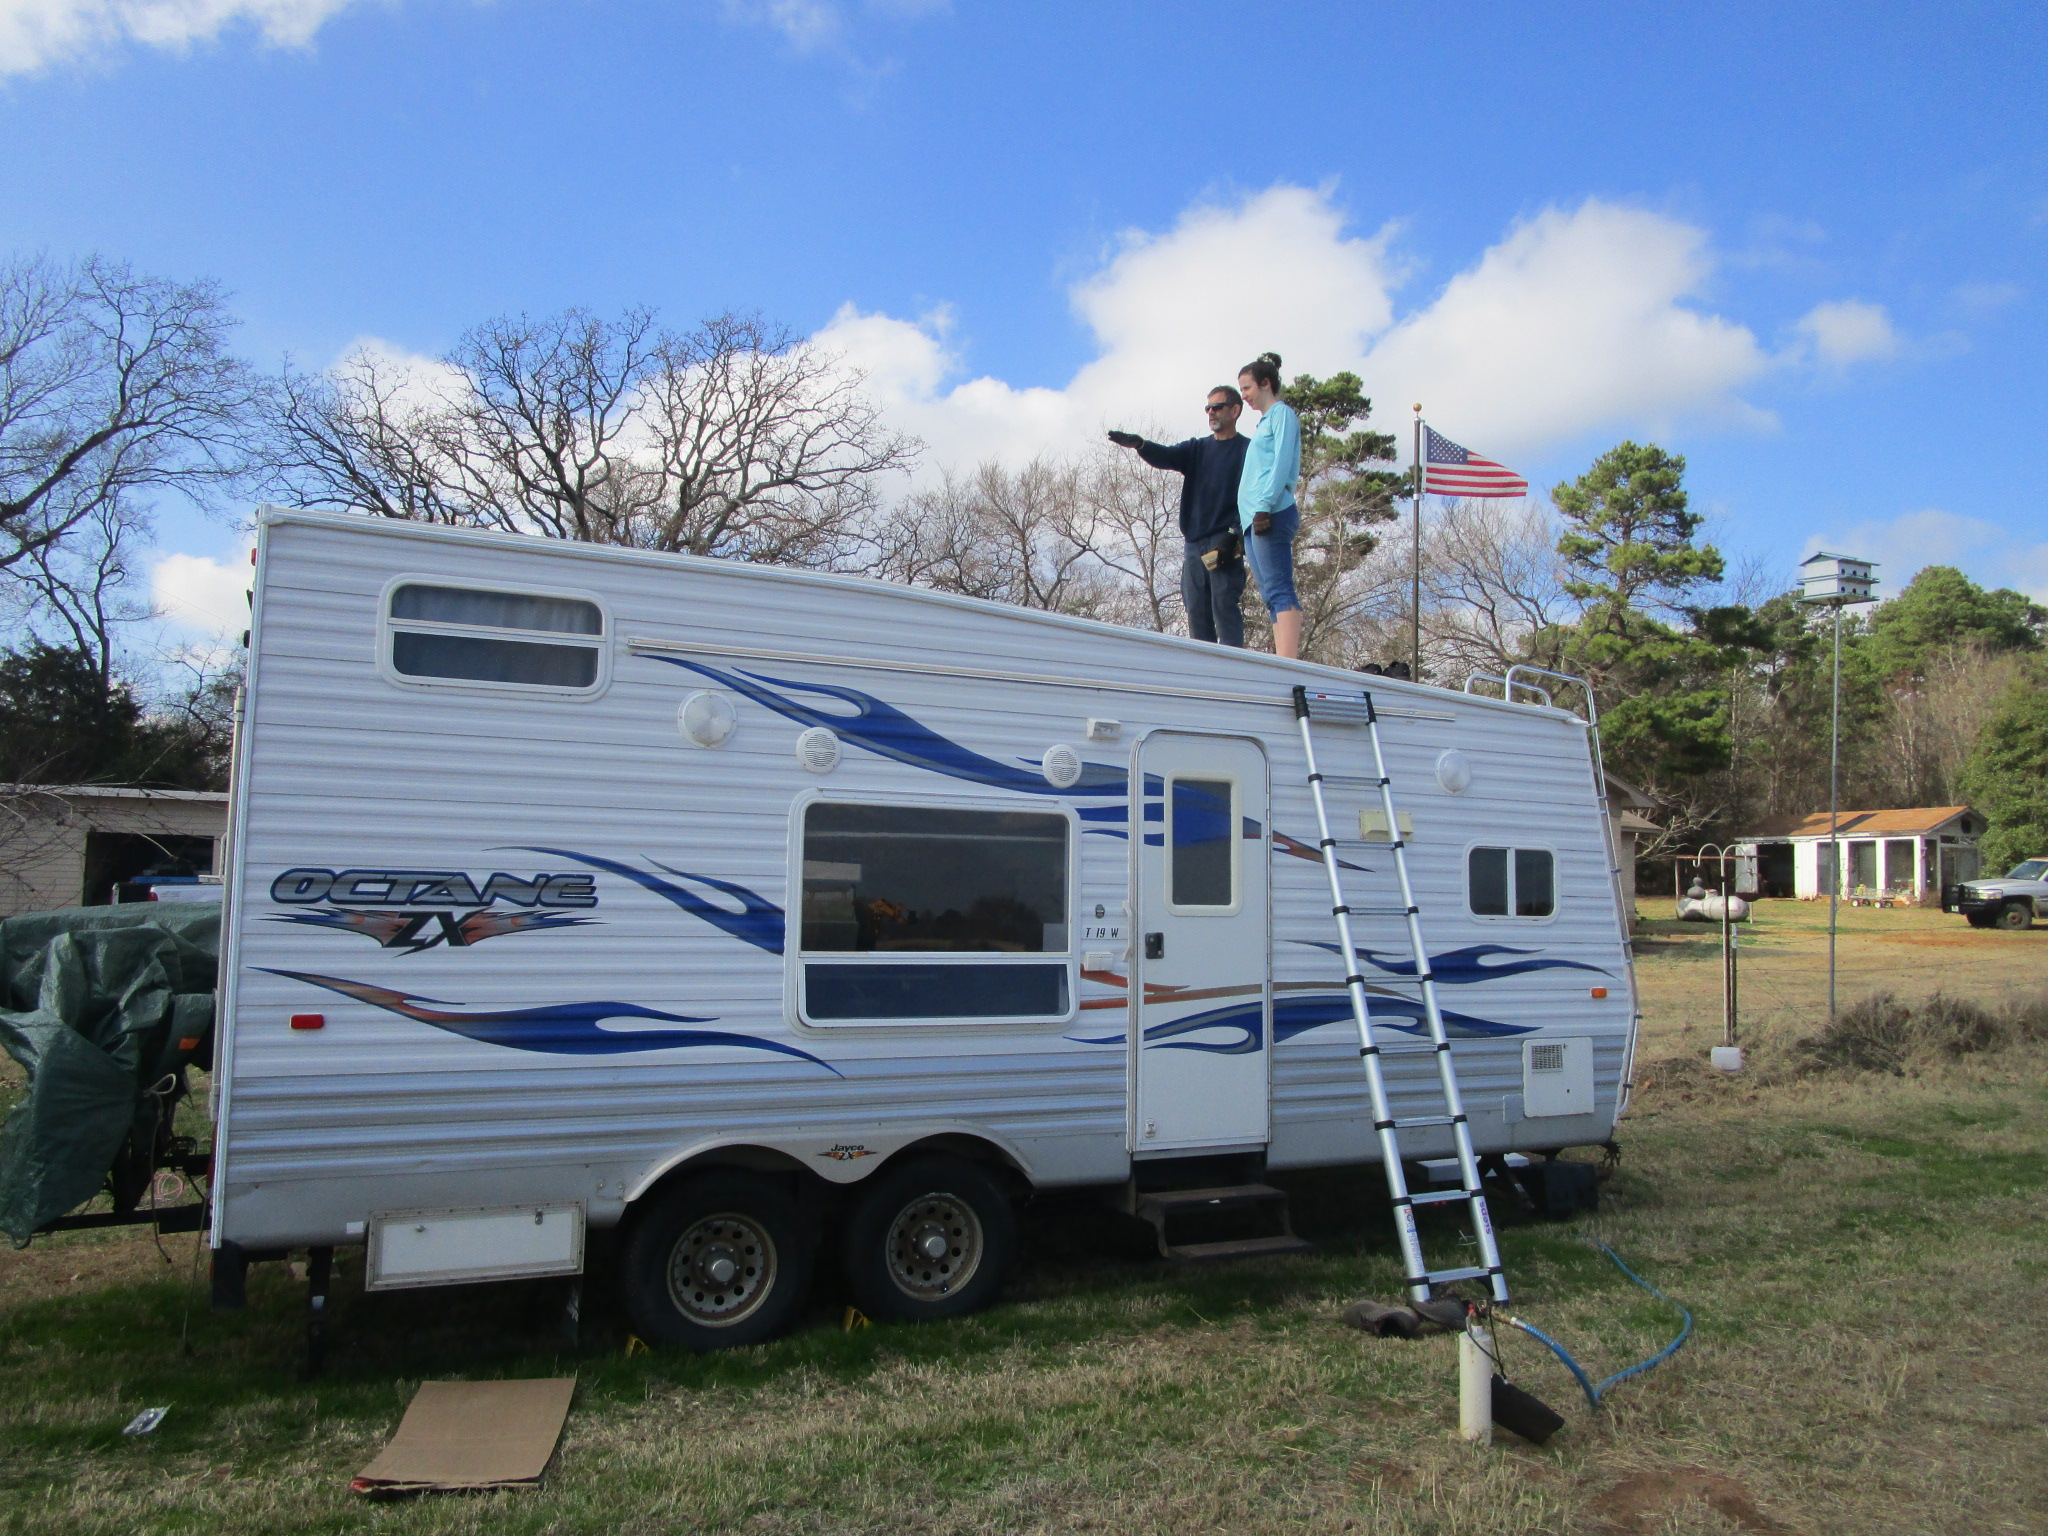
Tug, Howie, and the beautiful solar array at the farm:
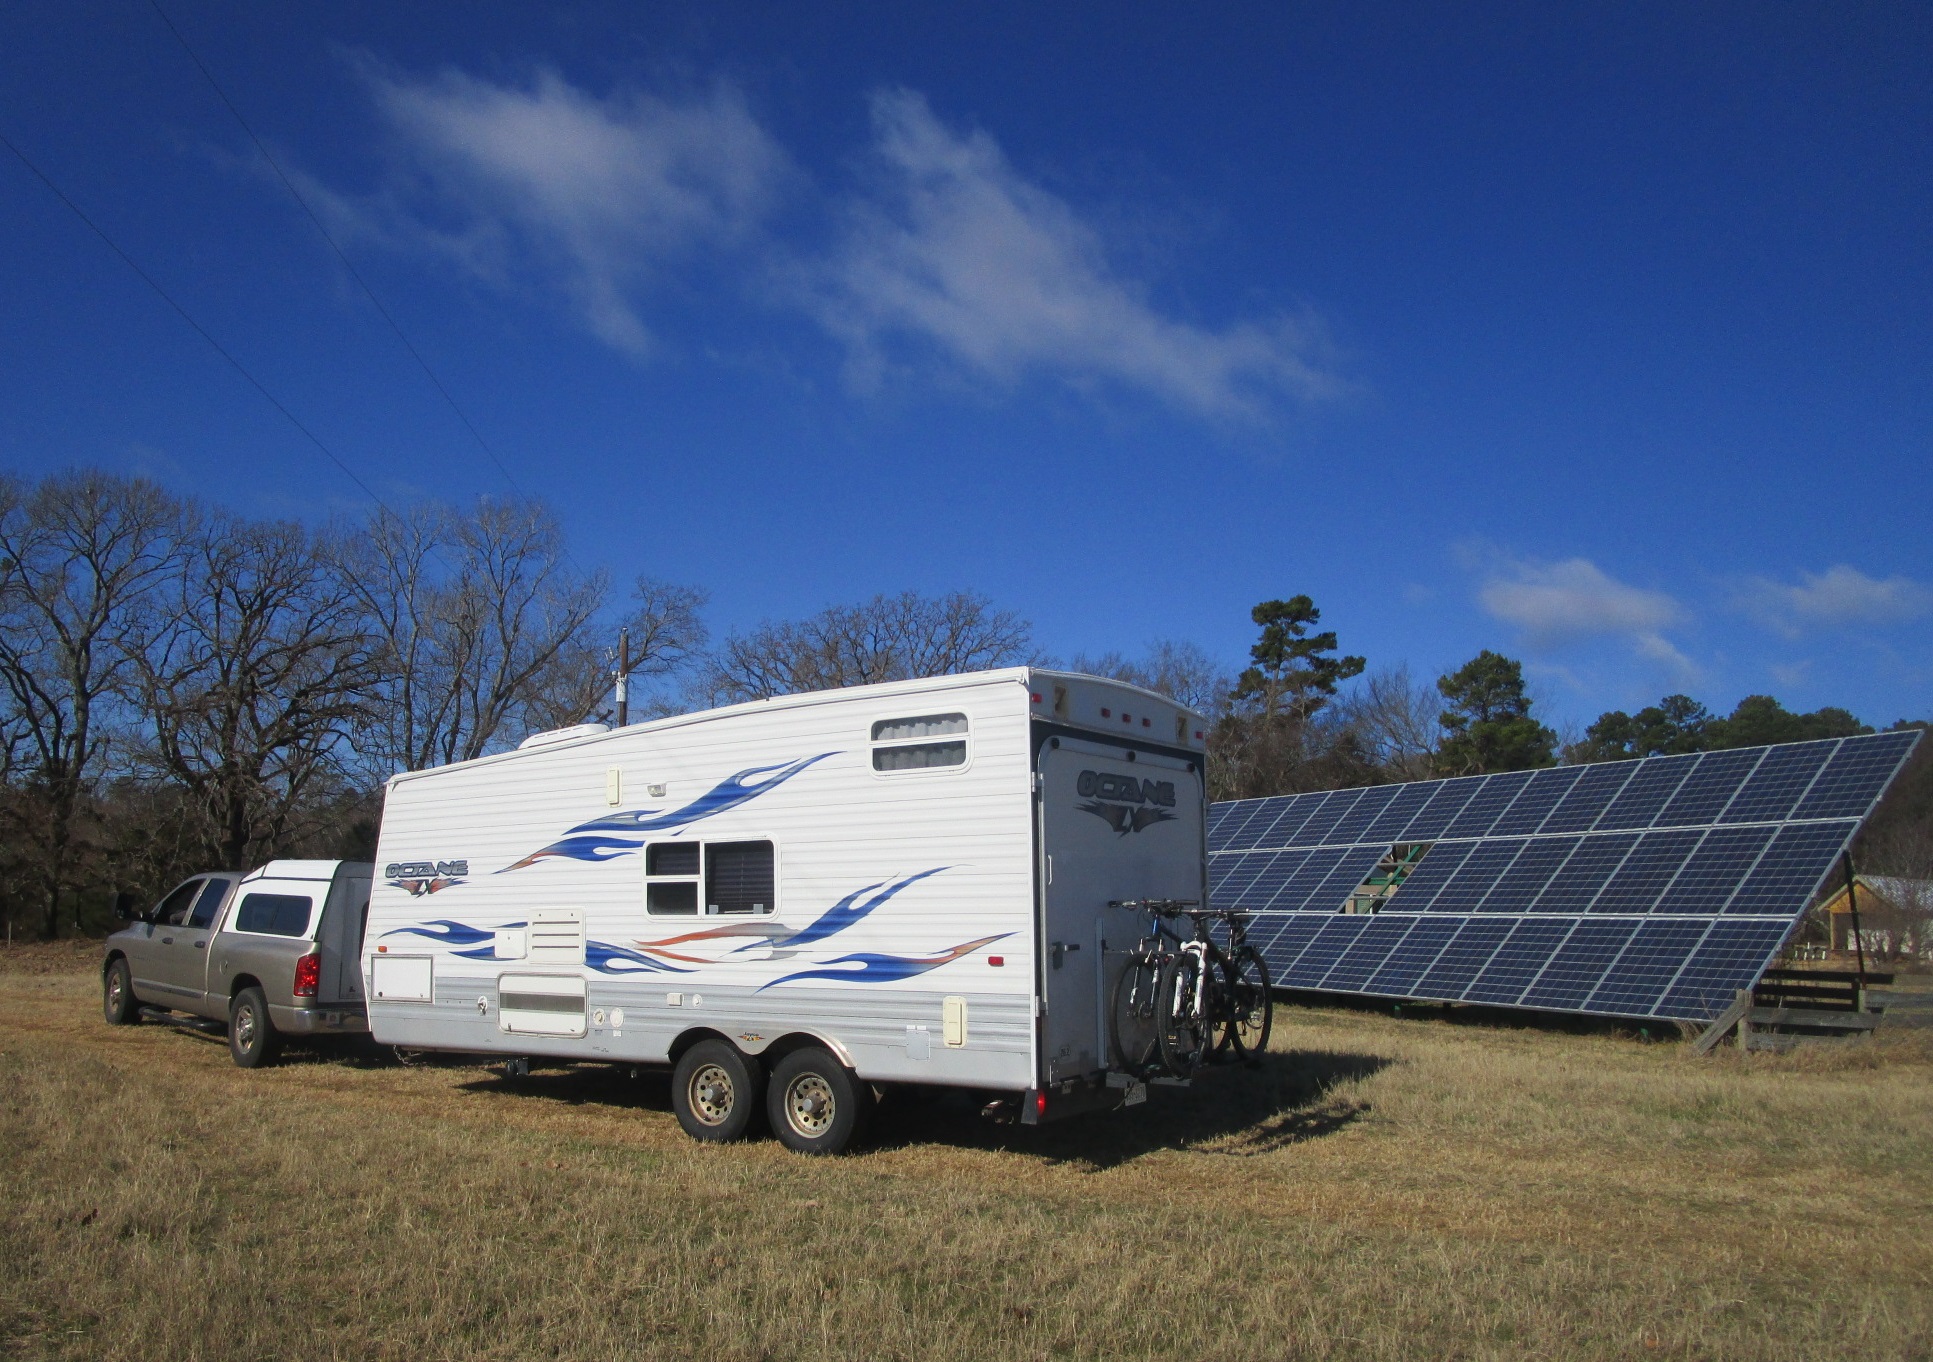
The final result – and still working great!
Mr. Kidd has remarked that perhaps the “Octane” label doesn’t fit anymore, now that we are free of fossil fuels in the trailer. Indeed!
Very Nice ! I don’t think you would benefit much from using dc optimizers, even with the slight difference in tilt between the panels. You provided an excellent description of the project, but as a solar geek, I’ve got a few questions:
1. How did John attach the panels to the new trailer roof? Was any type of racking used?
2. These 395W 72-cell panels, what are they? The half-cells have me wondering if these might be Hanwha QCells.
3. I see you used a Bogart Engineering TM-2025 battery meter, nice ! and you have a Magnum Energy Meter as well. The Charge Controller is a MorningStar TriStar MPPT 60A? What Model Inverter? How many watts can it deliver? Would it be possible to get a list of the components that make up your Solar Power system and their cost? Did John make a wiring diagram and can he share it?
4. I know you’ve only had the system installed 2-3 months, but have you any data about how much energy you draw from the new batteries on a typical day? I’d be curious to know how low (% State of Charge) your batteries are being discharged.
5. When the trailer is stationary, how many hours of sun does it takes to replenish the batteries? (assuming your battery is <50% charged and you aren't consuming any power)
6. Does your system include an AC charger (120v), so you can recharge your LiFePO4 batteries from shore power?
7. What are your 12v DC loads? What is the DC Amps rating of your 24v-12v converter?
8. Does your system include a low voltage disconnect in case the battery bank voltage drops below a certain voltage ? (to prevent over discharging the batteries) – I think some Lithium-ion battery systems have this protection intergrated into the battery.
I'm still researching ideas for building my own Emergency Solar Power Generator, so your off-grid solar power experiences are very helpful. The used AstroPower 100W I acquired from an upgrade project John and I did last year, have finally been cleaned and tested and only 1 out of 24 was found to have a problem. I am planning to use 6 of these on my Emergency Power System Project.
Cheers,
Hi Marc! We really appreciate the time you take to write great questions. We’ve been traveling, which means a) it has taken a couple weeks to get this reply written and b) it was a fun topic of discussion while cruising through Alabama recently. So thank you! We’re paused in Austin indefinitely and we finally compiled some answers.
1. John used Renogy Z brackets (flush mounted) that bolt onto the panels. He screwed the brackets onto the roof.
2. Yes, the panels are Hanwha Q Cells, exactly right.
3. I’m planning to do a larger cost spreadsheet in a future post, but here’s the list for the solar system specifically:
Solar panels (4): Q Cells 395W Duo Cell Mono, 72-cell, $260 x 4 = $1040 (altE)
Inverter: 4000W Magnum Energy 4024 24V Sinewave Inverter, $1645 (altE)
Charge controller: MorningStar TriStar TS-MPPT-60, $486 (eBay)
Roof mounting brackets: Renogy Solar Panel Mounting Z Brackets (4), $31 (used, Amazon)
Remote control: Magnum Energy ME-ARC50, $206 (Amazon)
We’ve had the battery meter since John installed the original system in 2010, super helpful; actually I’d call it essential for knowing what’s going on with the system. We’ve seen other versions that can break out the details further so you can see incoming solar and actual usage instead of just net in/out at the battery, so maybe eventually we can add something like that.
John does have some versions of a wiring diagram that aren’t blog-worthy 🙂 so he’s working on a better copy. When we get that together I’ll add it to this post and/or I’m also planning a topic describing our DC/AC electrical system in the trailer. Thanks for asking for it!
4. We’ve been collecting daily data from the Bogart meter since the end of December. One item is cumulative amp-hours of energy removed from the batteries, which we reset when we started this tracking. We’re at 4600 Ah cumulative over about 90 days, so an average of 51 Ah of battery discharge per day. This does not include charging data. It’s a net number so any usage that happens at the same time that the sun is out will be offset and not included. At least that’s our understanding.
Usage varies a lot on a day-to-bay basis. Winter has been an interesting challenge, between limited sun and the desire to run the heater for hours at a time. In that situation we turn on shore power for the AC loads (keeping the DC loads, including the fridge, on the batteries). This is something we’re playing with as we go.
Along those lines, battery discharge % varies a lot depending on the situation. It is great not having to worry about it too much (goodbye lead acid batteries!) The Bogart meter shows the lowest % full value for each cycle, with a cycle being the time between each full charge. From my daily logging, the average low we hit is 68%; minimum was 14% during our full discharge test; routinely we can hit 40-60% full. In fact, right this second it’s at 52% (in the morning before the sun peeks over the trees). However, we’ve also had days in a row connected to shore power with not much battery draw. Perhaps I’ll figure out how to chart this eventually.
5. Typical winter charging power has been 700-800 watts; lately we’ve seen over 1 kW incoming charge in full sun. We’ve been in the Southeast this winter, for reference. To charge the batteries from 50% back to 100% would take 3000 watt-hours, so about 3-4 hours. This may get faster when the sun is higher overhead. By the way, the solar also works very well when NOT stationary. A nice breeze to keep it cool and only occasional overpass shading.
We routinely turn on the water heater mid-afternoon to make use of extra incoming solar energy.
6. Yes – the Magnum is an inverter/charger.
7. I’m going to hold off answering in detail the question about the loads, as it’s a topic for an upcoming post. The biggest 24V DC load is the fridge at 65 watts. 12V DC loads (LED lights, USB charging, water pump when off-grid, and other assorted items) are quite small.
The 24V-12V converter is rated at 40 amps, well over what we could imagine using it for.
8. Let’s see if I can accurately transcribe John’s answer. Valence does have a battery management system (BMS) for all new systems. Since our batteries are used, we don’t have one at the system level. Each battery DOES have a BMS for that module, yes, and the specs say there is a low voltage cutoff so an individual battery cannot be over-discharged. However, without a separate BMS for the whole system, we are managing that manually. John says that he prefers that the individual BMS’s never kick in because he’s not sure what would happen if individual modules shut off while others are still on (seeing as there are 2 parallel sets of 2 batteries in series and all that).
The inverter does have settings in place so it will stop drawing energy from the batteries if the level is too low. The AC loads would turn off at that point. On the DC side, only the fridge could possibly draw down the batteries too much, and it’s only a potential issue if we left it alone for some length of time (days) and didn’t have at least a little sunshine on the roof. It doesn’t take much to keep the fridge going with our large solar capacity. But it is a consideration – deciding whether to shut off the fridge if we leave Howie for a long period of time. And we do keep an eye on the battery meter. It’s fun to watch it go up when the sun shines and to remark that our coffee is powered by the sun!
Your emergency power system project sounds like fun! We look forward to hearing more about it.
Thanks again!